Baby Shower Gift: Flat Teddy Tutorial and Pattern
Abby from Things for Boys is due to have baby number 2 soon, and Laura from Craftstorming had the great idea to throw a virtual baby shower. And today’s the big day (hopefully my gift arrived in time!).
When I first got the email from Laura, I knew exactly what I was going to make:
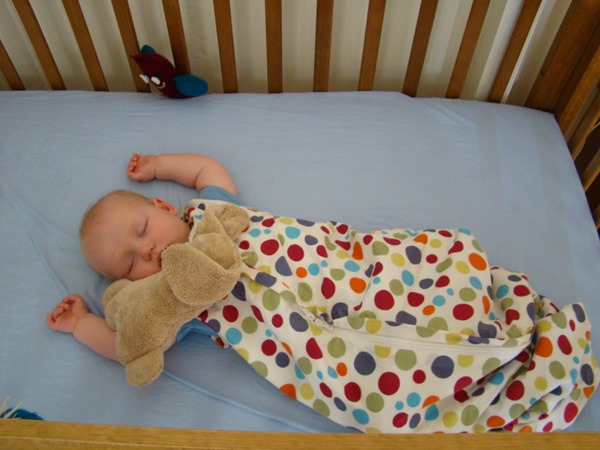
Jacob’s favourite snuggly toy (that must be there at bedtime) is flat puppy. Here’s a baby photo of Jacob and flat puppy together (flat puppy is looking a lot more worn these days…):
I used to put flat puppy in the cot with Jacob to give him something to self-soothe at night. I’m not sure if it made any difference to him sleeping through as a baby, but it definitely gives him comfort now when he’s feeling tired. (Celeste, on the other hand, chooses a different “favourite” toy to sleep with on a daily basis – such different kids!)
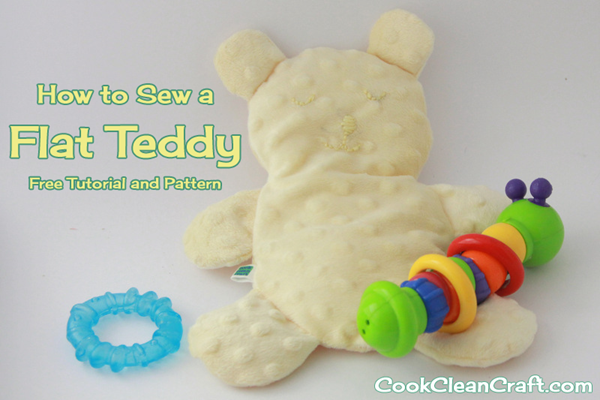
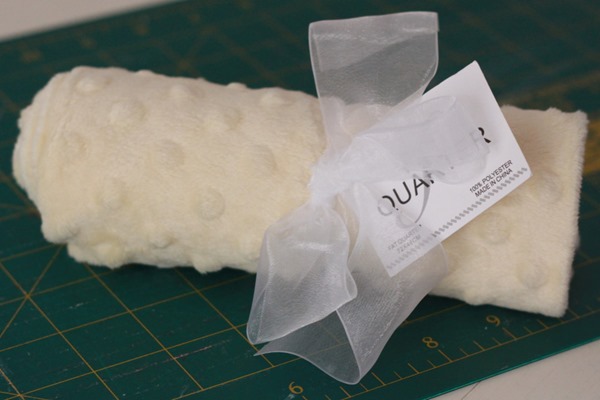
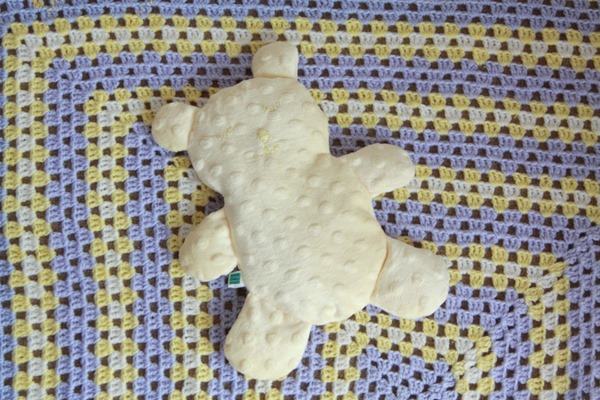
While flat puppy was made from a teddy material, I used minky dots – easier to find at my local fabric store, and soft and cuddly. I also decided to go with a teddy, rather than a puppy. It’s easy enough to change to a puppy or bunny by modifying the ear pattern.
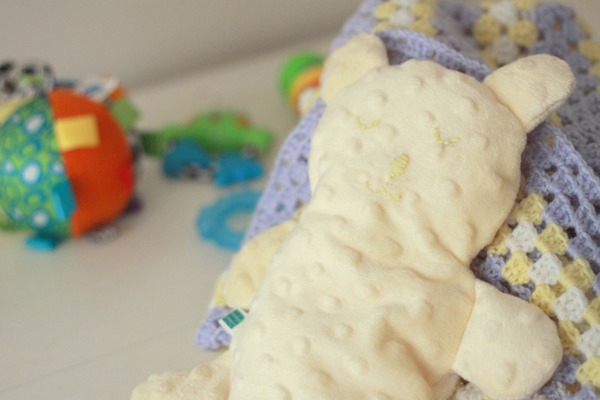
The face is embroidered with a matching yarn – just what I had in my stash. I love the subtlety of the matching colours (and it hides my average embroidery skills!).
So let’s see how I made this soft and snuggly toy (which I hope Abby and baby love!):
Materials
Fat quarter of Minky fabric (or other soft and snuggly fabric – should be enough for two teddies)
Polyfill
Small amount of embroidery thread or yarn
Thread, Needles, Pins, Scissors, Rotary Cutter
Sewing Machine
Instructions
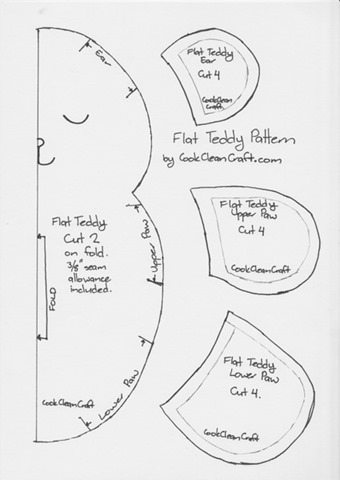
Print out the flat teddy pattern here and cut out the pattern pieces.
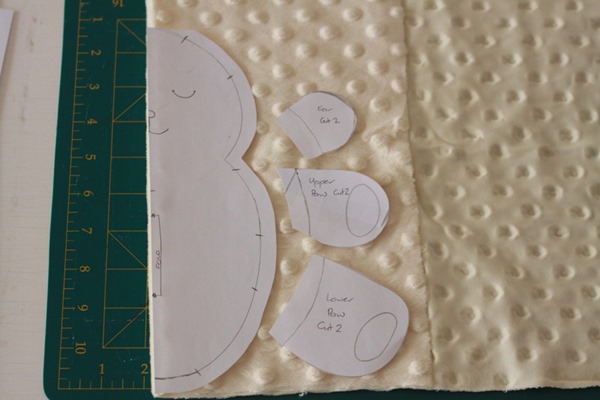
Cut out all the pieces from the minky. I folded it right sides together as this helped the fabric to stick together while I was cutting. I used a rotary cutter due to how slippery the fabric is!
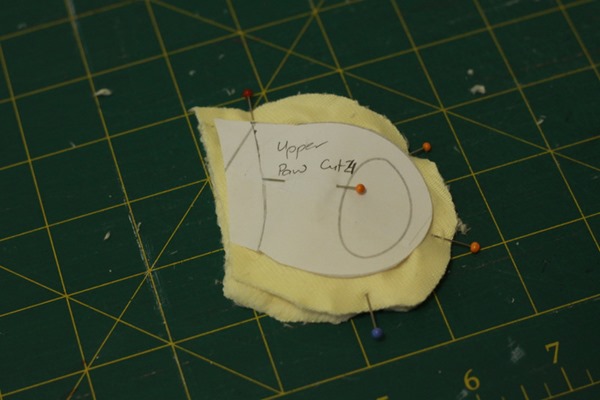
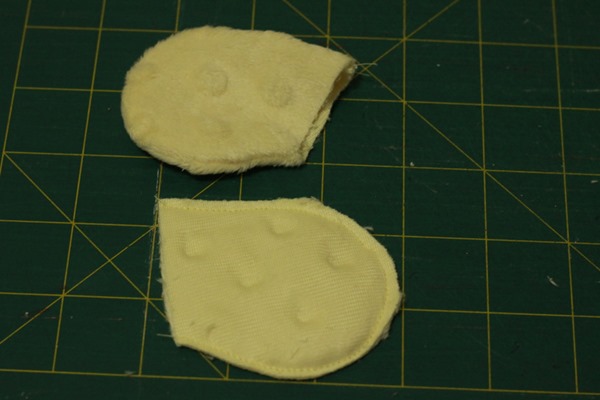
Pin the ears and paws right sides together. Minky is quite slippery and shifts a bit when you sew, so I cut the seam allowance off my pattern pieces and pinned them to the fabric:
Sew around the outside of the ears and paws, leaving the straighter edge that connects to the body open.
Clip the curves (I actually trimmed rather than clipped) and turn the pieces right-side out.
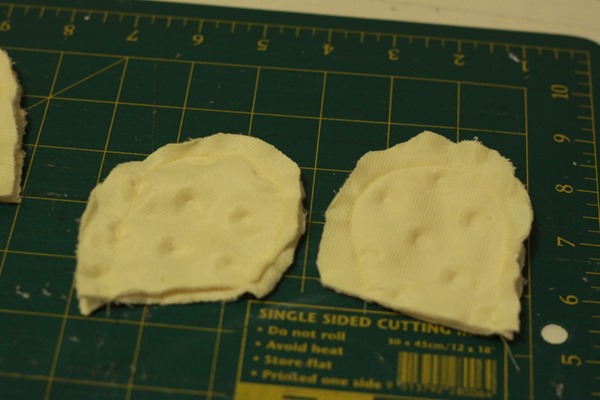
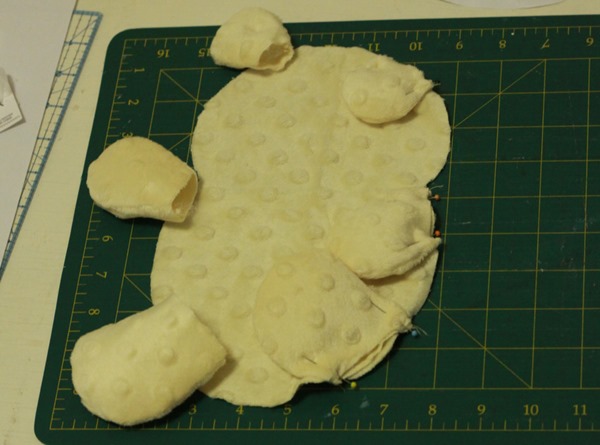
Lightly stuff with polyfill. Pin the paws and ears onto the right side of one piece of the body, with paws/ears on the inside of the body (like on the right in the picture below).
Use a long basting stitch, sew the paws and ears to the body in the seam allowance (ie 1/4inch from the edge).
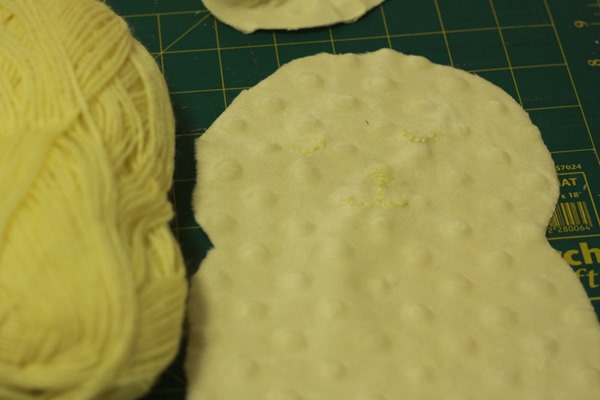
Embroider the face details onto the other body piece. Use the pattern as a guide or choose your own style!
I used a very similar coloured wool so it’s hard to see the detail, but I like the subtle look!
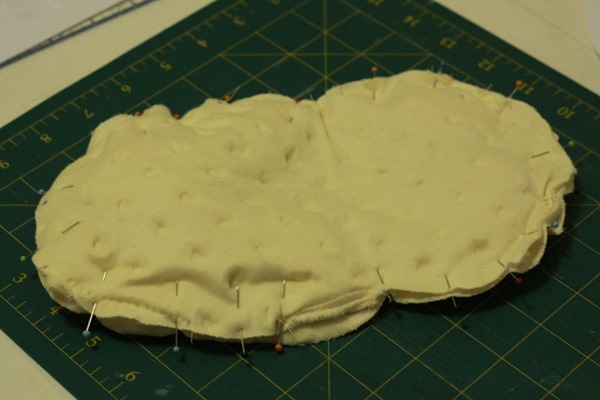
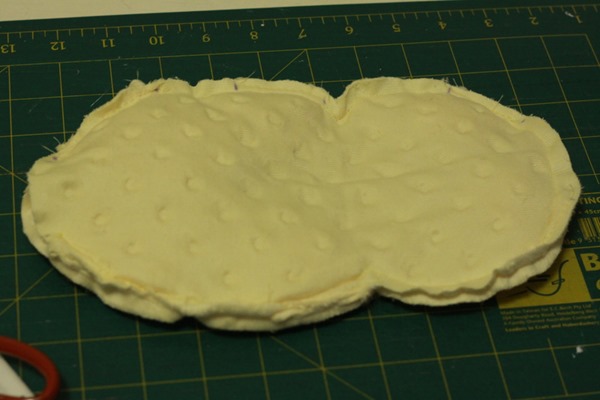
Pin the front and back body pieces right sides together, making sure to tuck in the paws and ears.
Sew around the body, leaving a gap between the legs for turning:
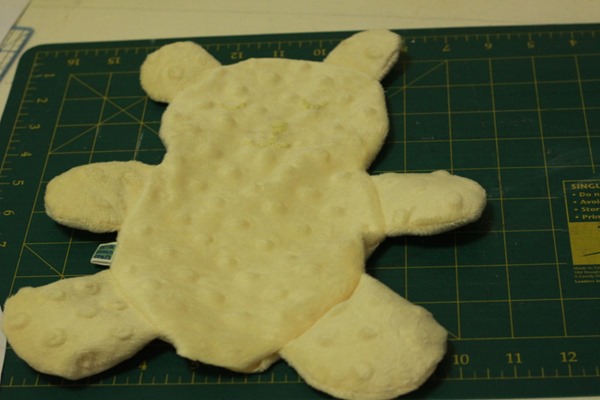
Turn the bear right side out.
Lightly stuff with polyfill, hand-sew the gap together, and there you have a cute, cuddly flat teddy bear.
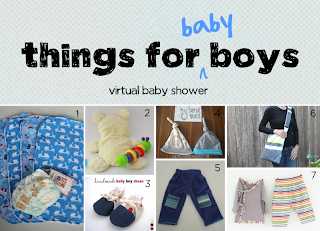
Check out the other baby shower gifts:
1: Baby Change Mats by Ros from Sew Delicious
2: Flat Teddy by Narelle from Cook Clean Craft
3: Handmade Baby Boy Shoes by Janelle from Emmaline Bags
4: Baby Hats by Jenny from Mend and Make New
5: Upcycled Cashmere Baby Pants by Dara from Coffee and Lilacs
6: Nappy / Baby Bag by Jo from Bubala
7: Little Kid Kimono Set by Laura from Craftstorming
And congrats again, Abby!
What’s your favourite baby shower gift?

Narelle, your gift arrived on Monday – perfect timing! The teddy is just gorgeous, so soft and snuggly for little bubbas 🙂
is gorgious teddy!!
Thanks for patern!
such a cute teddy, I love it in the minky!!
Oh! It looks so soft and cuddly. I might have to try this pattern using vintage flannel… what do you think?
Thanks for sharing x
Love the Teddy..!Very Attractive..Thanks for Sharing..
—
http://www.lollipopmoon.com
What a sweet little gift! Thanks for sharing. 😉
I love the little teddy. He’s so cute and I love minky for baby toys. Thanks again for this. I love all the gifts and feel so special! xx
What a cute teddy and it must be so soft in minky. Your son looks really cute snuggling with his one.
I wanted to thank you for this tutorial, I have made it out of pink fleece with a matching pink thread for the face, I have hand embroidered hearts into the ears and also sewn a heart in place using blanket stitch on the chest. I also filled the little guy (made at 75% of the original size) with rice so the tot he’s going to can use it as a heat pack for a poorly tum or a cold pack to give special hugs to make bumps and bruises better x
This is a great tutorial, thanks so much! I’m really enjoying making the teddy for my son to take to daycare to be a substitute for his minky blanket in his cot.
I’m very much a beginner, and am stuck at the embroidery of the face. Did you use any type of stabiliser, or did you embroider directly onto the minky fabric? I’ve done a bare minimum of embroidery, and as such don’t have any embroidery things besides the floss. Do I need to go out and grab a hoop and some stabiliser?
Thanks again. 🙂
Brooke
I didn’t use any stabiliser or a hoop, and just took each stitch slowly, trying not to pull too hard and cause it to pucker. If I did pull it too hard, I just loosened the stitch by putting the needle under it and pulling up a bit. If you wanted to work fast, stabiliser and a hoop would help, but isn’t really necessary. Embroidery’s not really my thing – that’s why I used matching floss and a simple design 🙂
Thanks Narelle, good to hear. I decided to increase the amount of threads I was using, and it looked okay on my practice piece. Full steam ahead! 🙂
Thanks for sharing the great pattern and tutorial. But i have one problem.. how do I stitch the last gap? If i stitch it from the outside.. the thread will be seen.
Sew a ladder stitch to close the last gap and the threads won’t be seen. Here’s a tutorial for how to do it: http://www.sew-it-love-it.com/ladder-stitch.html I hope that helps!
I made 4 of these flat teddy bears last weekend. I didn’t stuff them but used 2 layers of low batt quilting. they were gifts that I included with over the head baby bibs in a matching gift/toy bag. they were a big hit!
did you sew (quilt) the batting?
no I didn’t…the teddy is small enough it didn’t need to be quilted.
How adorable – I’m going to a Baby shower – tomorrow! I happen to have some minky, however, I was wondering about the stuffing – you call this a “flat” toy – but if you use any stuffing, wont it pile up when you wash the toy? would a lite batt be better or what? Otherwise you would have to sew some lines across the fabric to hold in place?
I lightly stuff and don’t use batting as I find it adds a cuddliness to it. It piles a little when washed, but smoothes out fairly quickly. I haven’t tried batting, but the teddy is so small, I don’t think you’d need to quilt it (unless you wanted to, for the effect).
This is the perfect pattern that I was looking for! My niece is pregnant with my sister’s first grandchild. My sister died from cancer several years ago and I want to make the teddy bear out of my sister’s velour bathrobe as a shower gift. I’m so excited to make this. The grandbaby will be a boy and the bathrobe is a dark grey so it will be perfect! Thank you! xoxo
Oh, that is such a lovely idea. Thank you for sharing your story with me. I hope your grand-nephew adores his flat teddy and feels all the love that is in it.
So excited to find this pattern I sew with a group & we are making stuffed animals for the surgery & emergency departments…..this will work great!! Our next project is going to be sewn chemo hats do you have a pattern or suggestions?
What a lovely idea! I’m so glad my pattern is being put to good use.
There are a few options for chemo caps here: http://www.brimmingwithlove.com/patterns.html I’ve heard that softer knit fabrics are best as the scalp can be sensitive during chemo. Best of luck! xx