How to Sew a Doll’s Mattress
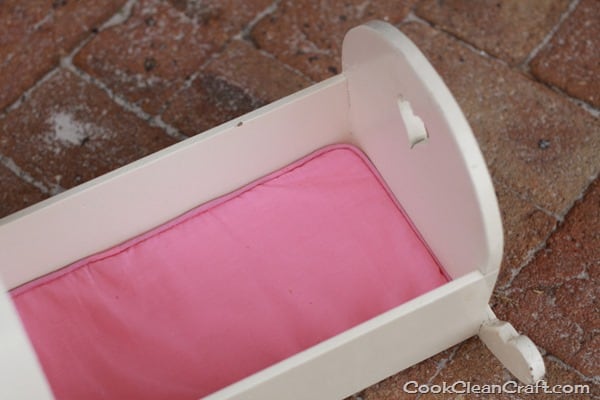
It’s been a little while since I shared the bedding set I made for my daughter’s doll cot.

Now it’s time for the tutorials for each part, starting with the little mattress.
I used a foam cushion insert, cut down to size, and a plain pink quilter’s cotton. I made bias tape from some of the cotton to turn into piping for that genuine mattress look. Alternatively
Now babies (or teddies, or ponies) can sleep on a nice, soft bed. My daughter is much happier about this!
Here’s the tutorial:
Materials
Foam cushion insert or other foam
Quilter’s Cotton
Matching Piping
Matching thread
Sewing machine, ruler, scissors etc
Note: I haven’t included measurements as it depends on the size of your doll and cot. My cot was 18cm x 43cm x 4cm (7 inch x 17 inch x 1.5 inch).
Method
1. Cut two rectangles of quilter’s cotton for the top and bottom of the mattress, adding a 1cm seam allowance to all sides (mine was 20cm x 45cm). Cut strips for the edge of the mattress (mine was 6cm wide and 124cm (18 + 18 + 43 +43 + 2cm seam allowance) long in total. Cut as many strips as you need – it doesn’t need to be one long strip – I used two strips.
2. Pin the piping around the outside of the top piece for the mattress, onto the RIGHT side of the fabric.
Clip the fabric of the piping to get a curve at the corners.
Overlap the ends of the piping, folding over the top edge. Trim the inside cord to give a smooth finish.
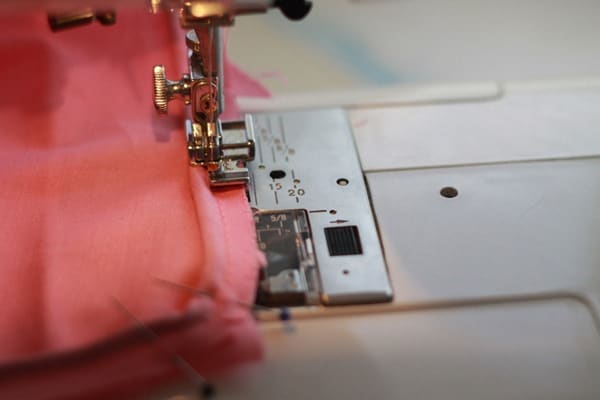
3. Sew the piping into position using a long basting stitch. I use my zipper foot to get nice and close to the piping:
4. Repeat steps 2 and 3 for the bottom piece of the the mattress.
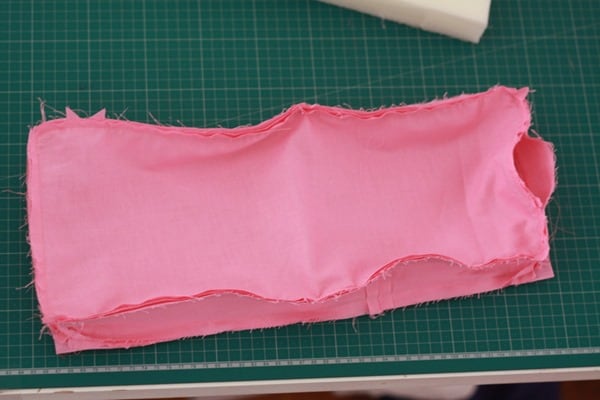
5. Sew your edge strips together to form a circle, making sure you don’t have any twists in it!
6. Pin the edge strip to the top section of the mattress with right sides together:
7. Sew into place (again, using the zipper foot to get even stitching close to the piping.
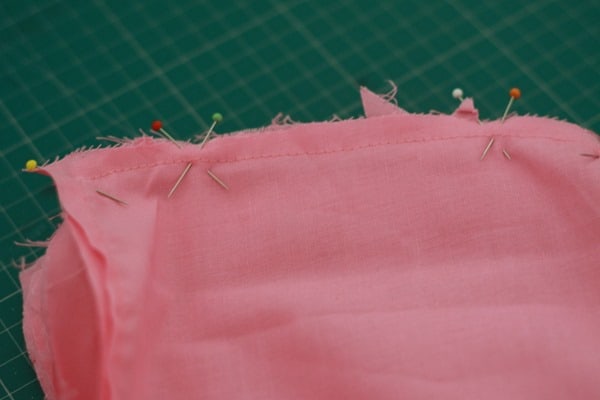
8. Pin the base of the mattress to the other side of the edge strips, with RIGHT sides together.
You’ll need to leave a gap for turning when you sew this. I like to cross my pins likes this to remind me:
9. Sew the base to the edge strip, leaving a gap at one end.
10. Turn the mattress right side out.
11. Poke the foam insert (cut to size – I used a bread knife for this) into the opening.
12. Hand-stitch the opening closed.
And there you have cute doll’s mattress.
Come back soon for the pillow, sheet and quilt tutorials!


