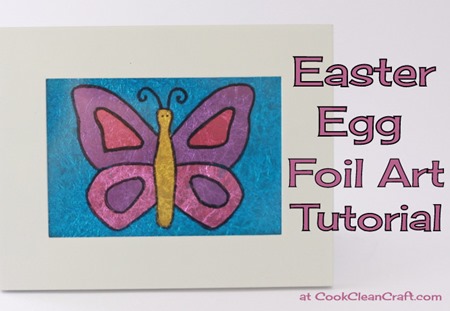
Easter Egg Foil Art Tutorial
Do you carefully open your Easter Eggs, trying to keep the foil intact, and then delicately smooth it out? Or do you rip and tear to get at the chocolate as quickly as possible? I do both, depending on whether I have a craft project in mind 😉
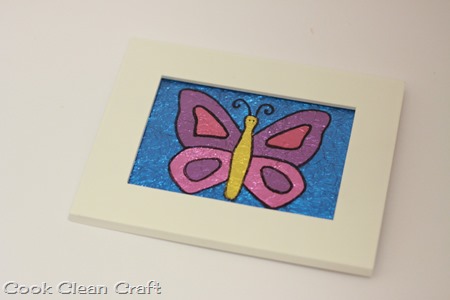
Colourful Easter egg wrappers make a great craft supply, and today I’m going to share with you a fun craft for the kids (or yourself):
My wonderfully-crafty Year 4 teacher told us to collect our wrappers before Easter so that we could make Easter egg foil art (let’s not talk about how long ago that was!). We chose colouring pages for the design (I’m pretty sure mine was Strawberry Shortcake!), and folded and scrunched the Easter eggs to create cute art.
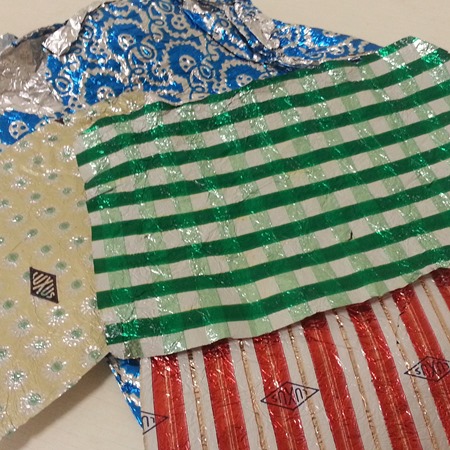
It makes a sparkly decoration for a kid’s bedroom, or if you have some fancy wrappers (like my husband’s vintage collection, recently found at my in-laws place, see below), it wouldn’t be out of place on a mantel display.
Aren’t they gorgeous! I’m still trying to work out what to make with them!
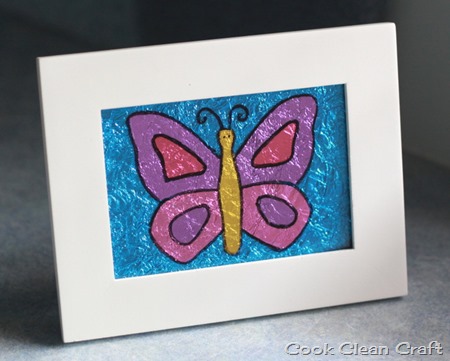
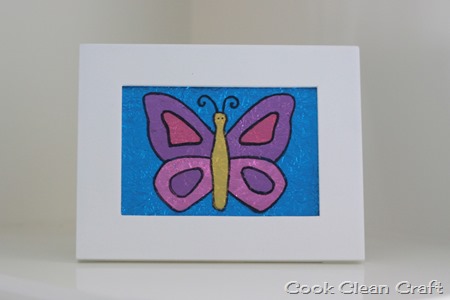
The butterfly image is from the free Butterfly quilt pattern by Alex Anderson for P&B Textiles (which I’m using to make Celeste’s big girl quilt – another work in progress…).
Here’s how I made my Easter egg foil art:
Materials
Easter egg foil wrappers
Photo frame
Permanent Marker
Sticky tape
Scissors
Procedure
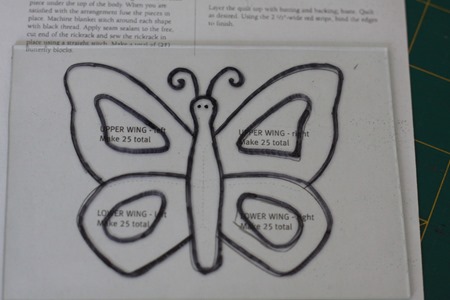
Trace you picture onto the back of the glass or plastic from your picture frame. If your picture has any writing or is directional, you’ll want to draw the mirror image of it. Draw any details that are too small to make out of foil wrappers (e.g. eyes, eyelashes, mouth etc). You may also want to simplify your picture if there are a lot of small, fiddly bits.
Note: thick, dark lines work best. If the lines are too thin, the next steps become much more fiddly.
I added some extra detail to my butterfly.
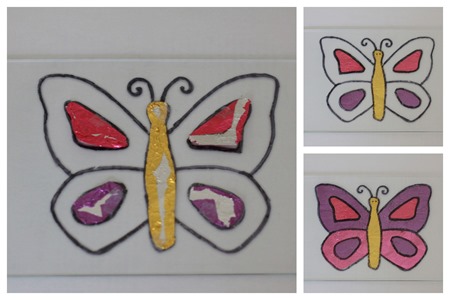
Optional: For my art, I used Easter egg wrapper as the background. For the version I did in primary school, we painted the background black after tracing the image. You could also use plain or patterned scrapbook paper.
Cut pieces of Easter egg foil wrappers to a little larger than each section of the drawing.
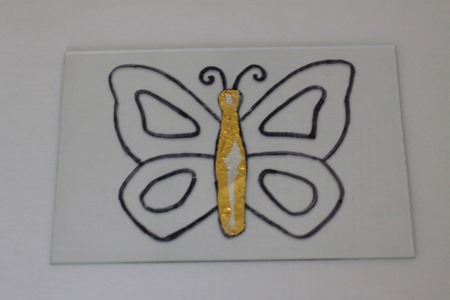
Working on inner details first, shape the foil wrapper to fit inside each shape of the image. Fold, snip and bend the foil – it’s amazing how easy it is to shape. It works best if the edge of the foil is on the thick marker lines (that’s why thicker is better!).
I then added a tiny amount of sticky tape to hold each piece in position, with the tape just going over the marker lines, so it isn’t seen from the outside.
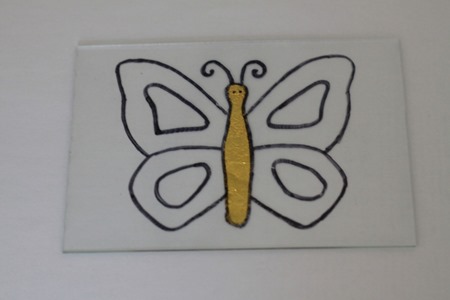
Keep building up the details with foil until it’s all done. Larger sections can overlap the smaller details, so you don’t have to spend as much time shaping the foil. Turn over the glass regularly to make sure it looks good from the right side!
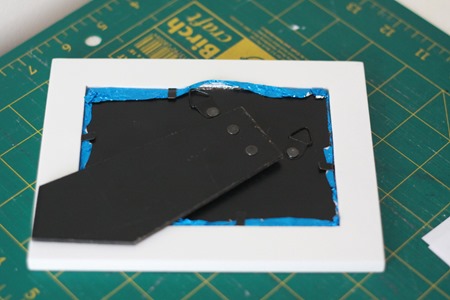
Pop the glass and backing into the photo frame and admire your fun art!
If you make some from my tutorial, please let me know!
What have you made from Easter Egg wrappers?



Nice..
that is such an amazing idea! it looks so cool! (but also like a lot of work!) 🙂 lisa
What a great idea, it looks marvellous and great fun (plus you get to eat the chocolate). Love it.
Very cute!
I made something very similar to this, except I didn’t have the marker and instead used the printed paper stencil for the guidelines. This way it looks neater I believe.