How to make a 3D Moon Cake with Astronaut
I’ve shared the party games and food for my son’s Space-Themed Birthday Party. Now it’s time for my favourite part – the Moon cake. I originally planned to make a rocket cake, or make the solar system on a sheet, but when I saw this moon cake on Pinterest, I just had to make it.
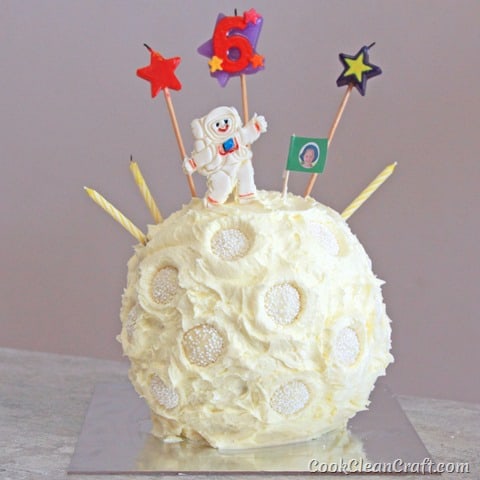
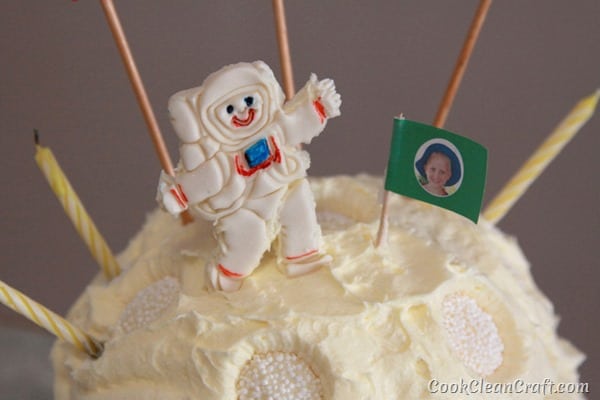
The original cake was half the moon. I had to make a full moon, since I always have to make things as difficult as possible! I made a fondant astronaut for the top of the cake, and a little flag with my son’s face on it (just for a bit of silliness!).
Here’s how I made the moon cake:
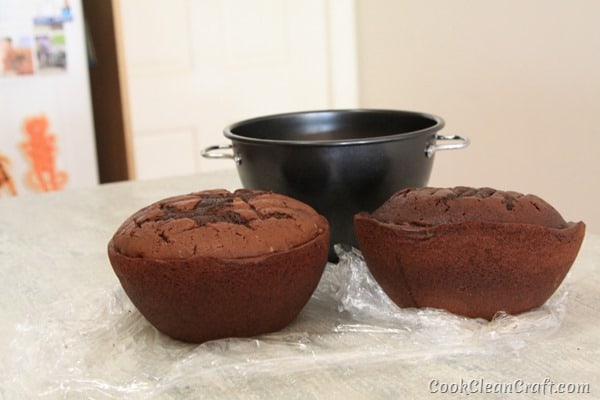
First, I made two cakes using a pudding steamer to create a round shape. You could also use an oven-proof bowl to get the round shape.
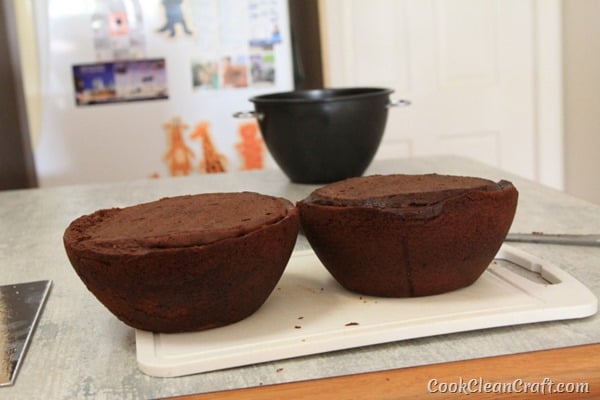
I levelled off the top of each cake, trying to make sure they were about the same height and diameter.
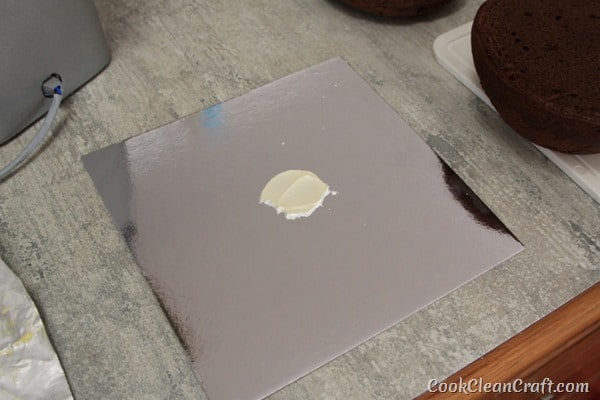
I used a small square cakeboard, putting a dab of buttercream on to hold the cake in place (I didn’t want the moon rolling away!).
I placed one cake onto the board, small side down, added a big blog of buttercream on top of it, and then place the other cake on top.
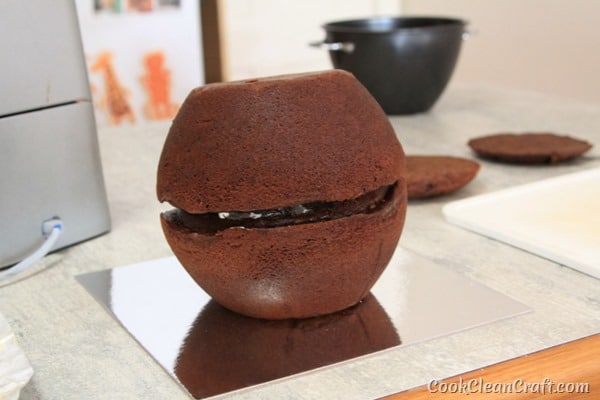
I probably should have put more buttercream between the cakes to fill the gap, but I just filled it as I did the crumb-coat. I used straight buttercream and smoothed it over the cake to lock in the crumbs.
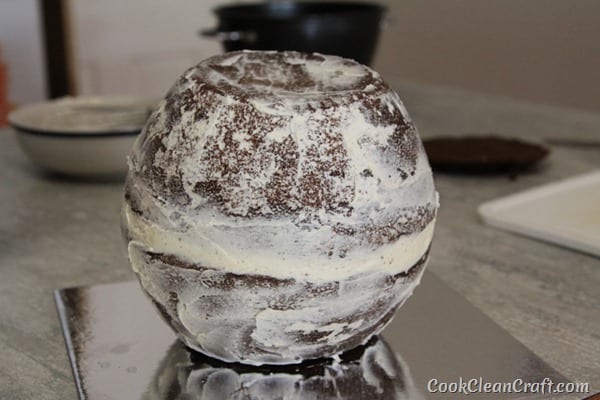
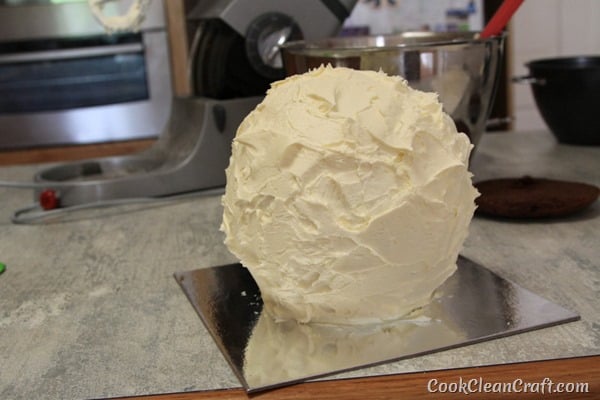
After waiting about 30 minutes for the crumb coat to harden, I added white buttercream all over the cake. I didn’t smooth it out very much, preferring to give the moon some texture.
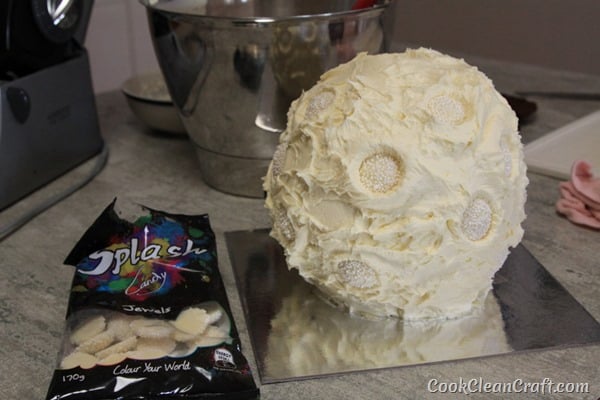
Next up, I pushed white candy jewels into the buttercream to create craters. I was going to use white chocolate buttons, but when I spotted the candy jewels (really just white freckles), I thought they’d be perfect for the meteors/craters. I used quite a few since I didn’t want kids fighting over who got a chocolate!
Using the Patchwork Cutters Space set (affiliate link), I made two small astronauts (since the fondant needed to be quite thin to use the cutter), and sandwiched them together with buttercream, placing a toothpick between each leg and another toothpick down his back. It was a hot day and the fondant was quite soft. I painted on some of his features using gel food colouring. I first tried edible markers, but the tip wasn’t fine enough to get in the gaps.

My little astronaut stayed in the fridge to harden until right before cake time. When it was time, I added him to the top of the cake, along with the flag and the candles.
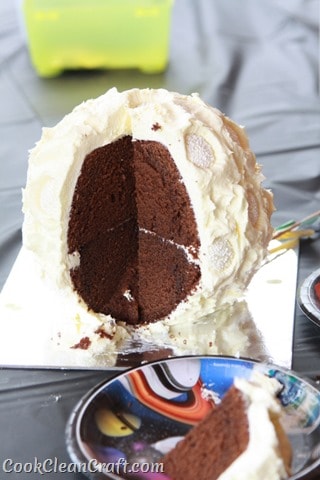
A yummy cake was enjoyed by all!

I’ll have more details of the space birthday party in my next post.
If you’re looking to improve your buttercream decorating skills, check out this class from Craftsy:


LOVE this cake! LOVE LOVE LOVE!
Thanks Louise! It turned out just how I’d hoped!