How to sew a Mr Men Costume
Book Week is a big thing in Australia. Each year, schools and public libraries spend a week celebrating books and Australian authors and illustrators, supported by the Children’s Book Council of Australia. Lots of schools have a dress-up day and parade for the kids. My school hasn’t for the last few years (such a disappointment for a crafty Mum!), but it was on this year.
I asked the kids what their favourite book characters were, and got “Elsa” from my daughter and a shrug of the shoulders from my son. Disney movie characters aren’t encouraged (I know there’s Frozen books, but Elsa was a movie character before she was a book character!), and with my son giving me free reign, I pulled out a Mr Men and Little Miss Book and asked the kids to decide which one they wanted to be, hoping for Mr Happy or Mr Tickle, or Little Miss Naughty or Little Miss Sunshine.
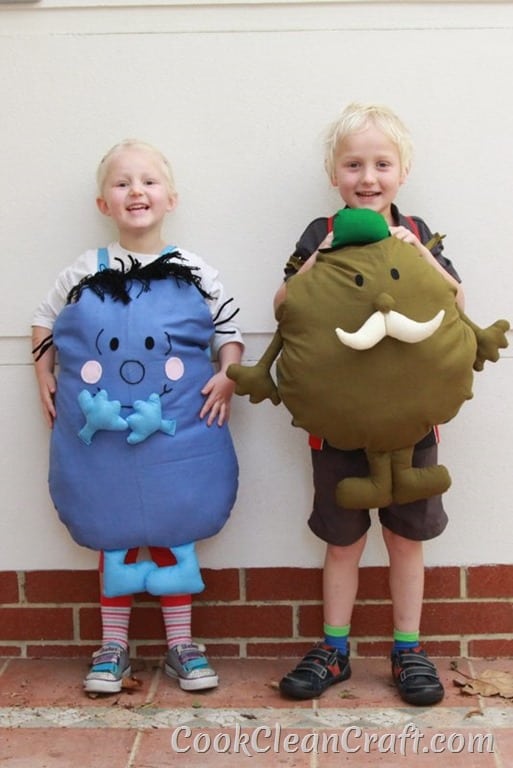
So of course, Little Miss Extrovert picked Little Miss Shy, and my son picked Mr Slow (because he has a moustache like his Grandpa) – two totally random choices, but I could work with this!
I spent Sunday sewing away, and finished the costumes off yesterday. Since I didn’t want to spend all that time making something that would only be used for a couple of hours, my costumes are really just giant stuffed Mr Men toys with shoulder straps on them. The kids can play with them, or use them as cushions are the parade. Double duty! Woohoo! They’d also make great Halloween costumes.
Let’s see how I made a Mr Slow costume for book week. I’ll share some of the changes I made for Little Miss Shy at the end.
How to sew a Mr Men Costume
Materials
1.2 metre mustard-coloured fabric – I used quilter’s cotton
20cm square piece of white fabric
10cm square piece of green fabric
Small scrap of black felt
Polyfill
Fabric marker
Matching Thread
Fabric or Tacky Craft glue
Sewing Machine, scissors, etc
Moustache, hands and feet template print-out (click here)
Instructions
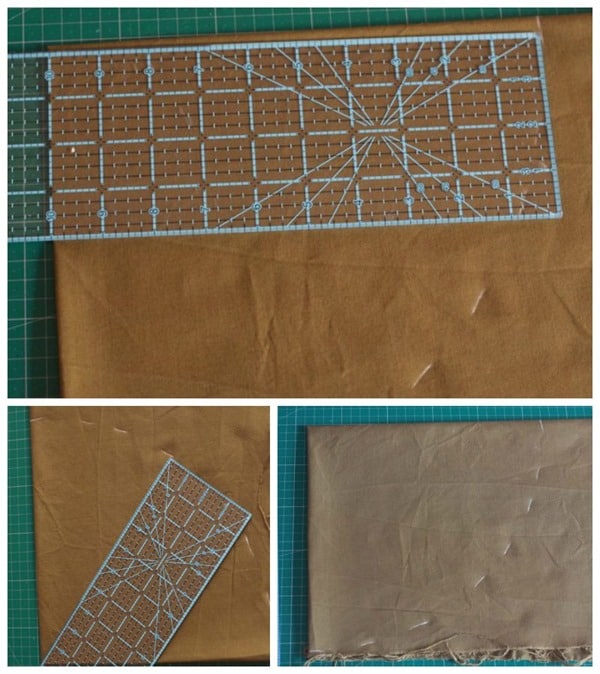
Fold 0.5m of mustard-coloured fabric in half, bringing the selvedges together, and then in half again, bringing the cut edges of fabric together. You should end up with four layers of fabric.
Measure 10 inches (25cm) from the double-folded corner at regular intervals to mark out a circle. Cut out the fabric to make a circle.
Repeat for the a second 0.5m section of the mustard fabric.
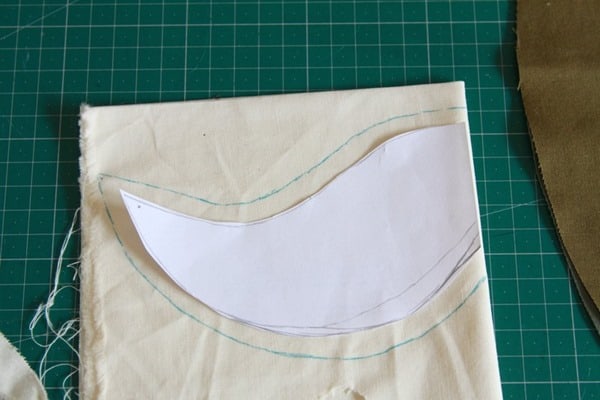
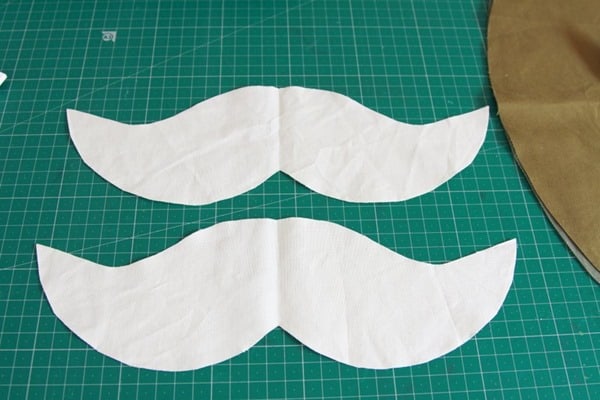
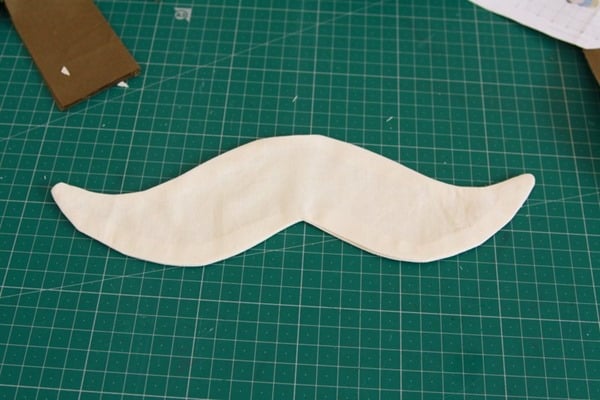
Cut out the moustache template, and cut two moustaches on the fold from white fabric. Note: the templates include seam allowances, the one I used above didn’t.
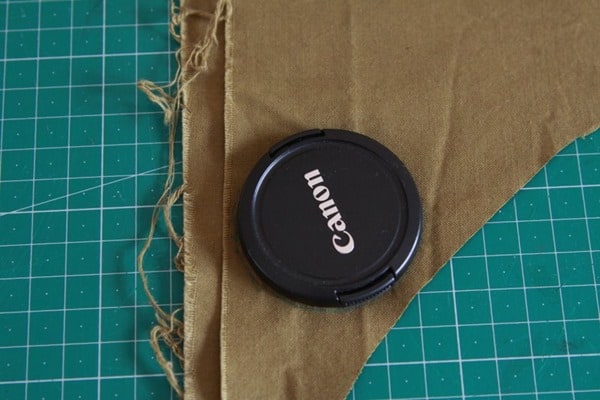
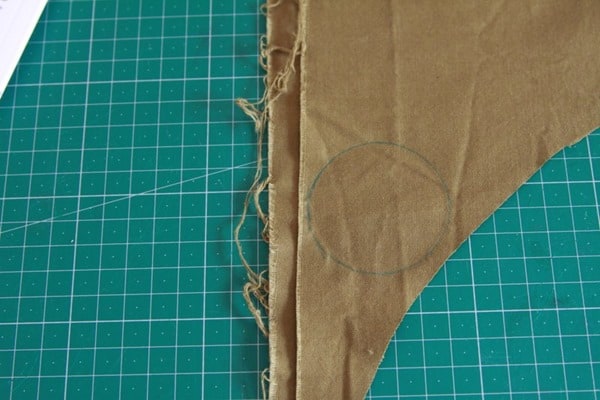
For Mr Slow’s nose, I found my camera cap was the perfect size, but I’ve included the nose in the printable template!
Cut two circles from the mustard fabric:
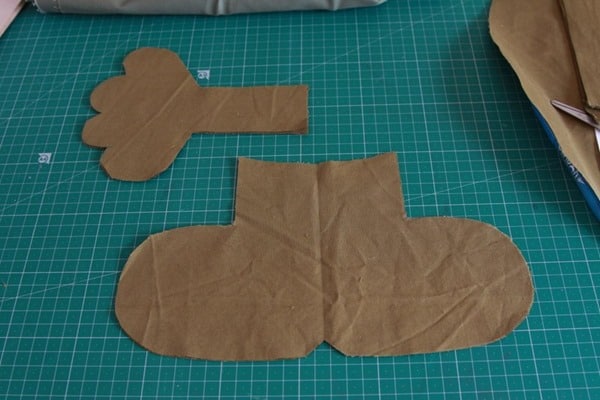
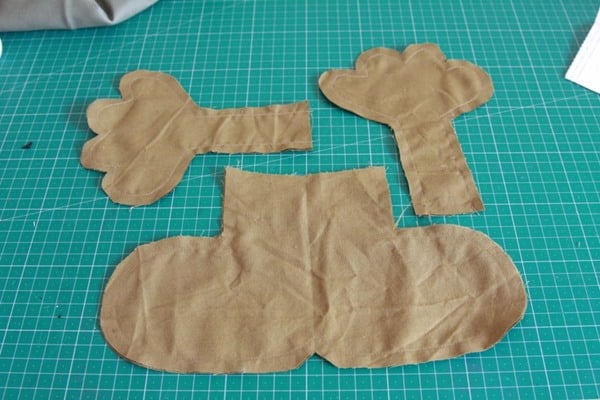
Cut 4 hands and 2 feet on the fold from the mustard fabric:
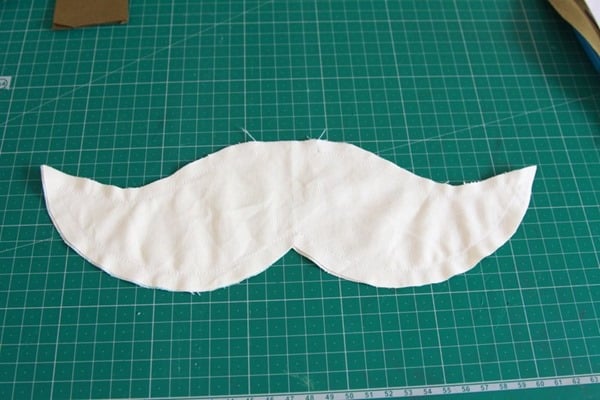
With right sides together, sew the two pieces of the moustache together, leaving a 2 inch (5cm) opening for turning:
Clip and notch the curves, and then turn the moustache right sides out:
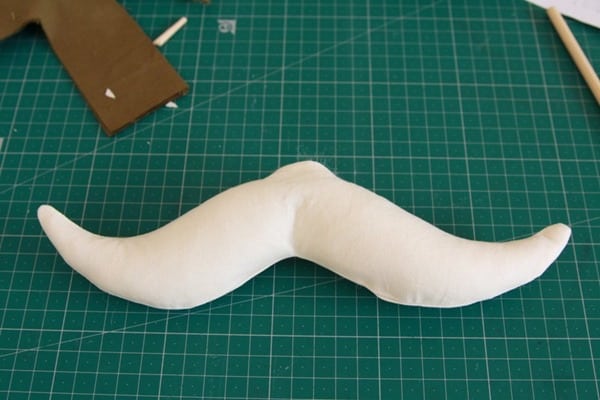
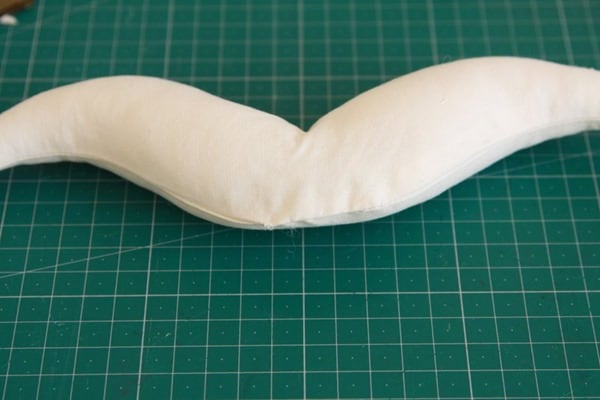
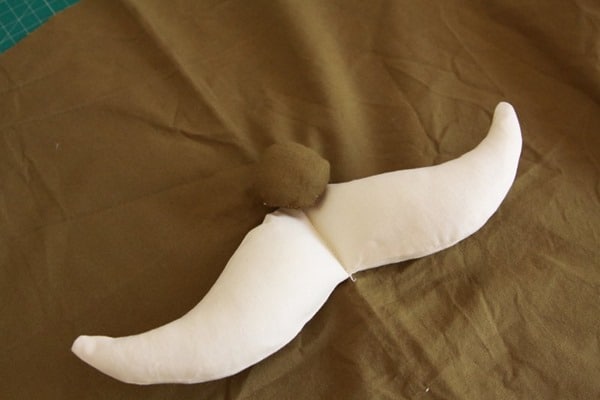
Give it a quick press to smooth out the seams, then stuff with polyfill:
Hand-stitch the opening closed with a ladder stitch:
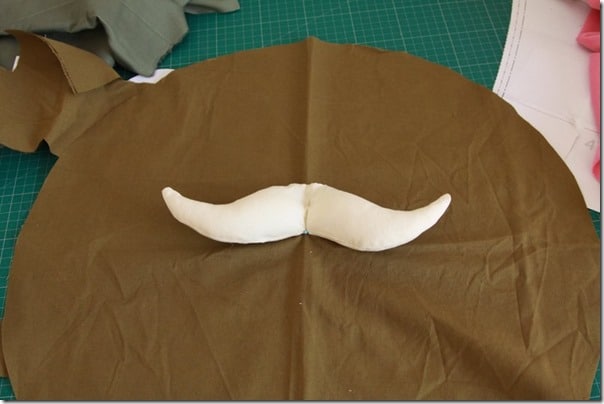
Pin the moustache to the centre of one of the mustard-coloured circles:
Sew a row of stitches down the centre of the moustache (and have a giggle at how funny it looks in your sewing machine!)
With right sides together, sew around the outside of the small circles for the nost, leaving a gap for turning:
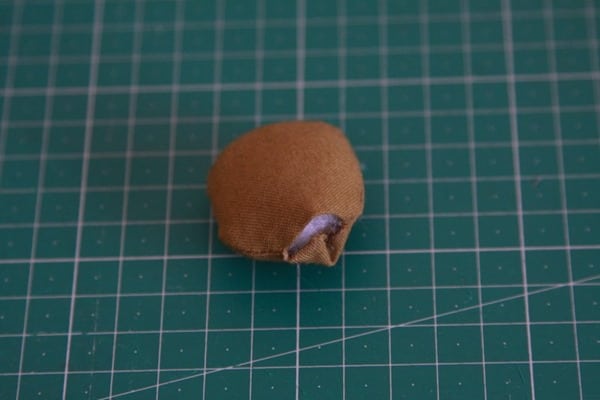
Clip the curves, turn right side out and fill with polyfill:
Hand-stitch the opening closed, then stitch the nose to the body, just above the moustache:
Cut out two small ovals for the eyes, and glue with fabric glue (or sew on if you’re feeling energetic!):
With right sides together, sew around the outside of the arm and leg pieces, leaving the top of the leg and the end of the arm open for turning.
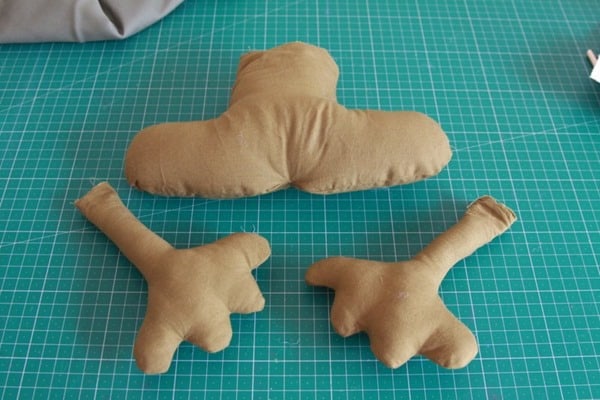
Clip and notch the curves and turn right side out. Sew a row of stitches up the middle of the feet (not shown – I did this after stuffing, and my sewing machine was NOT happy, and I broke the needle – oops!)
Stuff the feet and hands with polyfill:
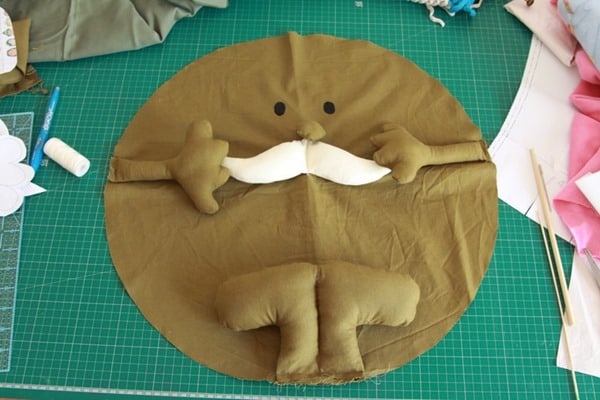
Place the arms and legs onto the face/body piece, with the pieces facing in and the fabric edges lining up, and baste into position:
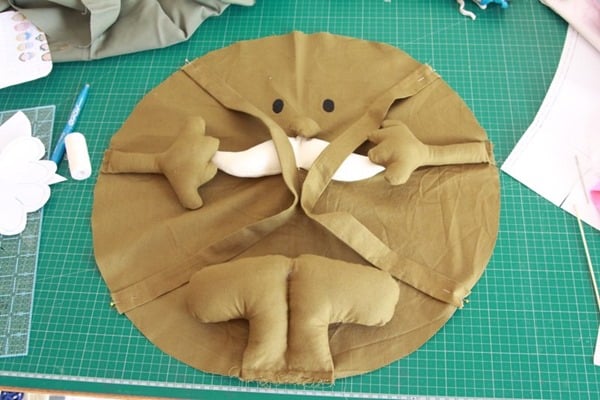
Make two straps by cutting two 7.5cm (3inch) x 40cm (16 inch) long pieces of fabric. Fold in half length-wise, with right sides together, and sew the long edge. Turn the tube right-side out.
Position the straps on the body. After making this one, I moved the straps closer to the top of the head at the top, and at approximately the arm position at the bottom, to make it easier to wear.
Baste the straps into position.
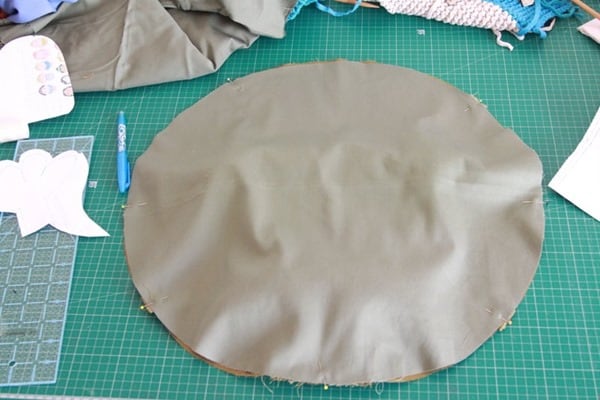
Place the second mustard-coloured large circle on top of the face, right sides together:
Stitch the two pieces together, leaving a 3-4inch (7-10cm) opening at the top for turning.
Turn right side out and fill with polyfill. Mine were fairly lightly stuffed.
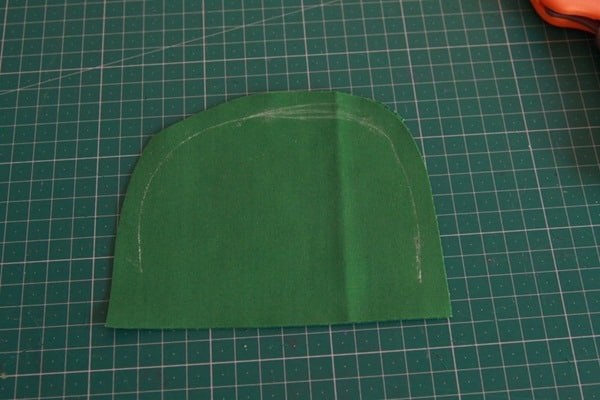
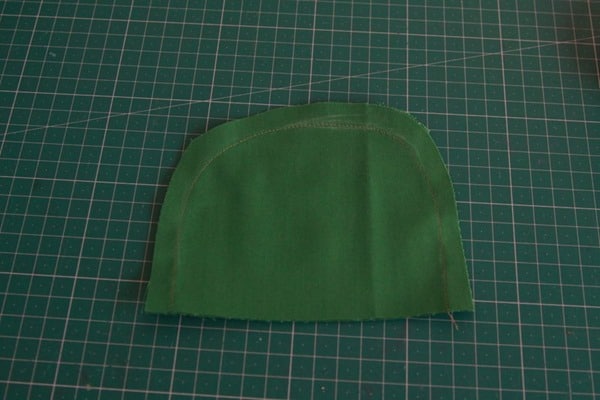
Cut out two hat pieces from green fabric:
Sew the two pieces right sides together along the curved outer edge.
Turn the hat right sides out and stuff with polyfill.
Cut out a long skinny piece of black felt for the brim of the hat.
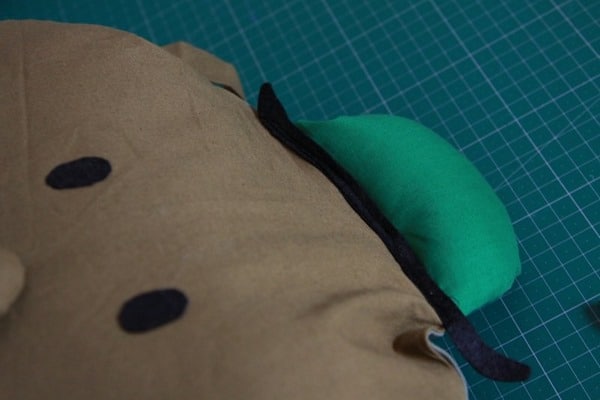
Sandwich the green hat into the opening at the top of the head. Place the black felt piece over the top, and sew into position:
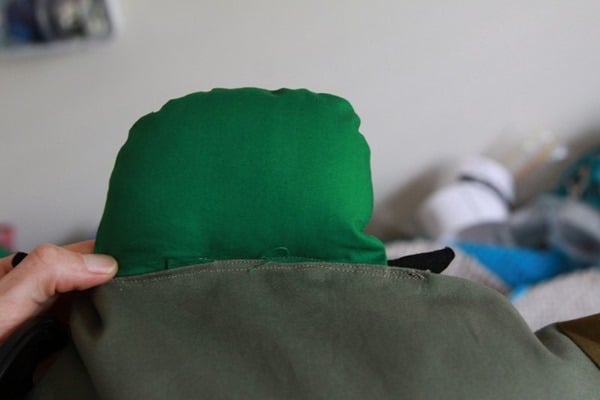
Here’s how to looks from the back:
And there you have how to sew a Mr Men costume!
Modifications for Little Miss Shy costume:
- I used black yarn for the worry lines, nose and mouth. I glued them on, because I didn’t have the time or energy for embroidery!
- I also used black yarn for her hair, with small pieces of pipecleaner sewn into the seams for the sticky-out bits. I wrapped yarn around my 4-inch wide quilting ruler, and stuck some masking tape along the edge to hold it in position. I then cut the yarn to form the individual strands. Using the masking tape, I stuck the yarn to the costume piece, and then sewed it in position – sorry, I didn’t take photos of this bit – I was running short of time. Maybe I’ll make a tutorial another time!
And I had two happy kids heading to school this morning!
- For more costume inspiration, check out my
- on
- .




Oh goodness these turned out absolutely adorable!