How to Sew Butterfly Hair clips
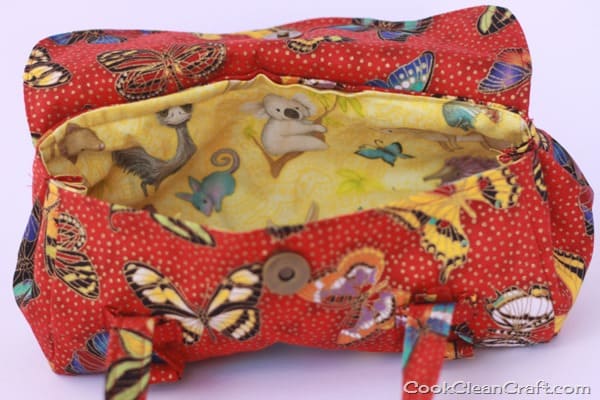
Do all little girls like butterflies? Or is it just me that’s obsessed with them? My niece’s birthday was this week, so of course I had to make her a present. I wasn’t feeling too original or creative, so I went with the same present I made for a one of my son’s friends last year – a Blossom bag:
Red is my niece’s favourite colour (I hope!), and my fabric stash is severely lacking in the red (since I have red hair and a tendency to blush like a beetroot, red is not my favourite colour!). A trip to Spotlight was in order, where I spotted the red butterfly fabric (by Fabric Traditions). It has a lovely gold glitter sparkle to it (which also makes the fabric a bit stiff, but still perfect for a handbag).
I couldn’t find a good coordinating fabric for the lining, so ended up going with a fun Australian animals print (the name wasn’t on my section of the selvedge). My niece lives in France, so I thought it was a subtle way to throw a bit of Australiana into the present.
The pattern is the Blossom Bag from the book Style Stitches by Amy Butler. This project is available as a free download from Sew Mama Sew. I reduced the size of the bag to 60% to make it a good size for a little girl, and I didn’t put the dividers inside the bag, but sewed some pleats into the sides.
But once again, I couldn’t just make a handbag. I had to add an accessory too. The butterflies on the fabric were just so pretty, that I decided the gift needed butterfly hair clips too.
Here’s the tutorial for how to sew butterfly hair clips:
Materials
Scrap of printed butterfly fabric
Scrap of towelling or batting
Alligator hairclip
Thread
D670 Fillet Tape or Hot Glue Gun
Non-slip Hair Grip
Scissors
Sewing Machine
Method
1. Cut around a butterfly, leaving at least 0.5cm around the outside. Cut a similar sized piece of batting or towelling, and a second piece of fabric for the backing.
2. Place the backing fabric wrong side up. Place the batting or towelling on top of the backing fabric, and then place the butterfly on top, right side up.
You may want to pin this in place or tack together with spray adhesive. I didn’t since the towelling was fairly non-slip and I was worried about creating bumps with pins.
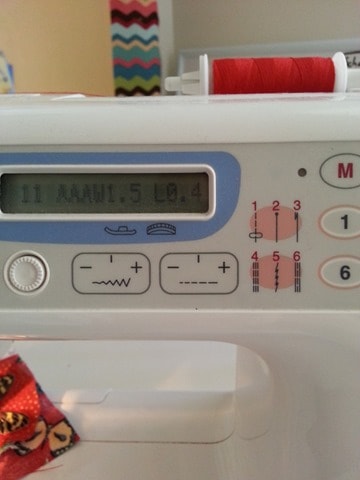
3. Sew a tight zigzag stitch around the outside of the butterfly, getting as close to the edge as possible. I used a stitch width of 1.5 and length of 0.4.
Here’s how it looked when I’d finished sewing:
4. Carefully cut around the edge of the butterfly, being careful not to cut the stitches.
Yes, I really did use my big scissors. They’re sharp and I feel like I have really good control of them. You might prefer to use smaller scissors.
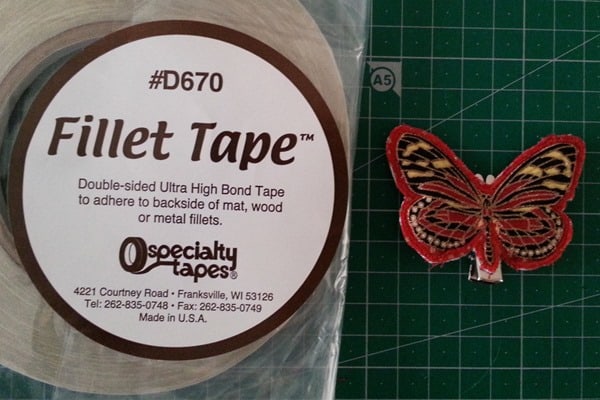
5. Cut a small strip of D670 Fillet Tape. Place the tape onto the hairclip, remove the backing paper and attach the butterfly to the clip. Alternatively, attach with hot glue.
6. Since I used a double-prong alligator clip (and I like how the prongs looked a bit like antennae), I added a non-slip grip on the inside of the hairclip to cover the exposed fillet tape.
And of course, you don’t need to stick with just butterflies. I used the same technique with these birdie clips. Almost any printed fabric shape will work. You could also cover the clip with ribbon before attaching the butterfly.
If you prefer to crochet a butterfly hairclip, check out my free pattern here.
For more fun craft projects, sign up to the Cook Clean Craft newsletter.


