Merry Christmas Banner Tutorial
My parents had one of those (very 70s) gold fringe Merry Christmas banners (I wonder if you can still get them!). I didn’t want to go the gold fringe, but thought we needed a Merry Christmas banner too.
So off I headed to my local chain fabric store to look at the Christmas fabrics. It was mid-December, so there wasn’t a huge range left and it was all pretty awful. So I wandered around looking at random fabrics for inspiration (what a way to kill an hour!) and ended up in the dance fabrics section. This sparkly mesh fabric in red and green just screamed Christmas to me. The banner idea was saved!
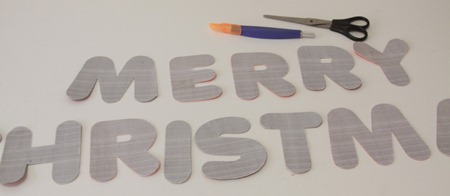
Cutting out the letters was a pain (I wish I had a fancy cutting machine!), but I knew it would be worth it.
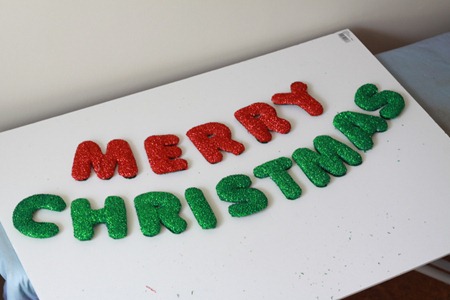
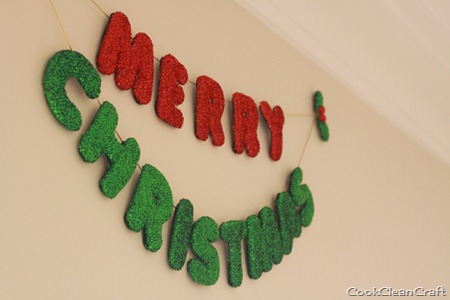
A bit of gluing later, I had a very sparkly happy Merry Christmas banner.
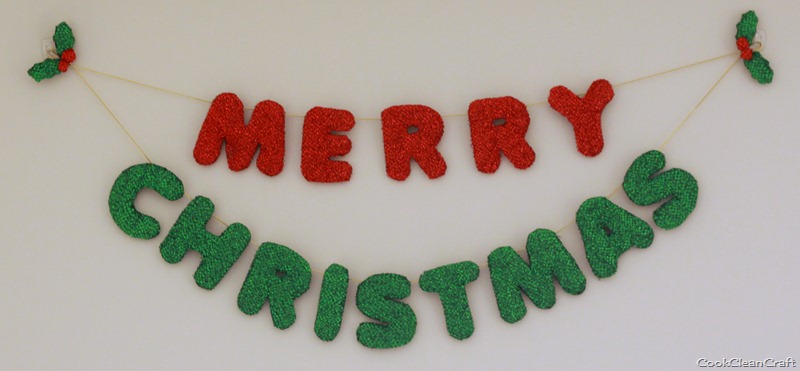
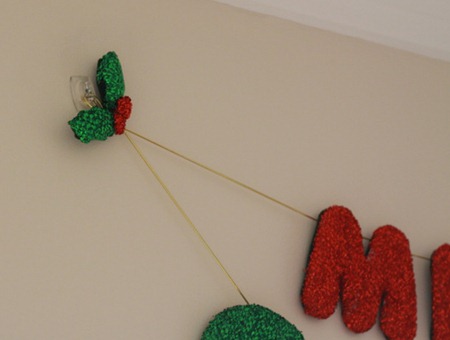
With some holly to cover up my ugly knots!
I seriously love how it turned out. Here’s the tutorial for how I made it:
Materials
Thin cardboard
Sparkly mesh fabric (or other Christmas fabric)
Quilt batting/fleece or other “puffy” fabric
Felt
Cording, string or ric-rac for hanging
Hot Glue Gun and Glue melts
Scissors
Printer/paper (optional)
Instructions
1. Print out “MERRY CHRISTMAS” in the font and size of your choice. I wanted a nice rounded font so I downloaded and used this font in a size of 400 (only 1-2 letters per page when I printed it!). Don’t pick anything too curly or detailed (unless you’re up for a challenge!). Alternatively, you could just sketch out your own letters.
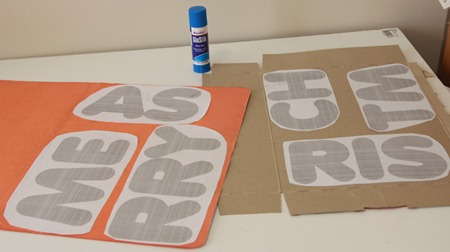
2. Cut out the letters and glue them to your cardboard – then cut them out again. I did it this way so I could fit as many letters on my cardboard as possible. You could glue onto your cardboard before cutting if you want.
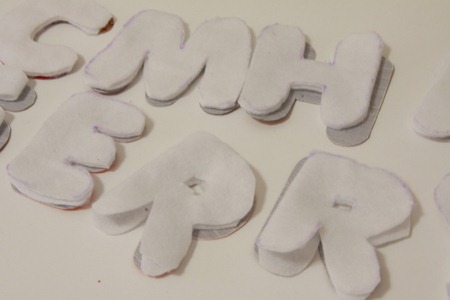
3. Cut out 1-2 layers of quilt batting/fleece for each letter (depending on how puffy you want your letters). Cutting the letters slightly smaller than the cardboard works best (but adds to the challenge!).
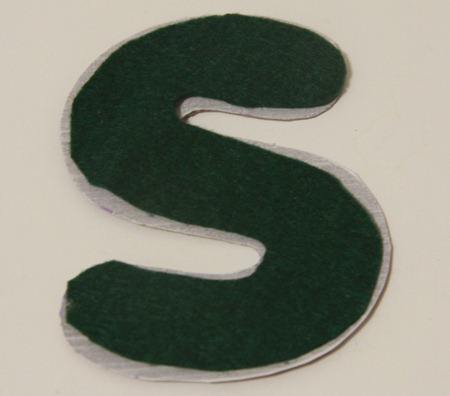
4. Cut each letter out of felt, again, slightly smaller than the cardboard. This is for backing the letters.
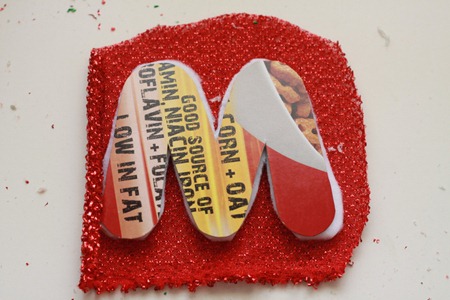
5. Cut a circle/oval of sparkly mesh fabric 1-2cm larger than your letters.
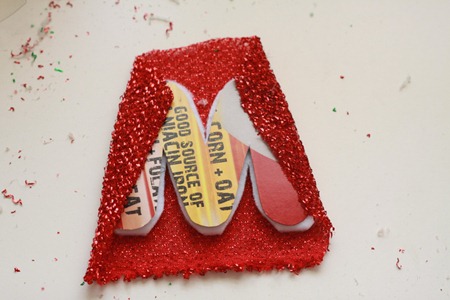
6. Time to get the glue gun! Place your sparkly mesh fabric right side down on your work area. Place your layers of fleece on top of that (right side down), and your piece of cardboard on top of that.
7. Double check that your letters are upside down – don’t want any silly mistakes here 😉
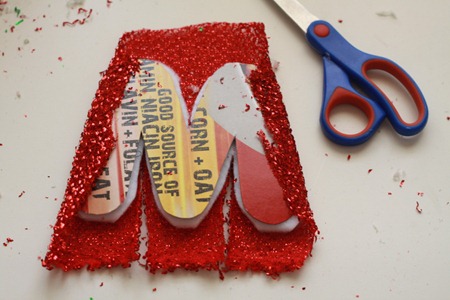
8. Clip the sparkly mesh fabric up to any points or where it needs.
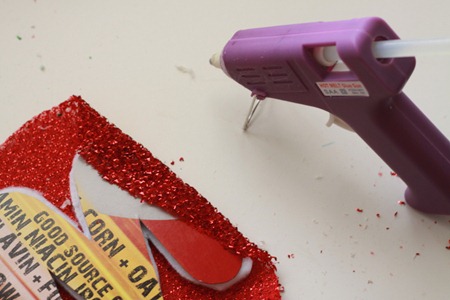
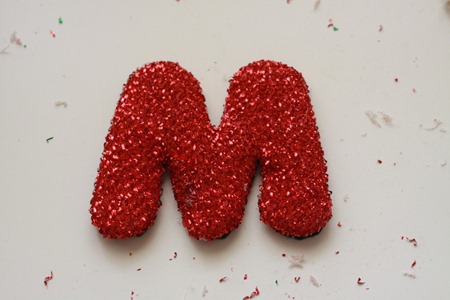
9. Place a strip of hot glue along the edge of a section of the cardboard. Fold and press the fabric onto the hot glue, wrapping around the batting and cardboard. I used a skewer to poke the fabric to avoid burning my fingers (although I still stuck my fingers in the glue at lot!).
10. Continue gluing and pressing the fabric into position, trimming any excess fabric as necessary (I used my son’s scissors – no way my sewing shears are going anywhere near that hot glue!).
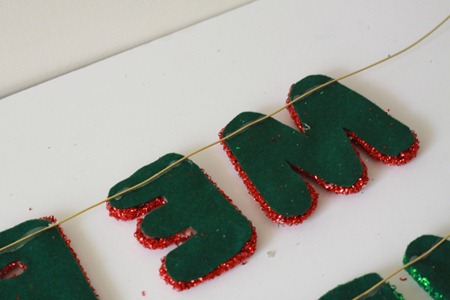
11. When all the fabric is glued on, put a strip of hot glue around all the edges of the letter and glue the felt into position (see photo in later step).
12. Repeat for the remaining letters.
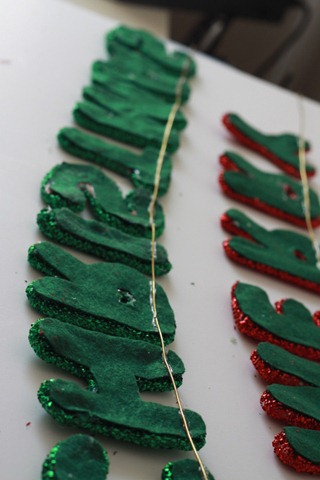
13. Position the letters upside down with the preferred spacing. Add a strip of hot glue along each of the letters just below the top, and stick the cording into position (leaving plenty at each end).
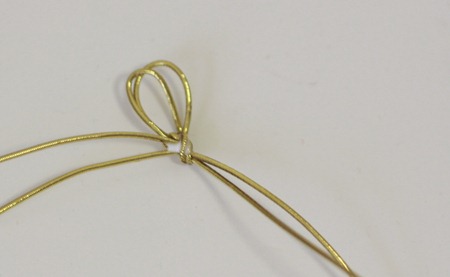
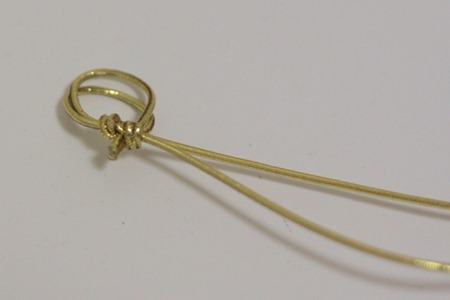
14. Tie a loop into the ends of the cording. I put a little blob of glue on as I didn’t trust my knot to hold, but it’s probably not necessary.
15. Trim off any excess cording.
16. (Optional) Make holly using the same method as the letters and glue over the knots on the loops.
And there you have a very sparkly Merry Christmas sign!
See more of my Christmas decorating here. And for a random question, do you say Merry Christmas or Happy Christmas?

