Peppa Pig Puppet Show {Tutorial}
Did the Easter Bunny make it to your house? Are your kids’ faces covered in chocolate? Did you careful peel the wrappers off the Easter eggs, smooth them out and save them for a craft activity? I hope so because I’ve got a fun craft today.
It’s a version of the Easter egg foil art I made last year. This time around, I’d made something for the kids to play with: a Peppa Pig Puppet Show.
Complete with muddy puddles.
The puppets are made from cardboard and Easter egg wrappers, covered with clear vinyl (non-adhesive book cover).
You don’t have to limit yourself to Peppa Pig – this works with any simple drawing. Or you can make it as complicated as you like. When I was a kid, I made Strawberry Shortcake and the whole Simpsons family (wish I had photos of them!).
For more tutorials like this, click here to sign up to my newsletter. Here’s how to make a Peppa Pig Puppet Show:
Materials
Thin cardboard (eg breakfast cereal box)
Different coloured Easter egg wrappers
Permanent Markers
Non-adhesive book cover/clear vinyl
Wooden popsicle sticks
Glue
Sticky tape
White out/liquid paper
Method
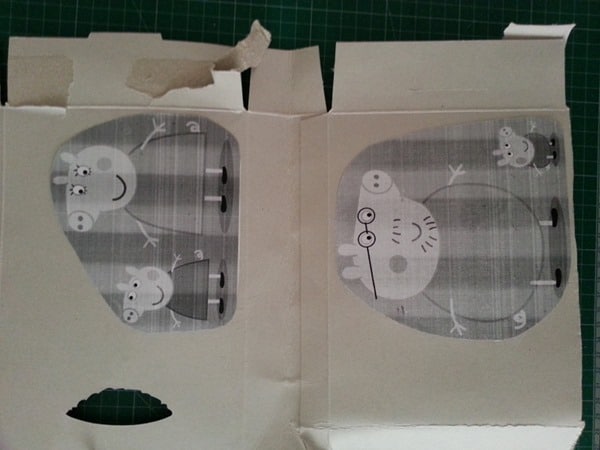
Do a quick search with Google images, select the image you want, and then click the “view image” button. Right-click on the image, select “Save image as…” and save the file to your computer.
Open the image in your preferred image editor (or add the image into a word document). I used the Paint app that comes with Windows. Resize the image to whatever size you like and print.
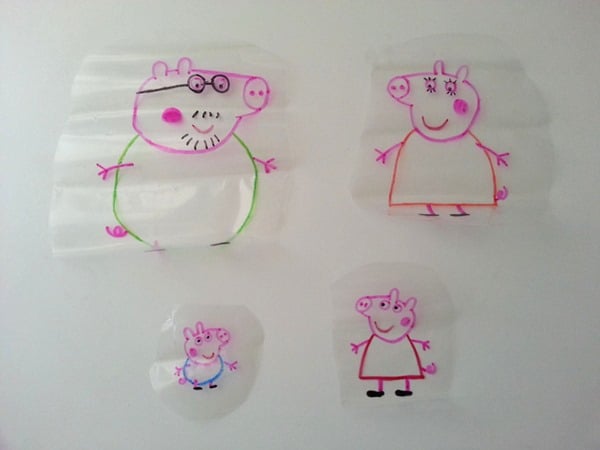
Trace the image onto the non-adhesive book cover using permanent marker. Normally I’d trace all the lines in black, but since the Peppa Pig cartoon has coloured lines, I went with that for effect.
Lots of small strokes work better to get a thick, dark line. Thicker lines make the next steps easier!
Roughly cut out the images and glue to the cardboard. Make sure the whole back of the image is covered so that the edges don’t peel up.
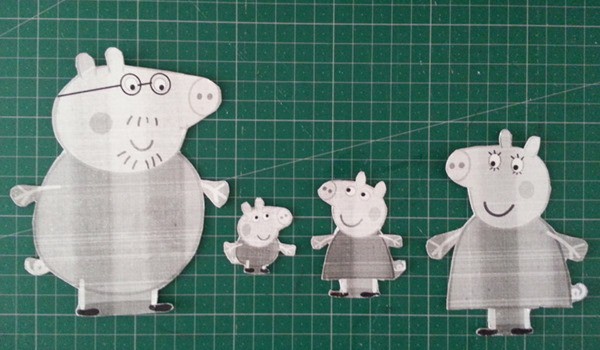
When the glue is dry, cut out the images. I start with a rough cut:
And then cut out the details. Leave space around small details such as the hands, tail and between the legs.
Roughly cut around the images drawn on the clear vinyl.
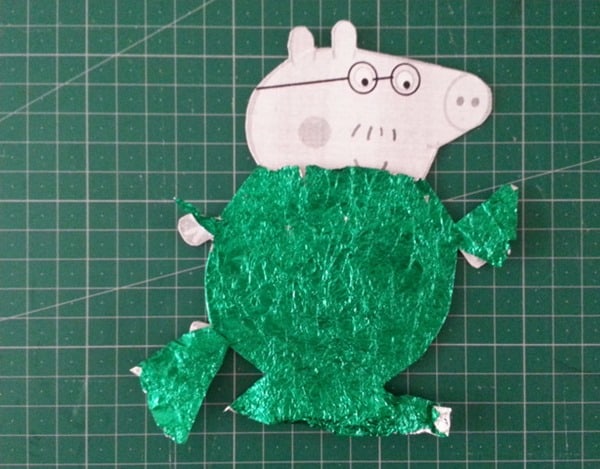
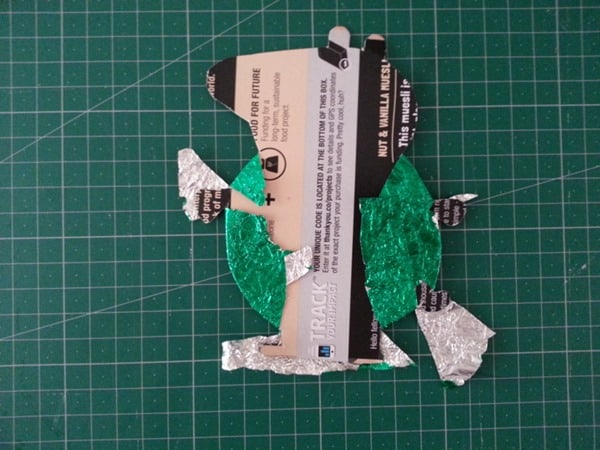
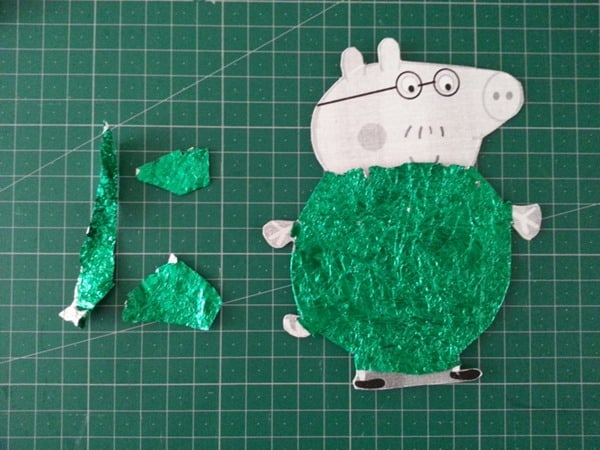
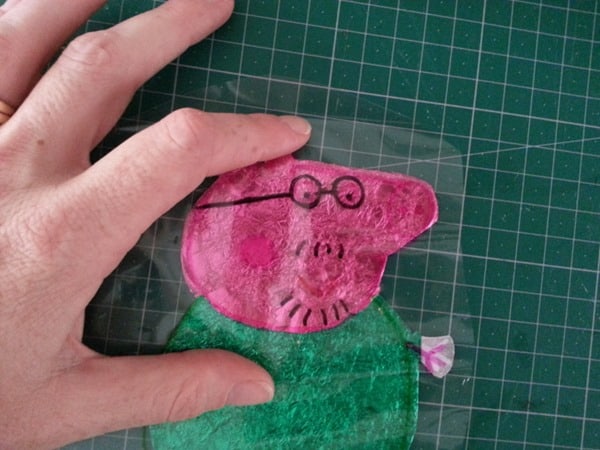
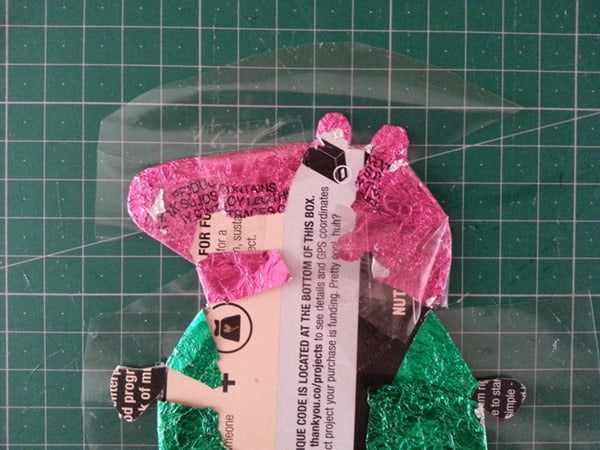
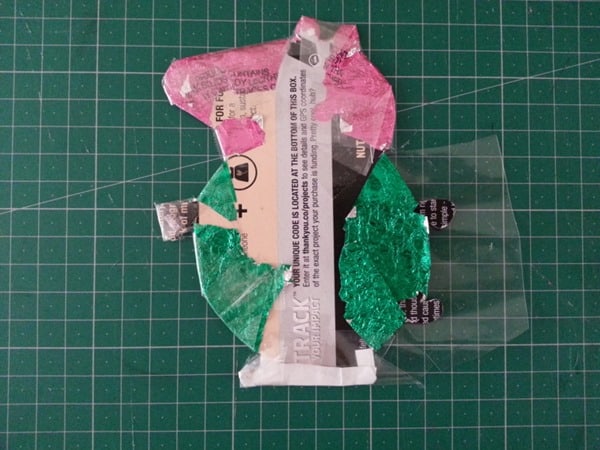
Now start covering each section with Easter Egg wrapper. You can overlap different sections. Here’s I wasn’t too fussed about getting the neck section perfect, since the pink would just go over the top.
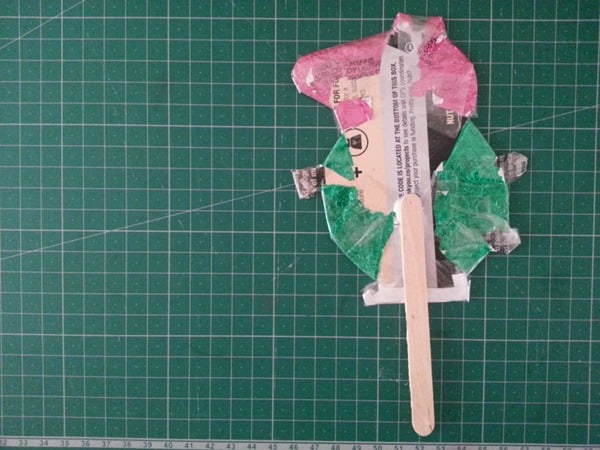
Wrap the foil around the edges and stick with sticky tape on the back to hold into position. Take care not to rip the wrappers, but if you do, just place another small piece on top. With the crumpled texture of the foil, you won’t notice it.
Fold under and tear sections off that you don’t need.
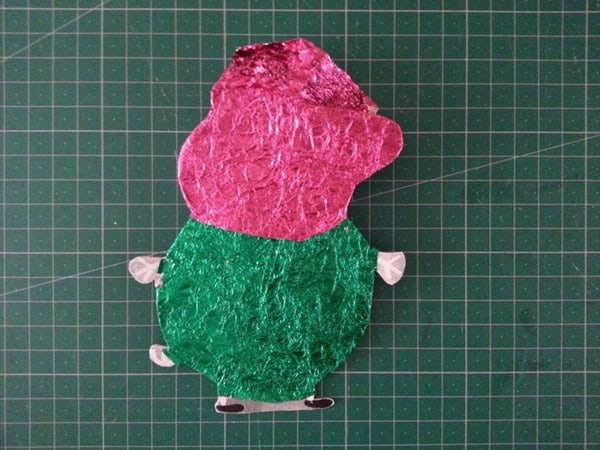
Then work on the next colour/section.
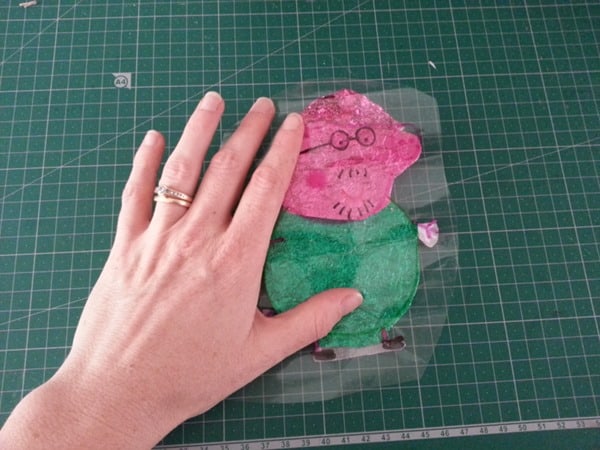
Occasionally, place the plastic over to see how everything is lining up.
I wasn’t happy with how the chin was lining up, so I sticky-taped small sections straight to the clear plastic.
The wonderful thing about Peppa Pig is each character is only two colours! So I was all done with Daddy Pig.
Since my background sections printed so grey, I painted white out over the top of them.
Place the cardboard on top of the clear plastic, lining up the features. To hold it in position, I fold up the plastic at the bottom and sticky taped it in position and then put another piece of sticky tape at the top.
Clip the curves and corners of the clear plastic up to the edge of the cardboard.
Fold over each section and sticky tape to the back.
Repeat for each section…
Until it’s all done.
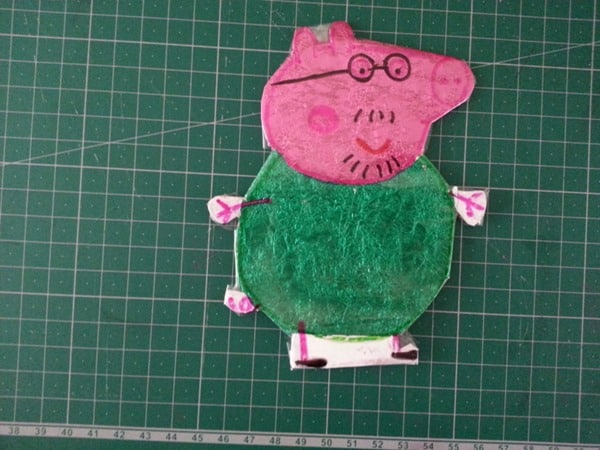
I chose not to get too fiddle between the ears and around the legs, and left some clear plastic showing. It wasn’t worth the fiddliness and hassle to me.
Flip is over and see how it looks:
Some of my marker had rubbed off a bit, so I went over the lines again with permanent marker.
Glue a wooden popsicle stick to the back.
Then it’s time to start the show:
For more fun crafts, sign up for my newsletter.









How fun! 🙂
It is not my first time to pay a visit this web page, i am browsing this site dailly and obtain pleasant information from here everyday.