Sew a quick and easy cushion cover
It’s a New Year, and I’ve been in a craft funk (since my Advent calendar, actually). It’s time to get back onto the sewing bandwagon, starting with a simple project – cushion covers.
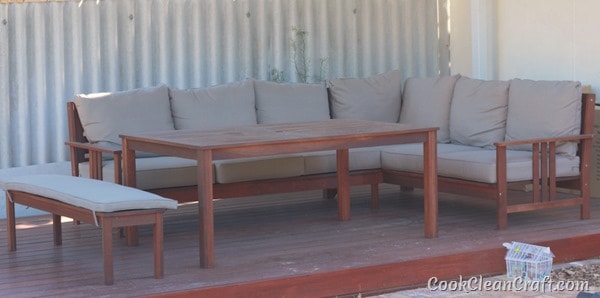
We’ve recently made a few changes to our backyard, ripping down an old (asbestos-ridden) lean-to shed, and replacing it with decking and a patio, complete with a comfy outdoor lounge. But it looked a plain and boring. It needed a splash of colour!
The prices of outdoor cushions at some of the places we looked when buy the lounge was phenomenal! Good thing I can make my own.
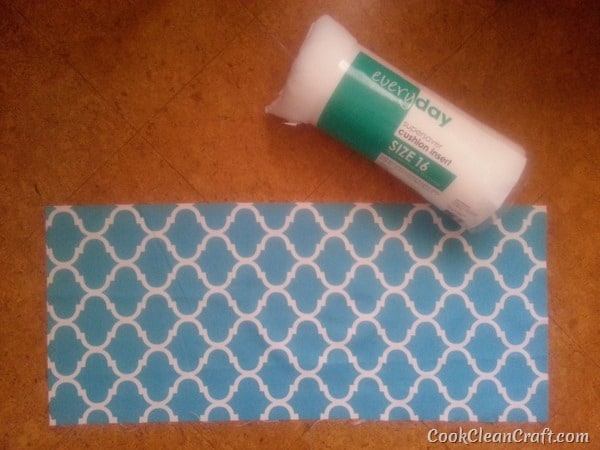
Quick trip to the fabric store, and I bought waterproof canvas in a few bright colours and prints. I don’t plan on leaving these pillows out in the wind and rain, but a good outdoor fabric was still necessary.
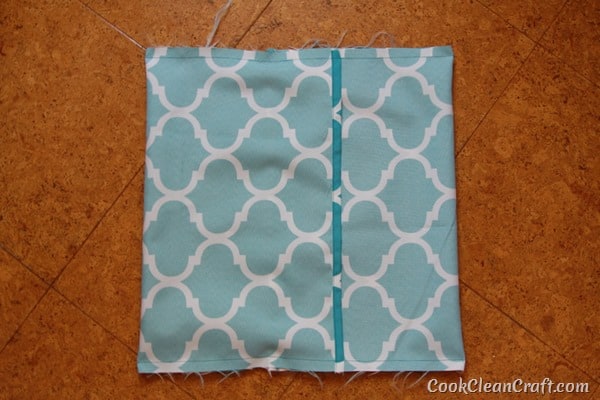
I wanted a simple project, so these are an envelope-style cushion – no zippers or buttons. I whipped up a stack in an hour or so. Here’s how the “envelope” looks on the back:
And now our outdoor area looks happier and brighter!
I just need something to decorate that table! (And maybe pull out those giant weeds down the back…)
Here’s the tutorial for how to sew a quick envelope cushion cover:
Materials
- Fabric the same length as your cushion insert (see Step 1 for more details)
- Cushion insert (I used four 16” (41cm) square inserts and one 22” (56cm insert)
- Coordinating thread
- Scissors
- Sewing machine
Method
1. Cut a rectangle of fabric the same width as your cushion insert (for an over-stuffed pillow – see note below). For the length, use 2x the cushion insert and then add 4 inches (10cm) (for cushion inserts up to 18” (46cm)) or 8 inches (20cm) (for cushion inserts over 20” (51cm)).
| Cushion size | Fabric width |
| 16” (41cm) | 2 x 16 + 4 = 36” (92cm) |
| 18” (46cm) | 2 x 18 + 4 = 40” (102cm) |
| 20” (51cm) | 2 x 20 + 8 = 48” (122cm) |
| 22” (56cm) | 2 x 22 + 8 = 52” (132cm) |
Note: For an over-stuffed puffy cushion, cut the fabric the same width as the insert. After the seams are sewn, the cushion cover is smaller than the insert, creating a puffier pillow.
If you prefer a less-stuffed pillow, add 1-2 inches to the dimensions listed above.
2. Press (and/or pin) a 1/2” (1cm) double-fold hem on the two short ends of your fabric rectangle. (That is, fold the fabric in 1/2” and press, then fold it over again and press again)
Note: I chose to only press the fabric for two reasons – to avoid putting too many holes into the fabric to ensure it stays waterproof, and because I’m lazy and hate pins!
3. Sew the two hems into place.
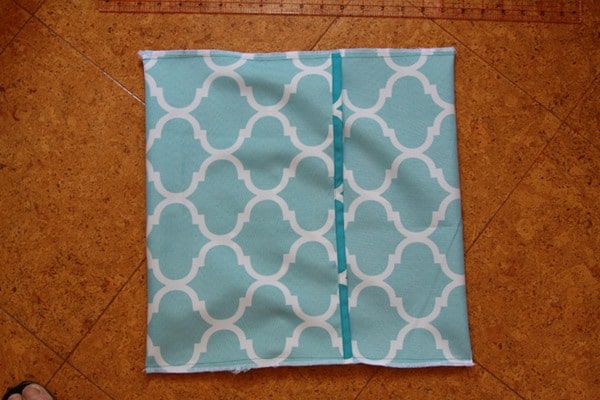
4. Fold the two sides of the fabric in to the middle, with right sides together, overlapping the two hemmed edges.
The fabric width should be 1” smaller than the fabric height.
I used bulldog clips to hold my fabric in place (once again avoiding adding extra holes to the waterproof fabric by not using pins).
I also pulled the end of the middle layer of fabric out a bit (see below). This helps stop the envelope gaping with a puffy cushion insert.
5. Sew the two side (top and bottom?) seams with a 1/2” (1cm) seam allowance.
6. Finish the side seams with a serger/overlocker or zigzag stitch.
7. Turn the fabric right way out through the envelope slit in the back. You may need a chopstick or knitting needle to poke the corners out.
8. Add your cushion insert, and your cushion is done!
Sign up for the Cook Clean Craft newsletter and get notified of all my sewing tutorials, direct to your inbox.


Great Tutorial. I need some cushions for our outdoor chairs. Shall be making some to be ready for the sunshine. Thank you.