
Big Boy Dining Chair Booster Seat
We needed to get the Little Man out of the high chair when Little Miss started solids, but our dining chairs look like this:

The first time Little Man sat one of the chairs, he leaned back and freaked out when he didn’t get any back support, and refused to sit on a big boy chair again. Crafty-Mum was on the case, and whipped up this with items from her stash (why am I referring to myself in the third person?):


Here’s the full tutorial:
Materials
Dining Chair
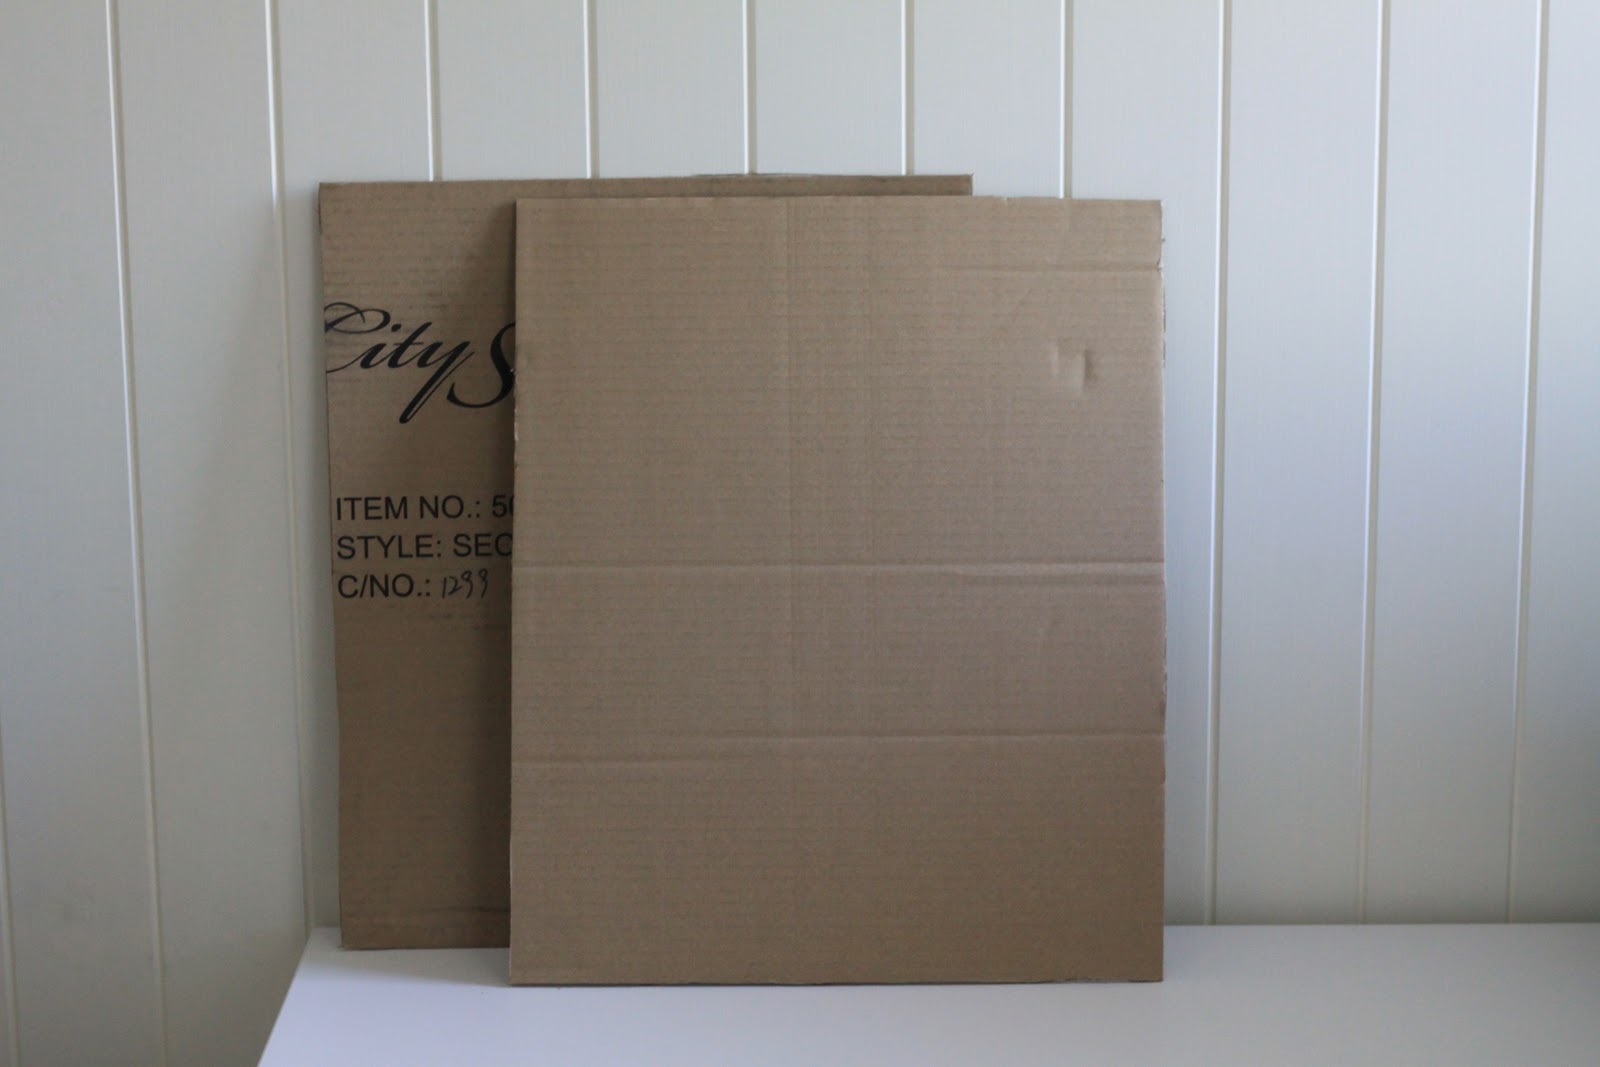
Cardboard (2 pieces 42cm x 50cm for my dining chair)
Approx. 1 yard Fabric (I used Michael Miller Zoology in Lagoon)
Heat’n’Bond Iron on Vinyl (Edit: see follow up post here for comments about this)
Glue
240cm Bias tape or ribbon
Cushion insert
Quilt batting
Sticky Tape
Sewing machine/thread
Iron
Procedure
1. Measure chair back and seat. I wanted the back to sit just below the top of the posts, so the back measured 42cm (16.5”) wide and 50cm (20” tall). The seat was 42cm (16.5”) square (or close enough to square.
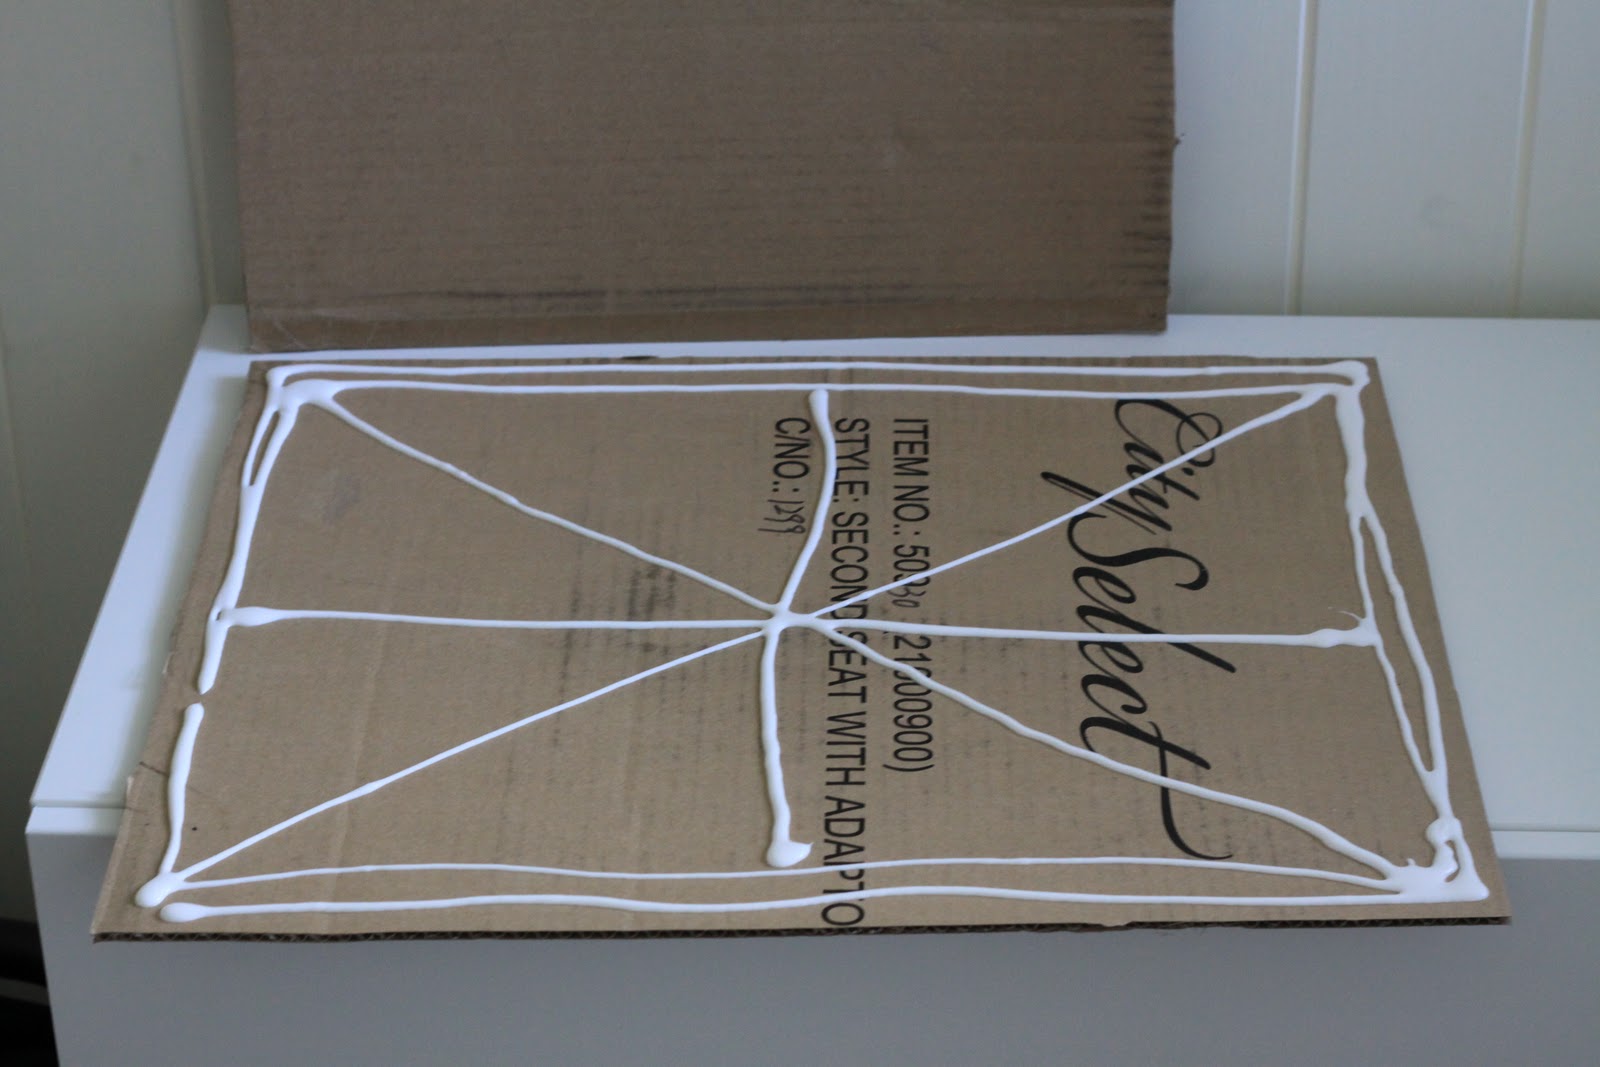
2. Cut two pieces of cardboard 50cm x 42cm, and glue together. I was worried a single piece of cardboard would bend/fold when Little Man put the chair to the test and thought it would be stronger with 2 pieces.


Note: I actually had 41cm square cushion inserts for another project that I haven’t got around to making, and I wanted the booster cushion to be slightly over-stuffed, so I went with 40cm square for the cushions. 2cm seam allowance is actually 1cm on each edge of the pieces.
4. Conveniently, the Heat’n’Bond Vinyl I had was 42cm (17”) wide. So I cut a 42cm square for the top of the cushion, 2 x 26cm wide by 42cm high rectangles for the back of the cushion, and a 42cm wide by 52cm high piece for the back of the chair. (I decided t0 skimp and not put vinyl on the back of the chair back.)
5. Iron vinyl onto the right side of the fabric pieces, following the instructions on the pack. I applied the vinyl to the centre of the fabric for the chair back so that the seam would run down the middle of the back of the chair back (I hope that makes sense!).

6. Cut 4 x 60cm long pieces of ribbon or bias tape for the ties.
7. With right sides (vinyl-covered( together, pin and sew the two long edges of the cushion cover together.

8. Fold two pieces of ribbon or bias tape in half and sandwich folded end in the seam allowance of one side of the cushions, with remainder of ribbon lying between the fabric pieces. Pin in place and sew across edge of cushion

9. Pin and sew across remaining edge of cushion.

10. Turn pillow right sides out and iron (with paper over the vinyl!) to get out any wrinkles in the vinyl.
11. For the chair back, with right sides together, sew the long side of the chair back fabric together.

12. Fold out the chair back so that the previously-sewn seam is at the centre of the back piece and the vinyl section is centred at the front (with the cover fabric inside out). Fold two pieces of ribbon in half and sandwich between the two layers of fabric at the top of the chair bag (with the remainder of the ribbon inside the fabric. Pin the ribbon into place and sew across the top of the chair.

13. Hem (or just overlock/serge – I was feeling lazy) the bottom edge of the chair back.
14. Turn the chair back right-way out and press (remembering to use the pressing paper on the vinyl!).
15. Cut a piece of quilt batting 55cm x 90cm. Fold in half and tape (or glue) to the glued-together cardboard (to add a bit of padding to the chair back). I used stick-tape as I want to re-use the batting when he out-grows the booster!
16. Slide cardboard piece into back cover and tie to back of the dining chair. Place cushion insert into cushion cover and tie to chair.
16. Place small child on top of chair and a plate of food in front of the child. Stand back and admire your work (it’s up to you whether you admire the small child, the food or the chair back and booster cushion).

P.S. Apologies for the lack of photos of the steps, I wasn’t sure how it was going to work, and just wanted to the project done! I tried my best with some sketches! Let me know in the comments if it doesn’t make sense.
Edited to add: P.P.S See my follow up post here for changes that I’d make if I were to make this again!
SO clever! I love that you can wipe it clean. And how adorable are your littles there??
Wow! I’m super impressed!!
Oh my gosh! I hate HATE that I can’t sew! This would be prefect for us right now. 🙁
Thanks! Wipe clean is definitely needed in this house at the moment.
What a cute idea! I love this! I know this is going to be a problem with our kitchen table in a couple years so this is a great solution.
Wow! What an awesome idea! I love the fabric and the pictures are great!!! This might inspire me to cover my dining room chairs I’ve been thinking of doing for months…
What a great idea!! Oh and good luck in the iron crafter too!
I would love if you came over and linked this project to my weekly Round Tuit party at:
http://jembellish.blogspot.com/
Have a great week!
Jill @ Creating my way to Success
What an amazing job here! I found your post through The Girl Creative. So glad I did – I have never thought to see if there was a vinyl like this. What an inspiration!
This is such a great idea and so do-able!!! Thank you so much for sharing.
I am now following you from the Girl Creative Linking Party.
Please follow me at:
http://www.daughterbydesign.blogspot.com
That is such a smart idea! I’m keeping this one in mind for when my little guy is a little bigger! Thanks for the tutorial!
Rachel @ Maybe Matilda
I featured this today over at Today’s Top 20!
Amanda
http://www.todaystoptwenty.blogspot.com
Fantastic idea! Many I couod have used this a couple of years ago. Genius!
Holly
504 Main
You made the top 5 at The Iron Crafter! Congrats!
http://firefliesandjellybeans.blogspot.com/2008/05/iron-crafter-vinyl-top-5.html
Absolutely awesome! I shared your link on my wall at http://www.facebook.com/keepcalmcrafton so other people can come and see the ingenuity that you have 🙂
hi
I stumbled across your page and love it
is it ok if I show pics from this post and link to your site?
best wishes
open house blog, Norway
http://www.apenthus.blogspot.com
http://www.foreldremanualen.no
I don’t know how I missed this one! Great idea and how cute is the big boy photo! Precious