Frozen-inspired Elsa Costume {Tutorial}
I promised Celeste I’d sew her an Elsa costume (and boy, did she nag me until I got it done!). So here it is:
Kids costumes are often difficult for kids to put on by themselves. Being the lazy parent that I am, I went with a shirred back for the dress (similar to my Peaches and Cream Barbie outfit). No buttons or velcro to do up, much easier for a three year old to put on!
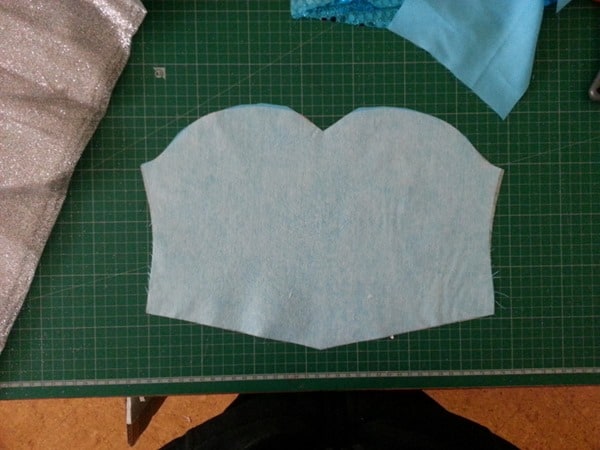
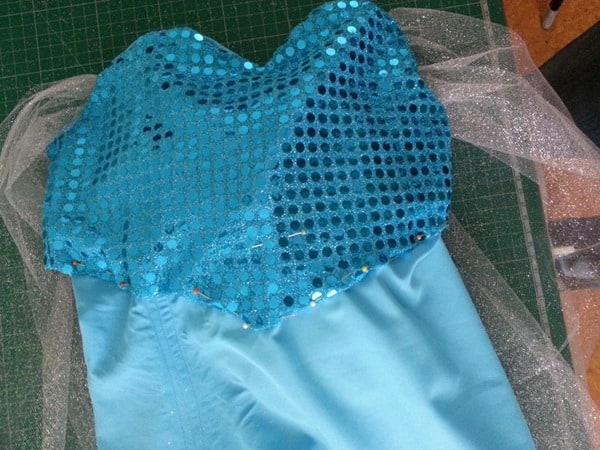
I didn’t bother with sleeves for the same reason (and the glitter tulle I used was a bit stiff, I was worried it would get torn too easily). The skirt is A-line, with a split up the front (which I put on the wrong side – oops!) and the bodice is fully lined, has a heart-shaped neckline and V-shape at the bottom.
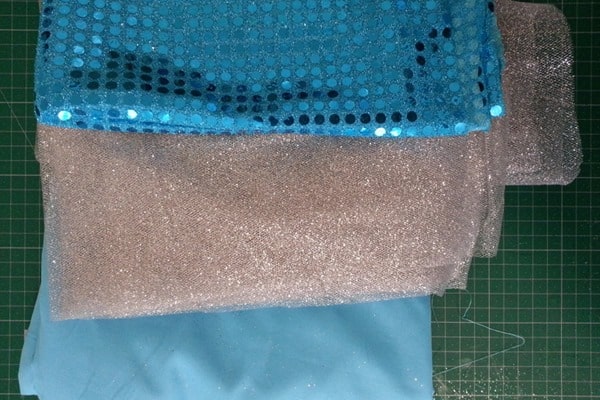
I used a sequined fabric for the bodice and costume satin for the skirt (since it was cheap!).
It falls down a bit at the front after a while, so I might add some elastic straps to hold it up (if I ever get around to it!).
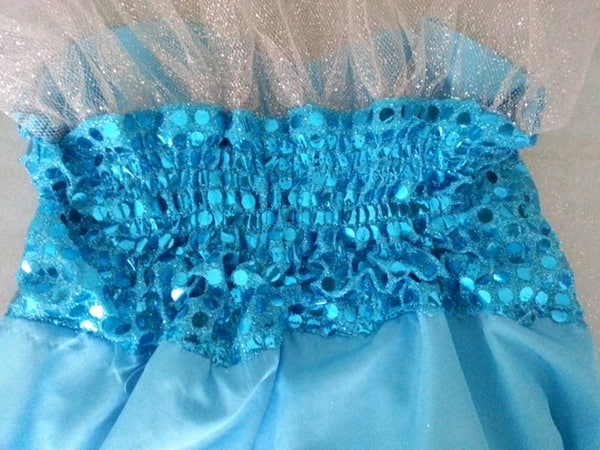
And not unsurprisingly, the sequin fabric doesn’t shir that well – I’d make the back bodice from the satin next time. Oh well, Celeste still loves it!
Here’s the tutorial for how to sew an Elsa costume:
Materials
30cm Sequin fabric
1m Costume Satin
1m Glitter tulle
Shirring elastic
Medium weight interfacing
Matching thread
Sewing Machine, scissors etc
Method
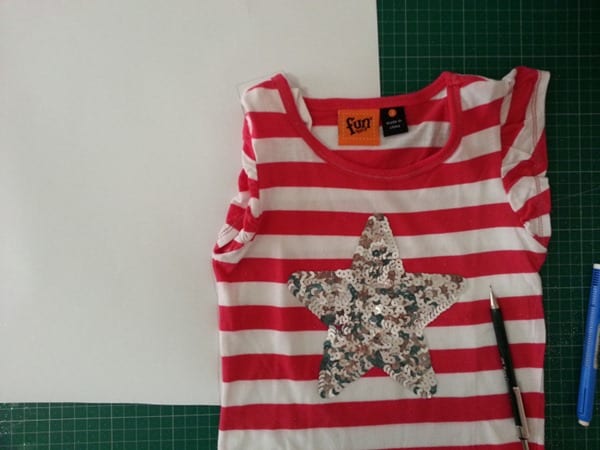
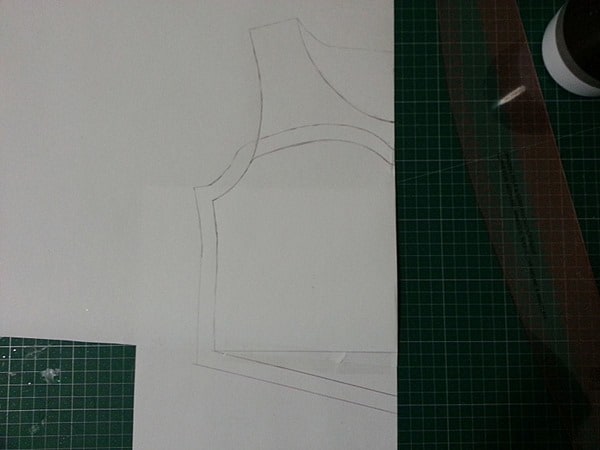
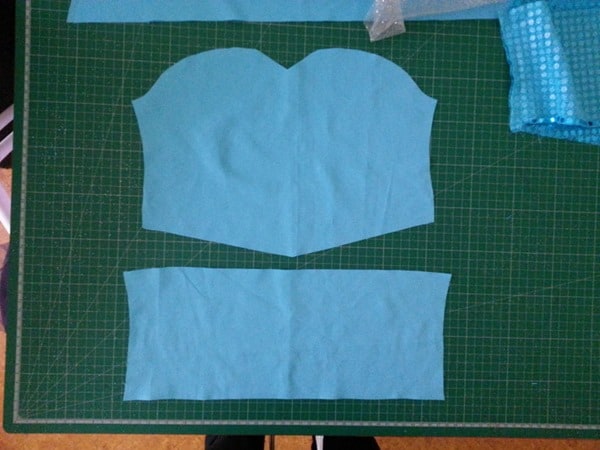
1. Trace a basic bodice pattern from a T-shirt, stopping at about the waist. Note, this is a loose-fitting T-shirt and the bodice will be tight-fitting once it’s shirred.
2. Sketch out a heart neckline and V-shape at the bottom. Add on seam allowances, and cut out your pattern.
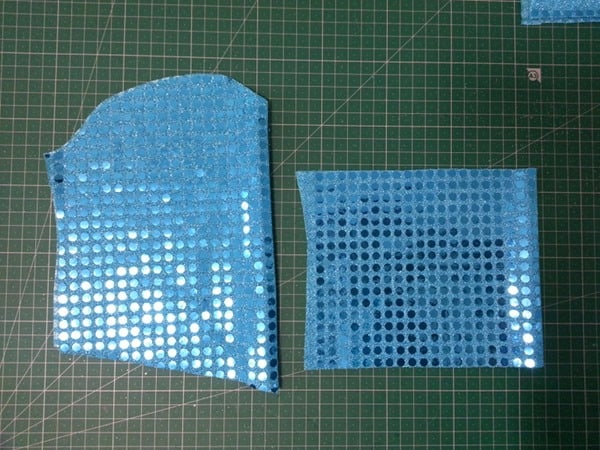
3. Cut a front bodice from sequined fabric. For the back bodice, draw a line directly across from the top of the side seam and another line from the bottom of the side seam. I also made the back bodice about an inch wider than the front.
4. Cut a back and front bodice from costume satin for lining.
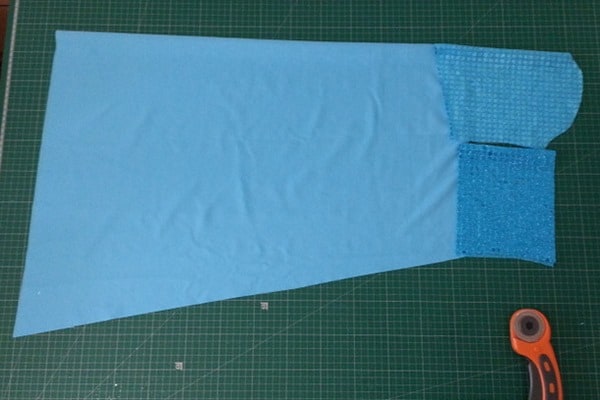
5. For the skirt section, mark the same width as the two bodice pieces at the top. Cut a diagonal line from that point down to your preferred length for the dress.
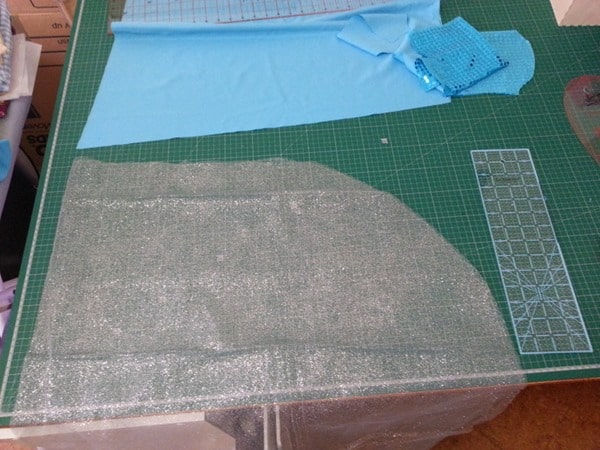
6. For the cape, cut a rectangle of tulle at the desired length and then round off the bottom corners.
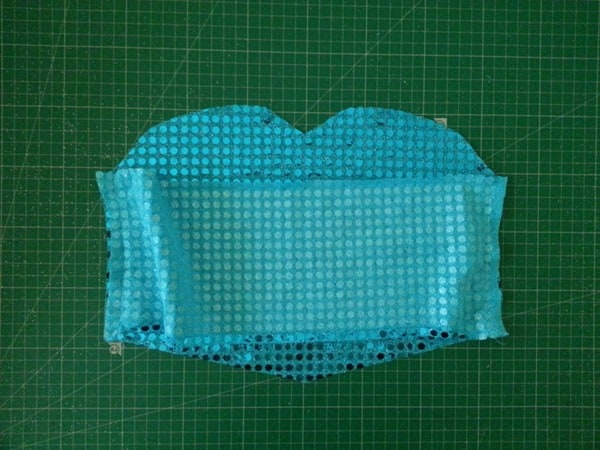
7. Sew the two bodice side seams.
8. Apply medium-weight interfacing to the front bodice lining. This will give the front a bit of stiffness to hold the heart-shape.
9. Sew the bodice side seams.
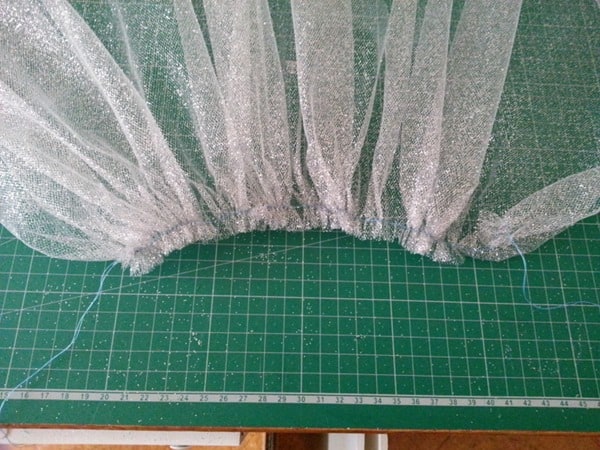
10. At the top of the cape piece, sew a long gathering stitch. I prefer to increase the tension on my sewing machine so the fabric gathers itself.
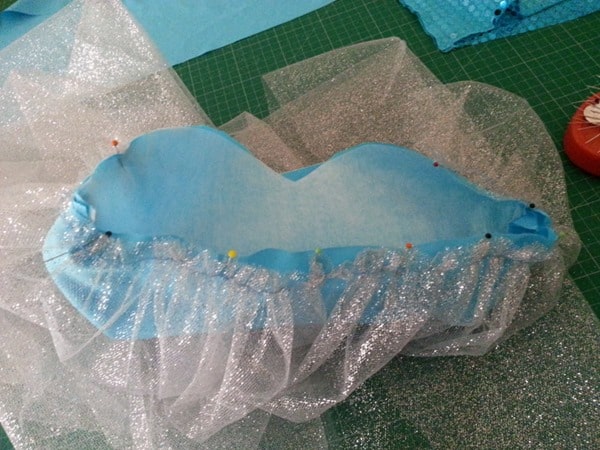
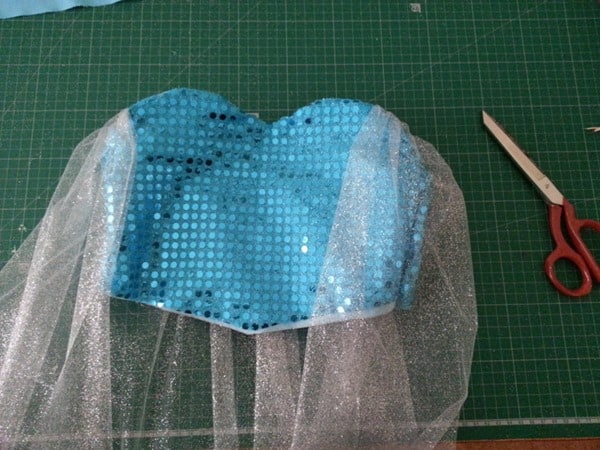
11. Adjust the gathers as required and pin to the right side of the bodice lining, starting about a third of the way along the front, going around to the back and then across the other front side.
12. Sewing a basting stitch to attach the cape to the bodice lining.
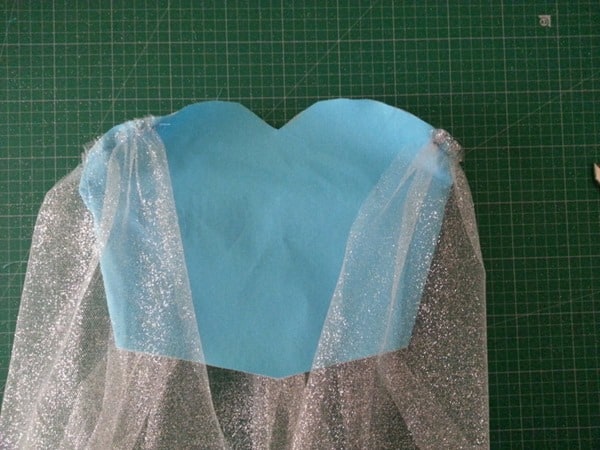
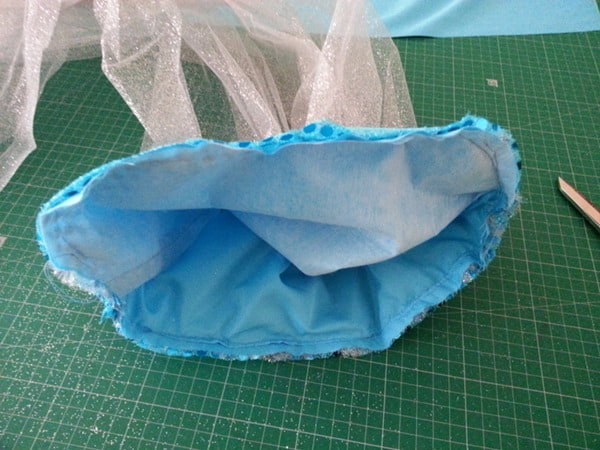
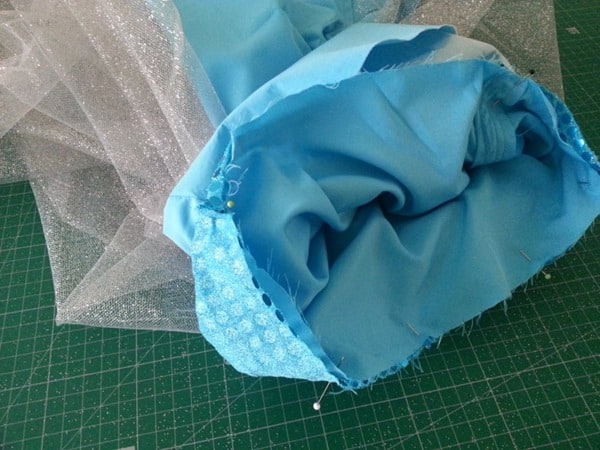
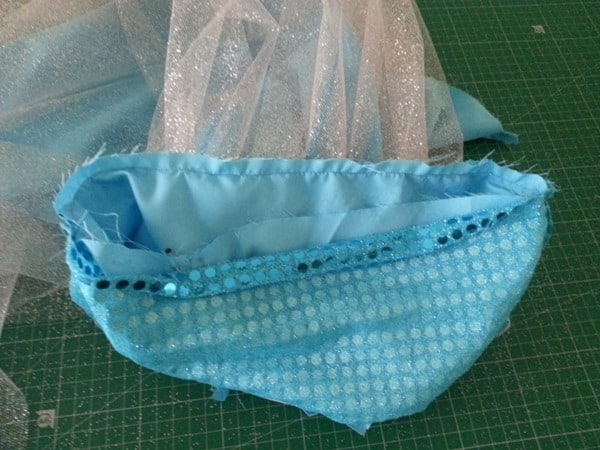
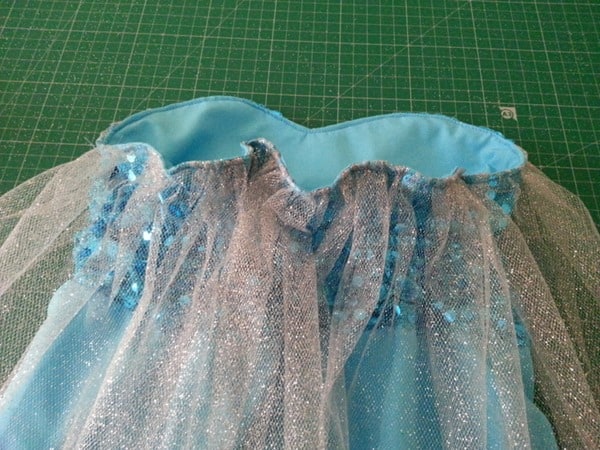
13. Turn the bodice outer piece inside out and place over the bodice lining (so right sides are together and the cape is sandwiched in between). Pin and stitch into place.
14. Clip the curves.
15. Turn right sides out and press. (Now it’s starting to look good!)
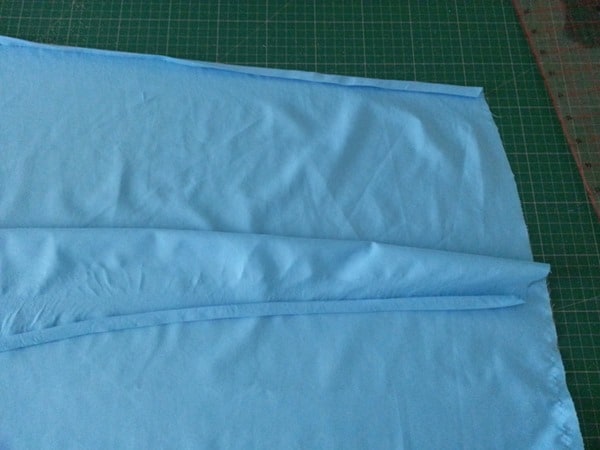
16. Press narrow double fold seam along the two raw side edges of the skirt piece (ie, running from top to bottom).
17. Unfold the seam and pin the two sides together from the top of the skirt to about a third of the way down. Sew along this section (leaving the split below that.
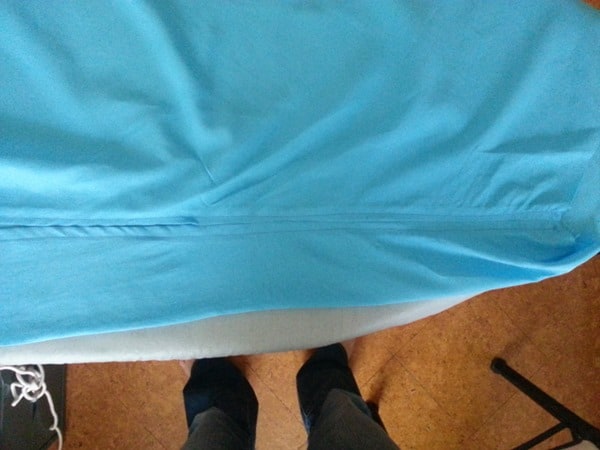
18. Fold the seams back down and sew/topstitch from top to bottom (which hems the split for you):
19. With right sides together, pin the skirt to the bodice front fabric (keeping the lining out of the way) along the back section (don’t do the V-front section just yet). Make sure the split is about halfway along one side at the front.
20. Sew the section you just pinned.
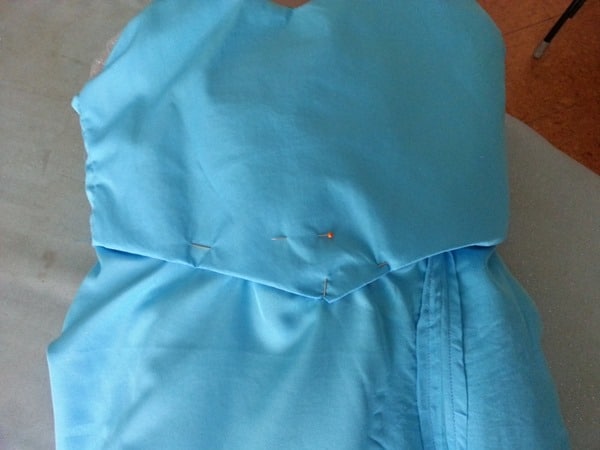
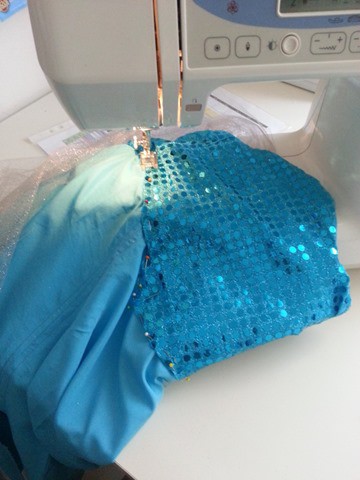
21. Turn the dress inside out, pin the skirt into position a the front so that the top of the skirt lines up with the waistline (not following the V). This is the yellow pin in the photo below.
Fold the lining under at the bottom so that it conceals the last sewn seam, folding the hemline under from the sequined front bodice too.
22. Once it’s pinned into place, you need to transfer the pins to the outside (so that you can topstitch this seam). Keep double-checking that your pins are right where you need them along the seam. It’s fiddly and took me a while to get it just right.
23. Topstitch from the outside of the fabric to close the front seam and bodice lining.
Breathe a big sigh of relief – this is looking good!
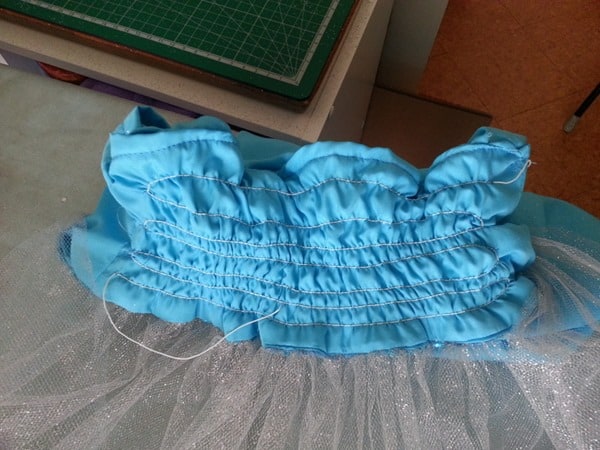
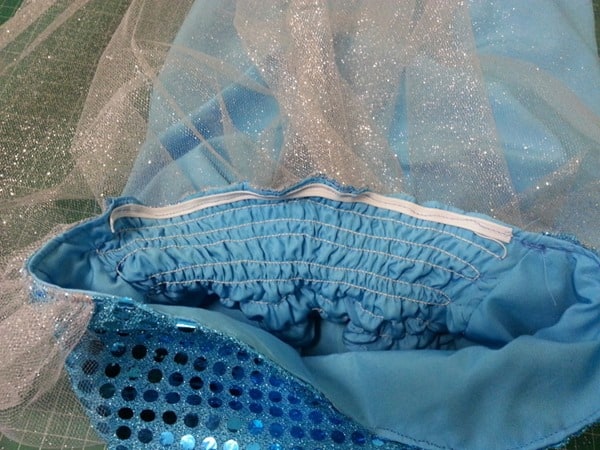
24. Sew rows of shirring elastic along the back panel (making sure the cape is out of the way!).
I went a bit fast and it looks quite messy, but it’s all hidden by the cape!
25. Apply a bit of steam to shrivel up the shirring.
26. Do a row of top-stitching along the top of the bodice, including over the cape. This helps stiffen the heart neckline, stopping it from gaping and also stops the cape from pulling the back down.
27. The back was still gaping a bit:
So I grabbed a small length of elastic, stretched it out across the back bodice top:
And stitched it into position.
And there you have a gorgeous outfit, just perfect for a little girl to go around freezing hearts!
For more tutorials like this, sign up for the Cook Clean Craft newsletter.
Sharing at: Sewing Saturday


