Paper-bag Perry the Platypus Craft
My kids are getting older (currently 5 and 3) and it’s getting easier to craft with them. They can follow instructions and we can craft with a bit more purpose (rather than the random painting or gluing). Jacob comes home with some great craft projects from school, and a paper-bag platypus was one of his recent creations.
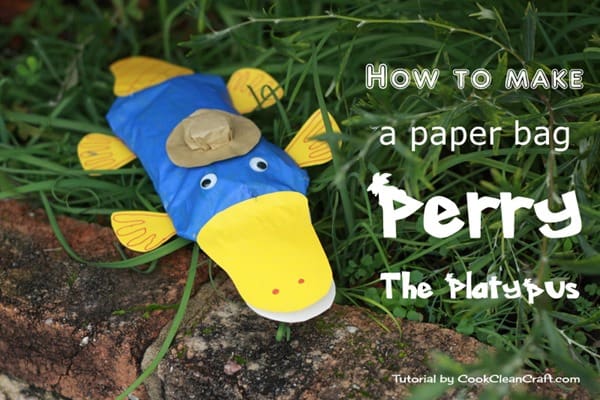
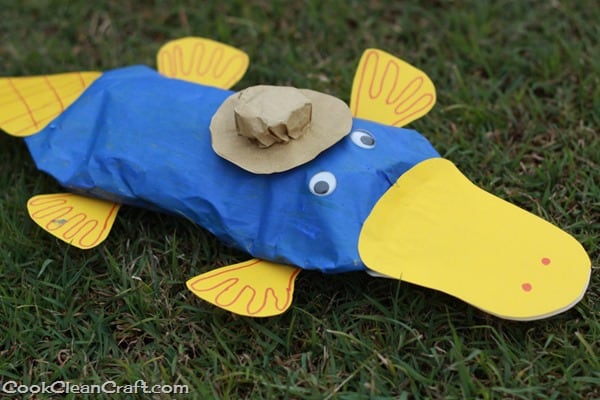
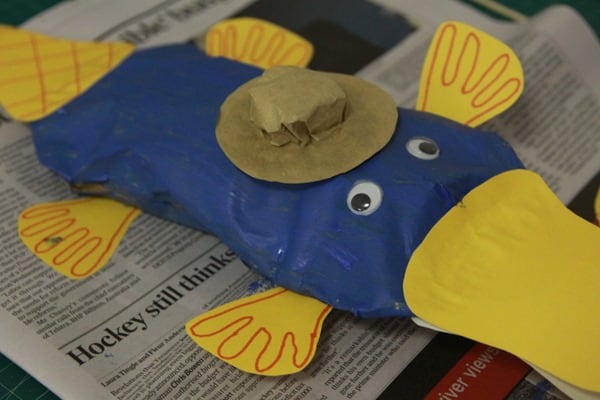
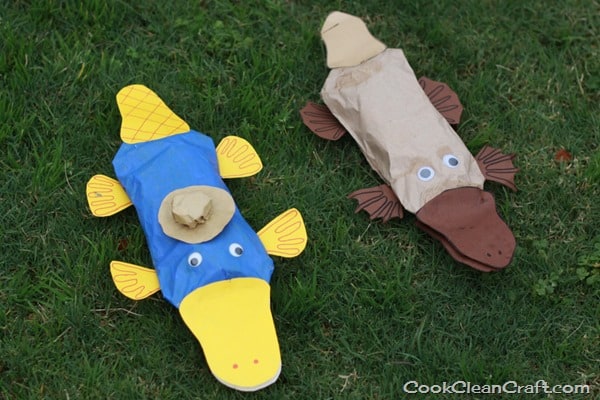
I wanted to have a go at making one too. But, of course, I had to put my own spin on it. I made Perry the Platypus from the TV show Phineas and Ferb, complete with his own little hat.
For a school excursion last year, Jacob needed his lunch in a paper bag. The only packet size available at the shops (the night before the excursion) contained about a million bags (OK, it was only 100, but when you only need 1-2 per year, it may as well be a million!). Oh well, it’s a handy and cheap craft supply!
This is one of those crafts that’s suitable for a range of ages. For smaller kids (such as my daughter), I did the cutting, but she still got to have fun with the painting, stuffing and gluing. Older kids can do the cutting themselves.
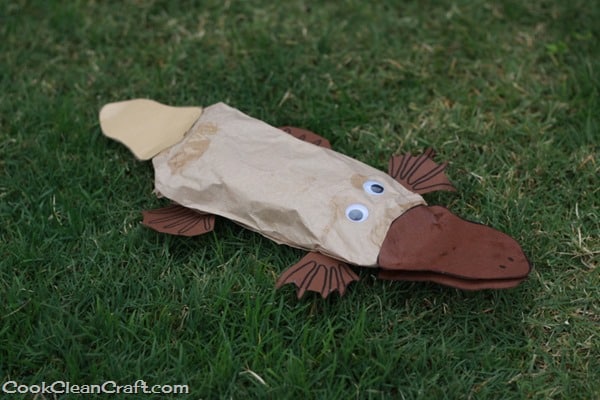
This is the original, traditional platypus my son made at school:
Here’s how to make a paper-bag Perry the Platypus:
Supplies
1 brown paper lunch bag (+1 for the optional hat)
1 piece of yellow or orange paper
2 googly eyes
Small amount of newspaper for stuffing
Glue
Aqua paint (optional) and paint brush
Orange marker
Print out Bill, Tail and Paw template here
Method
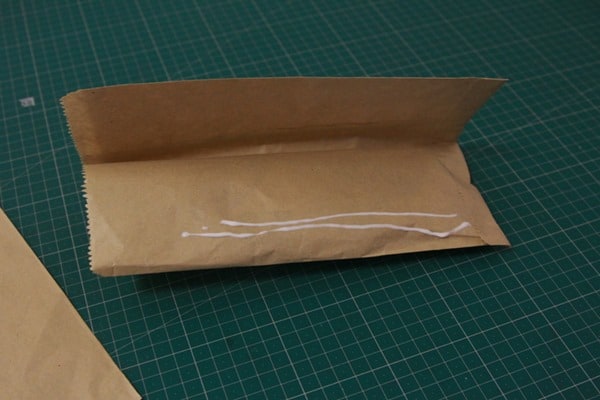
1. Fold paper bag in half and glue down one side to hold it in position.
2. Fold the corners of the paper bag under.
3. Lightly stuff the paper bag with scrunched up newspaper.
4. Paint the paper bag blue (optional).
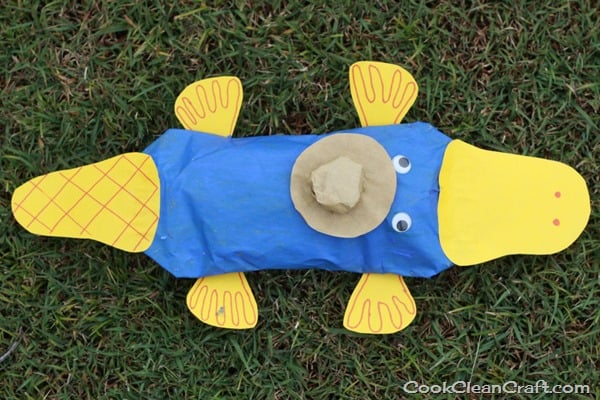
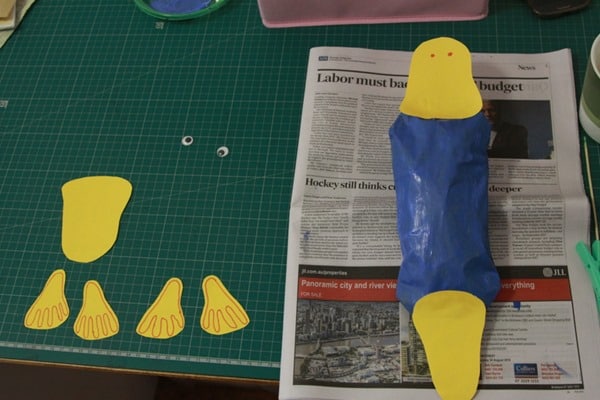
5. Cut out 2 bills, 1 tail and 4 paws from yellow craft paper (using the template provided here). Only roughly cut around the toes, and then draw the toes in to make it look like webbed feet.
6. Draw the paws and two dots on the bill. Add cross-hatching to the tail (if you’re making Perry) – I may have forgotten…
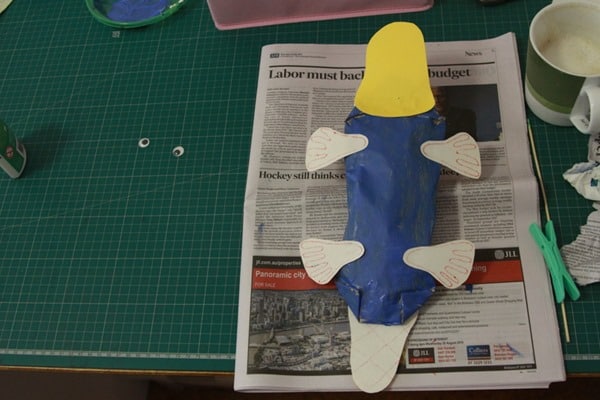
7. Glue the bill with the two dots and tail to the top of the paper bag.
8. Glue the second bill and paws to the underside of the paper bag.
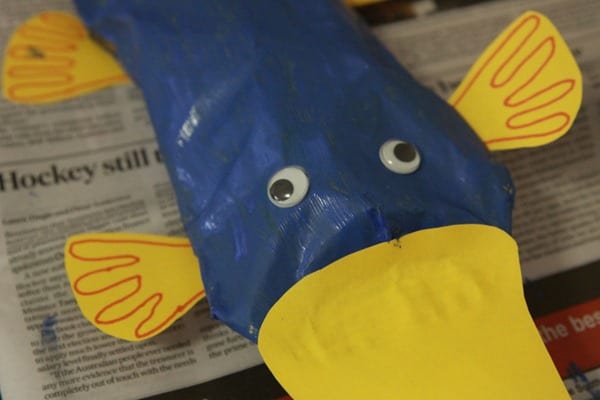
9. Glue the googly eyes to the top of the platypus.
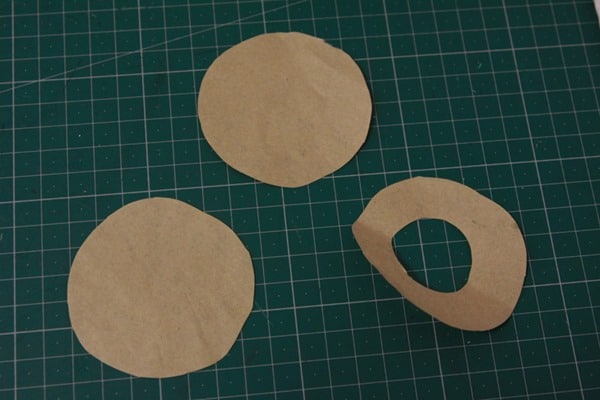
10. To make the hat, cut three circles approximately 5cm (2”) in diameter. Cut the centre out of one to make a donut shape.
11. Screw some newspaper up into a ball and shape one of the circles around the ball.
12. Slip the donut-shaped piece over the ball, hiding the rough edges under the donut.
13. Glue the hat piece to the remaining circle, and there you have a cute hat for Perry.
14. Glue or place it on top of Perry’s head. You can poke around with the paper to get it more like the shape of Perry’s hat.
And then it’s time to clean up all the mess!
For more kid’s crafts, sign up for the Cook Clean Craft newsletter.







This is totally cute! I love it!
Thanks Louise!
My kindergarten students loved making their own platypus! We read Plaidypus Lost and then created a platypus for a “sequencing” play. Thanks for the free template.