How to sew a zip pouch {Tutorial}
A blissful afternoon for me is browsing the craft supplies at my local Spotlight (by myself!). I love finding new craft supplies, inspiring me to try a new projects.
This week, I had a Spotlight gift voucher to spend and no particular project in mind. Should I try beading or jewellery-making? Maybe it’s time to try scrapbooking or Project life? But it’s yarn season – should I knit or crochet something new? Don’t forget fabric! I can always use more fabric! My daughter’s birthday is coming up. Should I check out the doll and teddy bear supplies?
Too many options (which is something this multi-crafter loves about Spotlight!) I decided to enjoy some (kid-free) time to browse and see what inspired me. Here’s the stash I returned with:
A fairly random lot of craft supplies, but lots of inspiration – some Moda Vera Kald yarn (for an autumn/spring scarf for me), a piece of vinyl table cover fabric, hair clips, leather needles, bag hardware (magnetic clasp plus feet), a zip, and the latest free Get Creative magazine (in case I need more project ideas!).
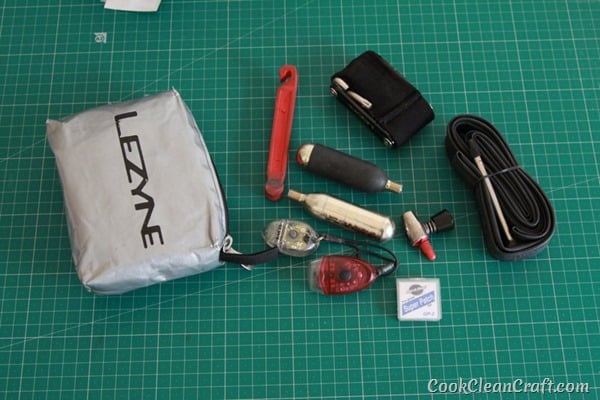
Now I’m ready to craft with a thousand projects in my mind. Where to start? Father’s Day is just around the corner, and my husband needs a new zip pouch for his cycling emergency repair kit (but not matching his new cycling jersey!). Here’s what his current kit looks like:
The emergency kit has spare tyre tubes, emergency lights, a tube patching kit and other bibs and bobs for quick bike repairs. The zip was sticking on his old one, and it was looking worse for wear. He wanted one the same size, it fits perfectly in the pocket of his cycling jersey, and it needed to be waterproof (or sweat-proof – eeeww!).
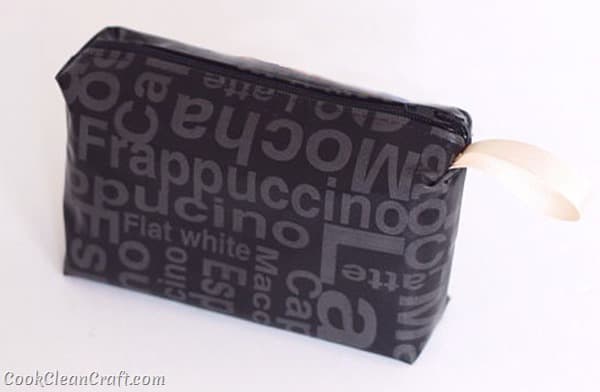
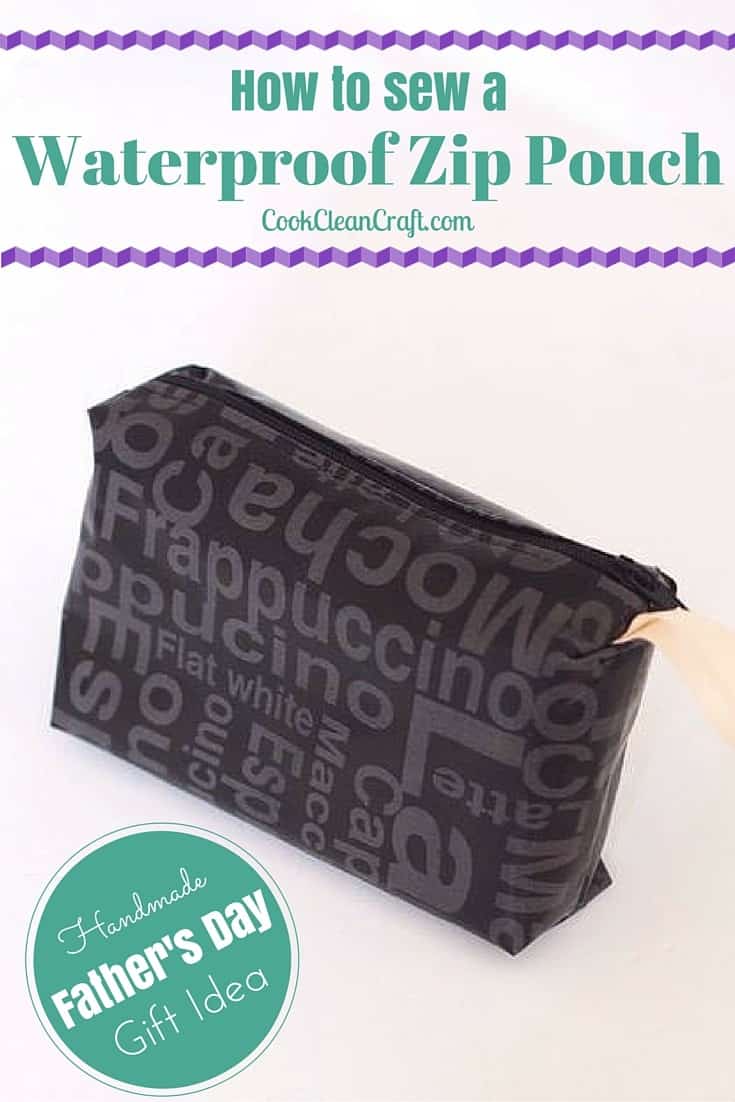
Since cycling is an excuse for him to go out for coffee with his mates, this coffee-themed vinyl table cover was perfect. It’s easy to sew, no worries that it doesn’t seem like a traditional fabric with my normal sewing machine and a regular needle!
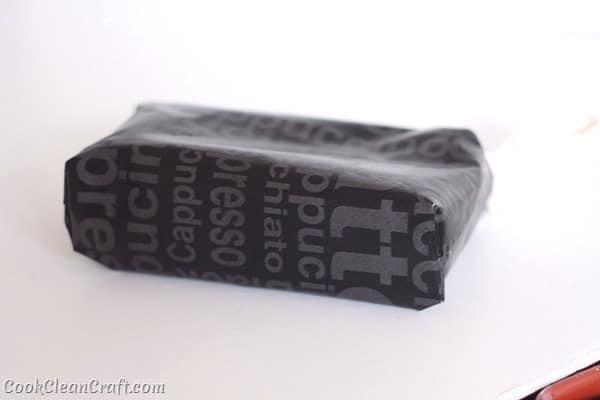
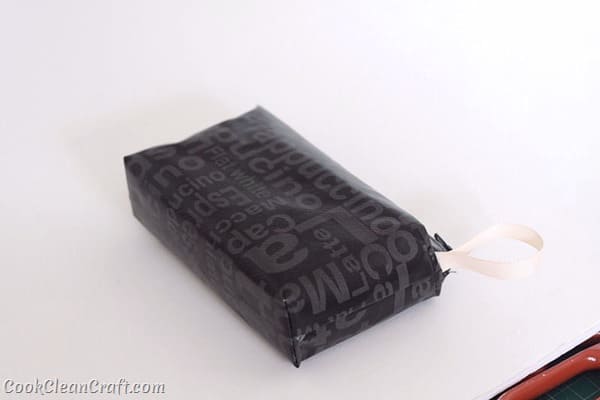
The zip pouch has squared corners, to make it easier to stuff it full and it stands up on it’s own.
There’s also a tab to hold when closing the zip.
Let’s see the tutorial for how to sew a zip pouch:
Materials
19cm x 26.5cm (7.5” x 10.5”) piece of vinyl table cover
15cm (6”) dress zip
6cm piece of twill tape or ribbon
Hairclips, bulldog, paper or Wonder-clips
Sewing machine with zipper foot, scissors, matching thread etc
All supplies are available at Spotlight.
Instructions
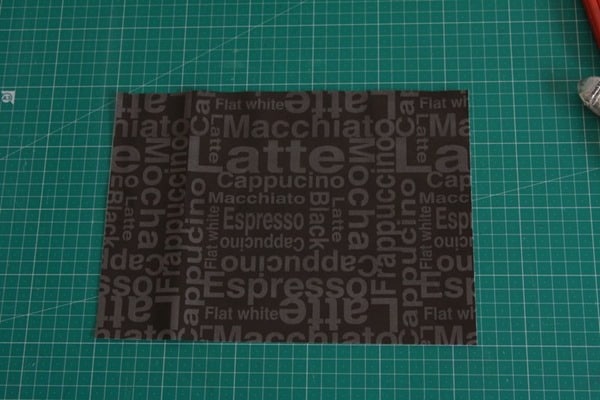
Cut a 19cm x 26.5cm (7.5” x 10.5”) rectangle from the vinyl table cover.
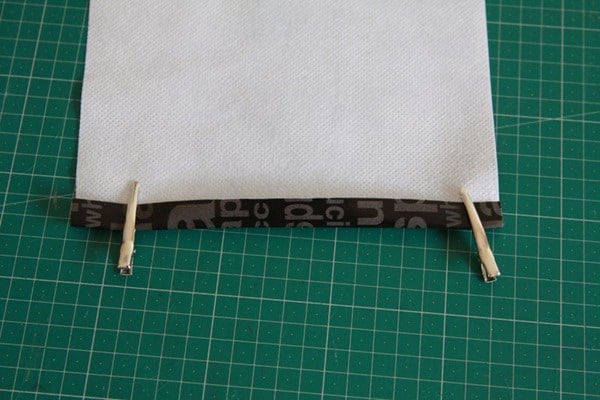
Fold over a 1cm seam allowance on the two shorter sides (ie 19cm ends). Don’t pins as this will leave holes in the vinyl, and it won’t be waterproof. I used alligator hair clips to hold the fabric in place. You could use bulldog clips, paper clips or Wonder-clips instead.
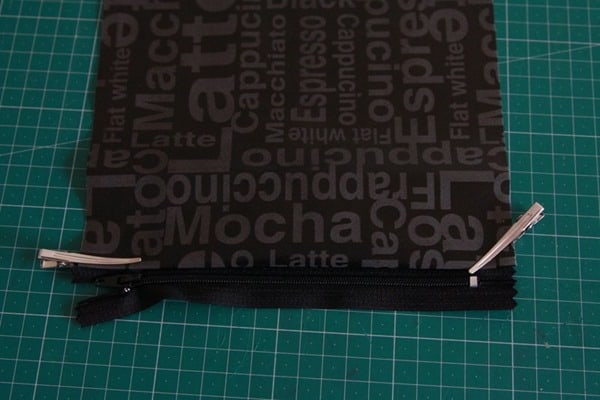
Place one of the folded edges against the teeth of the zip and hold in place with clips.
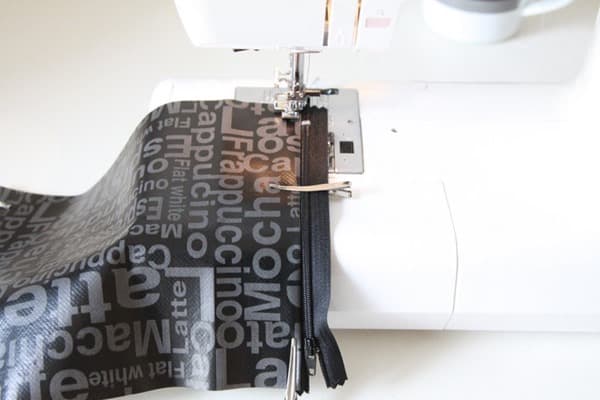
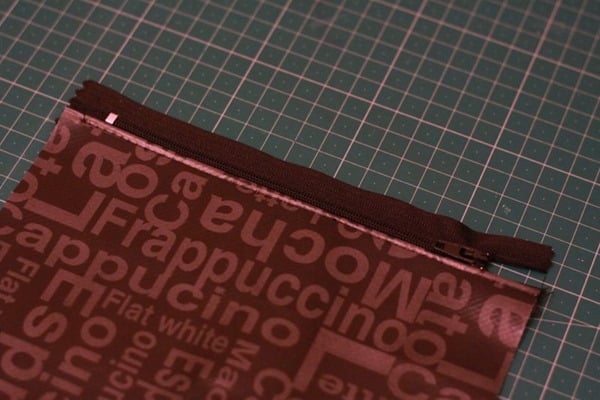
Using a zipper foot, sew the zip in place approximately 2-3mm from the folded edge.
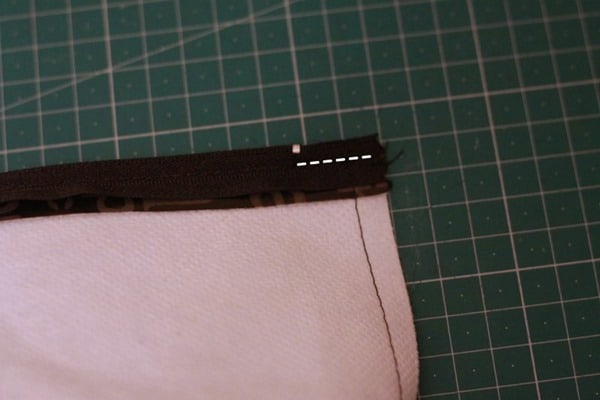
About half way along, lower your needle down into the fabric, lift the presser foot up and slide open the zip. This will give you a nice straight seam. Here’s what it looks like when it’s sewn:
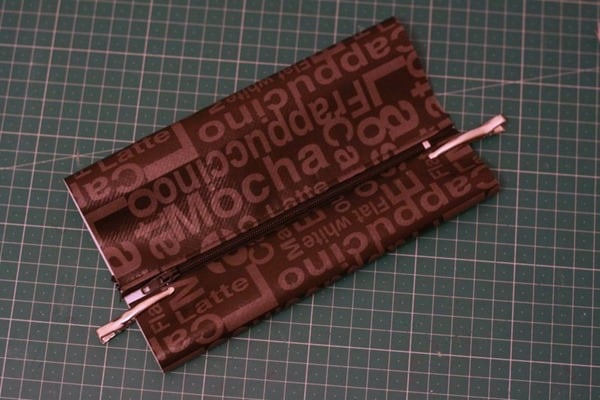
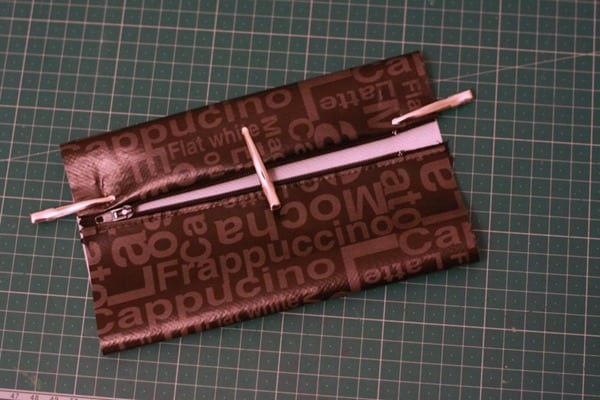
Wrap the fabric around and line up the other folded edge against the other side of the zip.
You’ll need to open the zip to sew this section.
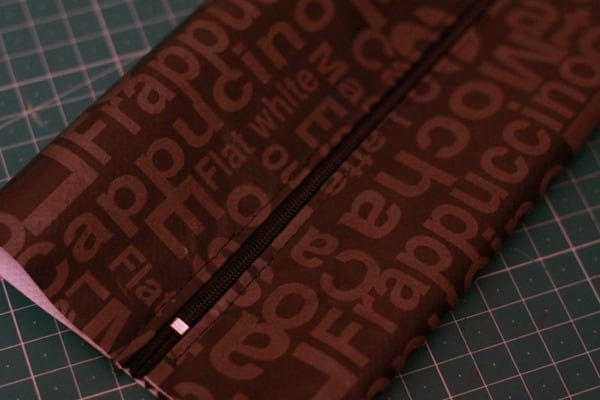
Start from the open end and sew across, once again 2-3mmm from the folded edge. It gets a bit fiddly towards the closed end. Try your best to keep the fabric flat and the other layers out of the way!
Fold the fabric so that the zip is at the top, and sew the two side seams, making sure to back-stitch (or lock-stitch) at the two ends.
To make a box pouch, fold the bottom corners to make a triangle. Make sure the fabric is flat and side seam runs down the centre of the triangle:
Mark a line where you want to sew the box corner. The further down you put the line, the larger the base of the pouch will be:
Sew across the line you just marked, back-stitching at the start and end of the seam:
Repeat for the other corner:
To create the box at the top (zip side), first sew a seam from the bottom of the silver zip stopper to the seam allowance:
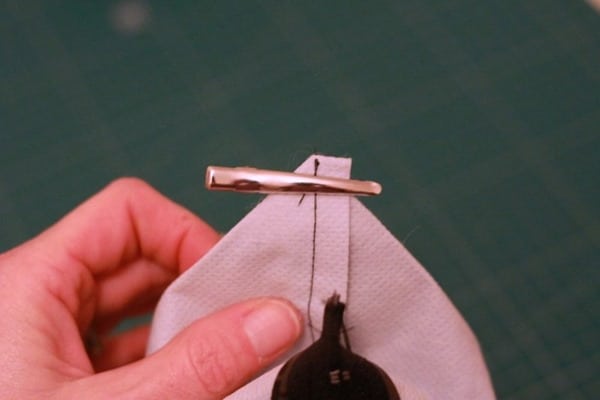
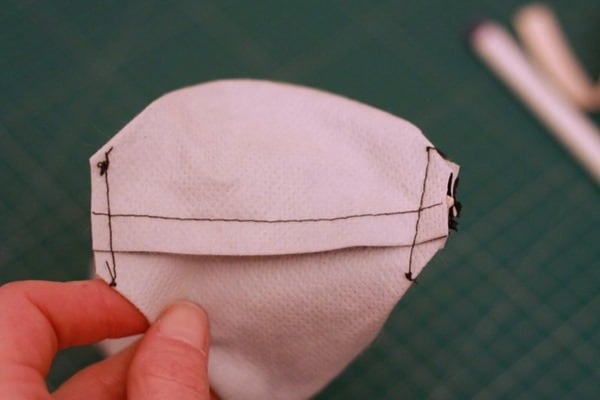
Then fold the corner into a triangle, like you did for the base, and hold in position with a clip. For the “open” end of the zip, add a small loop of twill tape or ribbon, sandwiching the raw ends of the ribbon into the folded triangle:
Sew across the triangle, back-stitching at both ends:
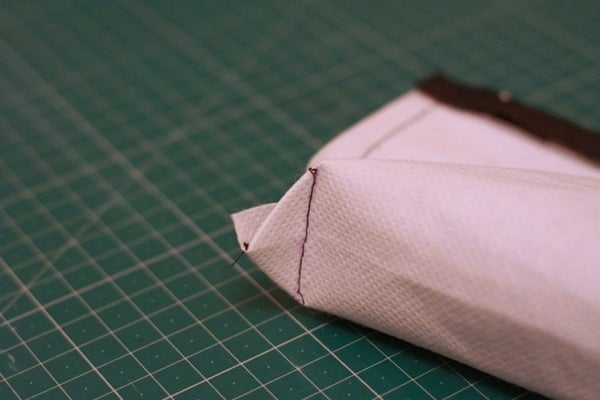
Here’s how it looks from the other side:
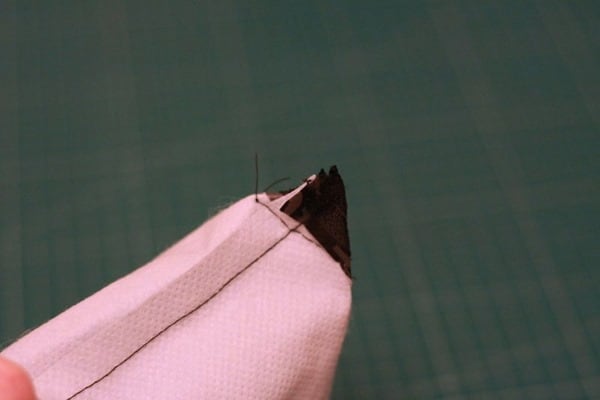
Clip the corners of the four triangle sections:
Turn the pouch to the right side out, gently pushing out the corners of the box.
And that’s how you sew a zip pouch – a very manly box zip pouch for Father’s Day (or use it as toiletries bag, pencil case or any other reason).










Thank you for a very clear tutorial. Shall try making the pouch for my grandson.
You are so gifted.
Thank you for your kind words. I hope your grandson loves his pouch. Let me know if you have problems.