How to Sew a Stuffed Snail {Tutorial}
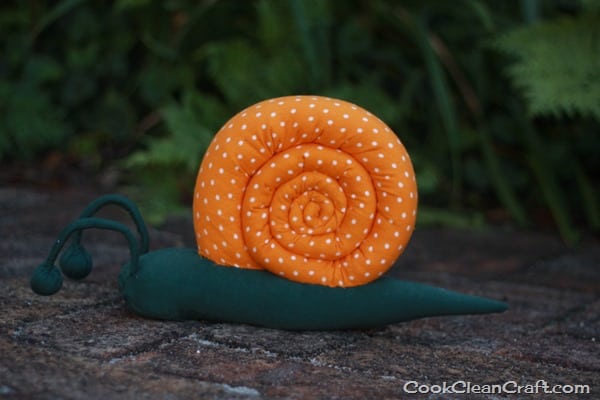
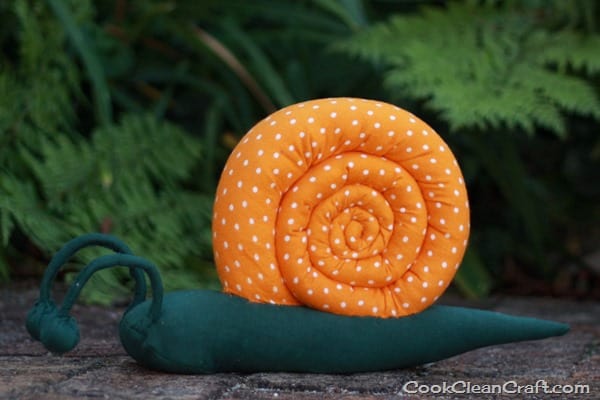
Funny how fast a year goes. It doesn’t seem that long ago that I was making a simple skirt and magnetic paper dolls for one of Celeste’s friend’s birthday. Suddenly it’s time to make her another birthday present. This year, the theme of her party was snails (and her Mum did an amazing job with the theme!). So what else could I make her but a stuffed snail!
This was another one of those projects where the idea got in my head, and I just had to make it. So a trip to Spotlight was in order, in search of orange fabric (since that’s her favourite colour). I started with some bright poplin, but then I saw the orange flannelette with white spots. Now that would be much snugglier for a cuddly toy!
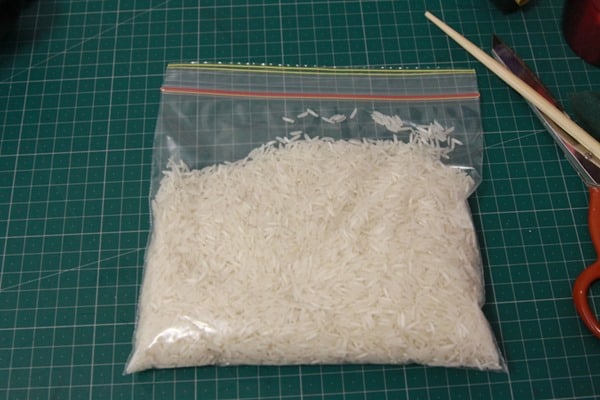
The body was made with dark green fleece, leftover from a pair of tracksuit pants. I weighted the body with rice to make sure he stood up nicely.
This was another one of those projects where I got caught up in the details – the shell had to have an increasing spiral (and I really wanted it to be wider at the centre, but couldn’t work out a simple way to do that).
I had a lot of fun making this one, nutting it out as I went along. It was one of those projects that just put a smile on my face while I was sewing. And Celeste’s friend had a big smile when she saw it too – making the time sewing it worthwhile!
Here’s the tutorial for how to sew a stuffed snail:
Materials
20cm flannelette (or other snuggly fabric) for the shell
30cm x 30cm scrap of fleece (or other snuggly fabric) for the body
2 pipe cleaners/chenille sticks
2 pompoms
Polyfill
Small zip log bag, half-filled with rice/wheat or similar
Thread
Sewing Machine
Hand-sewing needle
Chopstick or similar “poking” tool
Method
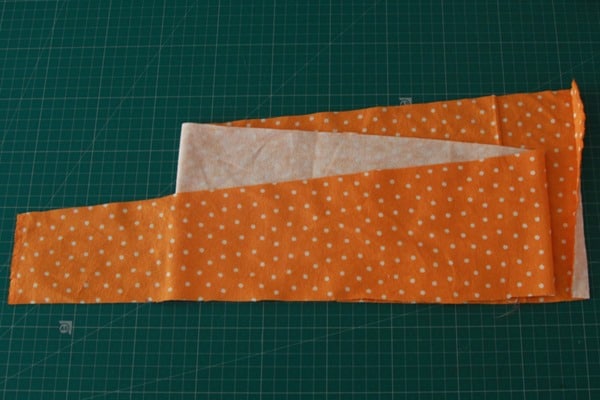
1. Cut the shell fabric on an angle from selvedge to selvedge so that it is approximately 20cm wide at one edge and 8cm wide at the other edge.
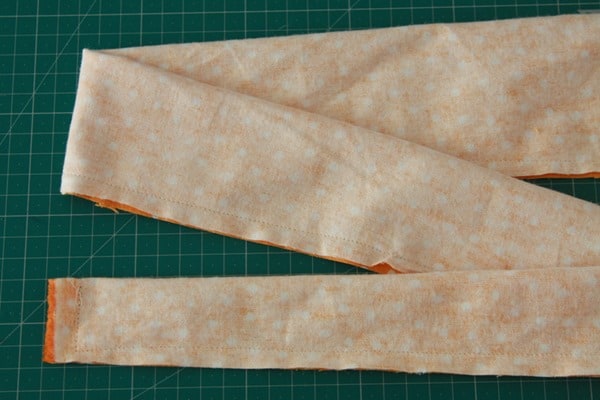
2. Fold the fabric in half lengthwise, with right sides together. Sew along the shortest side, turn the corner and then so along the long edge.
3. Turn the fabric right-side out, gently using a chopstick (or similar) to get the corners out.
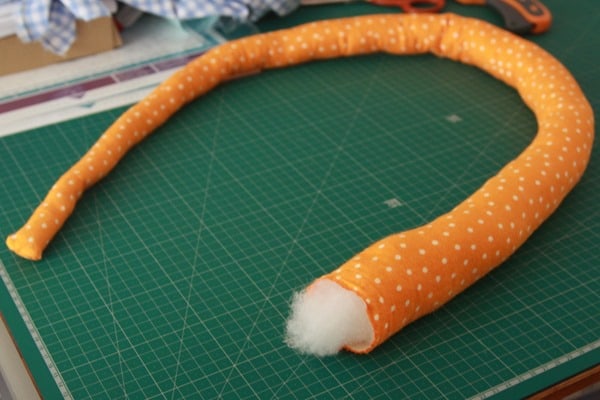
4. Stuff the fabric with polyfill. You don’t want it stuffed too tight, because you will roll this into a spiral for the shell, but it still needs to be quite firm.
5. Sew the open end of the shell closed (I used my machine since it will be hidden by the snail body, and I’m just lazy!).
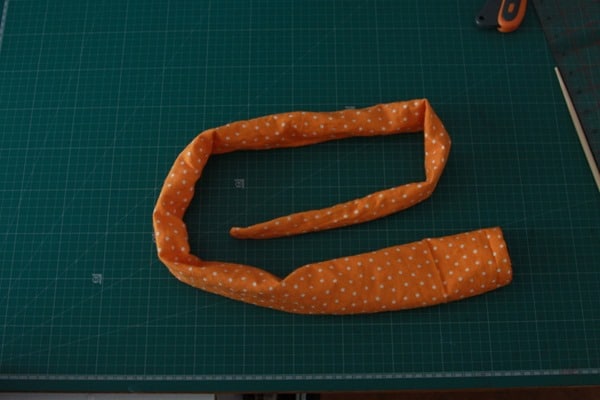
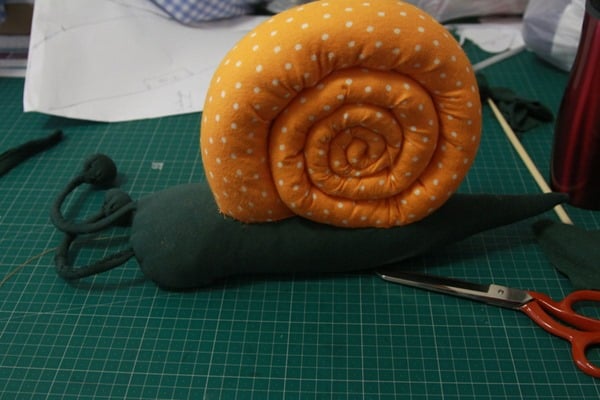
6. At this stage, I did a practice roll to see how it would look. I made sure to roll it up so shell body rolled over the seam, to make sure the seam doesn’t show on the shell.
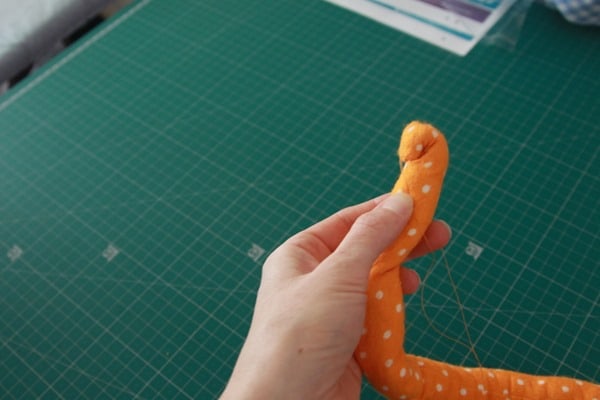
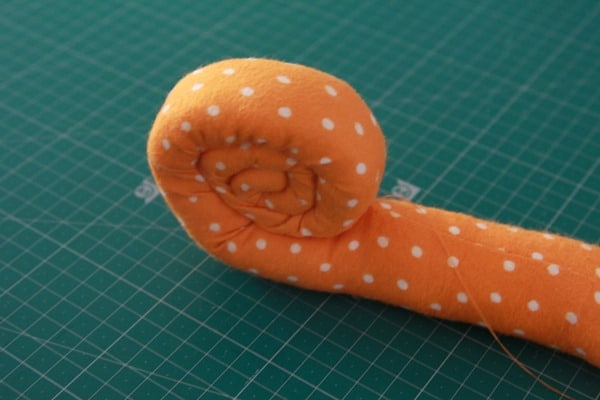
7. Unroll the shell. Take a needle and thread, start to roll the shell up and hand-stitch in place.
8. Roll the shell a bit more, and then stitch again, hiding the thread in the rolled section as you go.
9. Keep rolling and stitching every few inches…
…until the shell is all rolled up.
10. Take your fabric for the snail body, and cut out a body and a circle from the pattern here, making sure the body is cut along the fold.
11. Fold the snail body in half, right sides together and sew from the top of the curve down to the end of the tail.
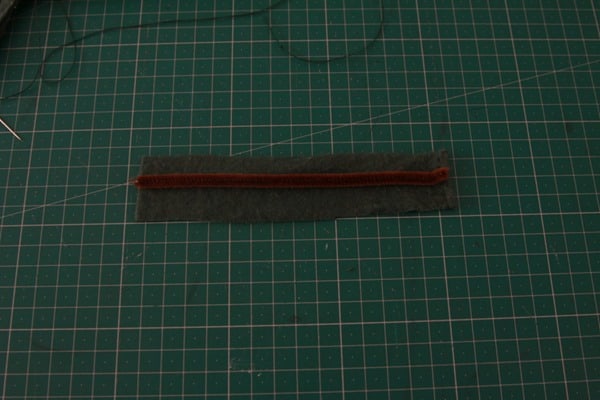
12. Cut two rectangles from the body fabric that are 3cm wide and as long as your pipe cleaner (chenille stick).
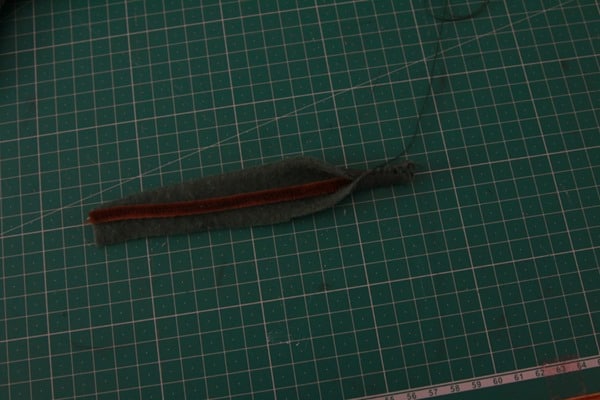
13. Wrap the fabric around the pipe cleaner and hand stitch in place. Repeat for the second pipe cleaner.
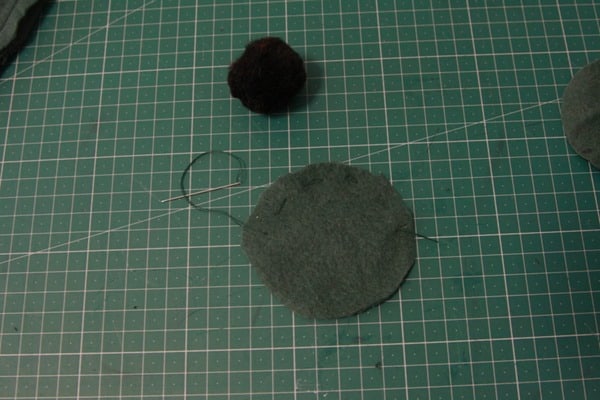
14. Cut two circles of fabric with diameter approximately two times the pompoms.
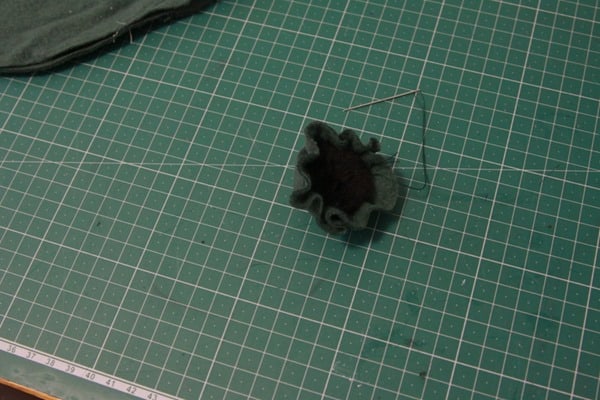
15. Hand sew a running stitch around the edge of the circle.
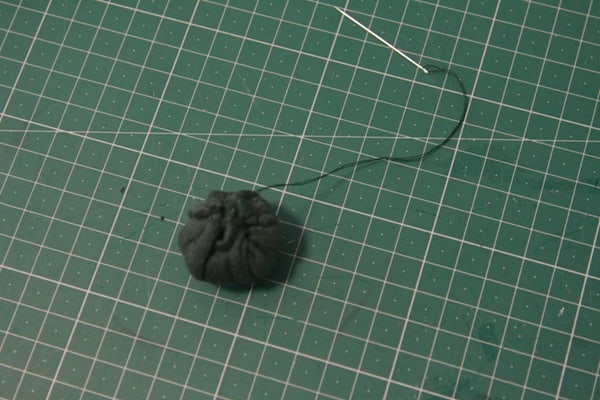
16. Pull the thread to gather the fabric a bit, and then stuff with the pompom.
17. Pull the thread again until it is all closed and stitch shut.
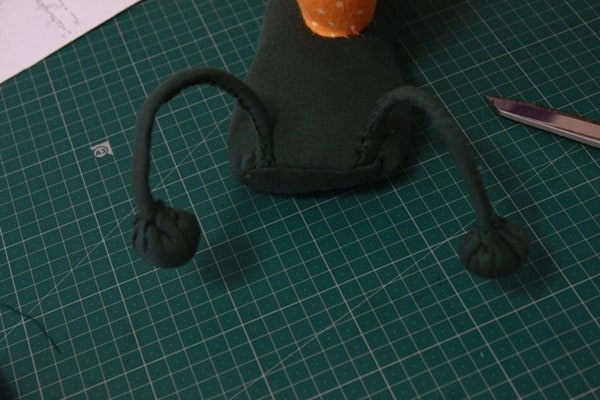
18. Stitch the ball to the end of the fabric-wrapped pipe cleaner, stitching all the way around the pipe cleaner. Repeat for the second ball.
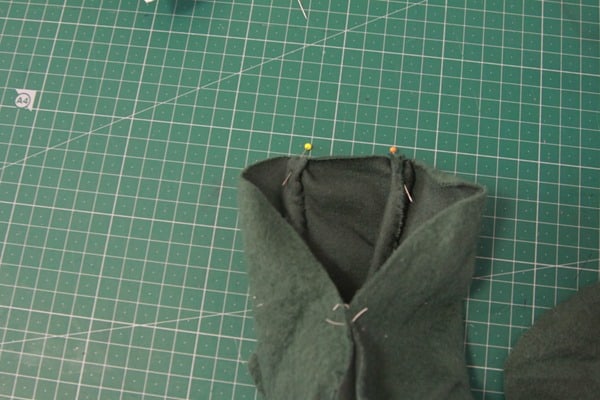
19. Place the two fabric-wrapped pipe cleaners inside the snail body (which is still inside out), so that they are opposite the seam and pin into place. You may want to baste them into position (but I’m lazy, so I didn’t!)
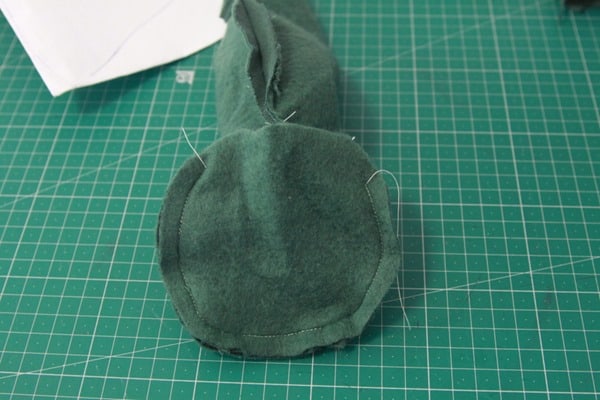
20. Pin and sew the circle onto the opening of the body, leaving a 5cm gap near the bottom seam.
21. Turn the body right sides out through the gap. Stuff some poly fill into the tail. Then add a zip-lock bag filled with rice. (The zip-lock bag probably isn’t necessary, but I like to do it to make sure rice doesn’t go every if my stitching came open.
22. Add more poly fill to stuff the snail, then hand-stitch the body closed.
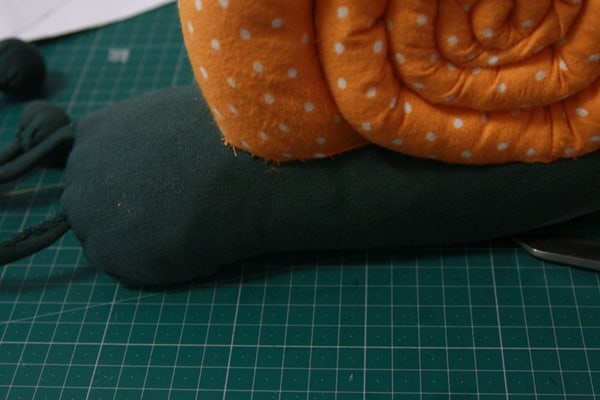
23. Tucking the end seam under, hand-stitch the shell to body, all the way along the base of the body. It’s a little fiddly, but just work your way around. A curved needle might also help with this, although I need it with an ordinary needle).
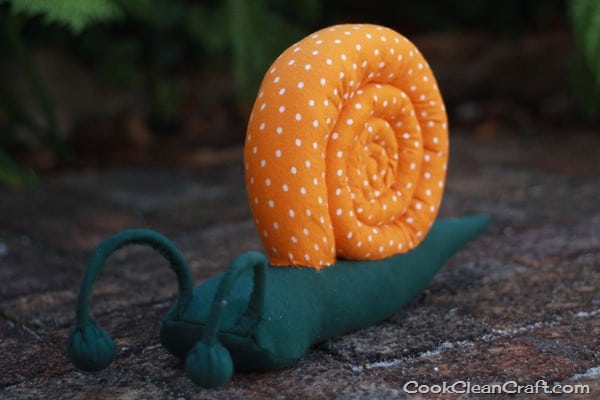
24. And there you have your stuffed snail, but I thought the feelers were a bit too droopy for my liking, so…
I pulled them back along the body for about an inch, and hand-sewed them into position.
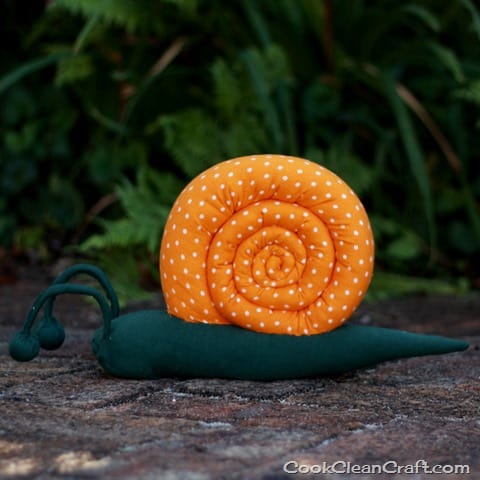
And there you have a stuffed snail toy!
Well, I never thought I’d make one of them! What’s the weirdest toy you ever made?










Oh, he is so very cute. You did a beautiful job. Love it : )
Thanks Iris! He was fun to make too.
Sooo cute! Thank you so much for the detailed sewing instructions! Love it 🙂
Thanks, Onel! I’d love to see it if you make one of your own.
oh wow, how cute!! I have a Craft Gossip post scheduled for this evening that links to your tutorial:
http://sewing.craftgossip.com/tutorial-snail-softie/2014/05/19/
–Anne
This is fantastic! I love it!!
Wow… that is super cute! I’m gonna have to try this some day soon! Great Job!
What a fab looking toy. May I please ask, does the fabric need to stretchy or will anything work?
Thanks Belinda! No, the fabric doesn’t need to be stretchy. Woven fabrics should work fine. If you make one, I’d love to see a photo!
I adore this pattern and can already think opf fabrics in my stash that would make amazing shells 🙂 I think my most unusual make was oystercatchers… or maybe tortoise as a wedding gift! http://60degreesofinspiration.blogspot.co.uk/2015/03/oystercatchers-and-puffins.html
http://60degreesofinspiration.blogspot.co.uk/2014/09/wedding-tortoises.html
Jo
Thank you for this tutorial. I plan on making it for a little girl who adores snails!
Glad you like it. Good to hear there’s more than one little girl out there with a love of snails!