Cardboard Rocket Tutorial
Spaceman Trevor (yes, that’s the doll’s name!) waits nervously before his first mission with International Rescue as the mechanical crew prepares his rocket for launch. He wears his new spacesuit and protectively pats his helmet.
Spaceman Trevor is buckled into his pod and reviews the control panel – so familiar from his extensive training program. He prays he won’t have to use the emergency controls.
10 9 8 7 6 5 4 3 2 1 BLAST OFF!!
Space and a child’s imagination are infinite (together with some cardboard, and craft supplies) – Planet Make-Believe, here we come!
So it turns out I’m not as crafty as I thought. Here’s the project that got me knocked out of So You Think You’re Crafty. I was a bit unlucky with there being another rocket craft that was incredibly cute! Oh well, it will be nice to get back to crafting what I need/want to do, rather than thinking about a theme. Still head over and follow along the rest of the season!
Here’s the full tutorial for my cardboard rocket:
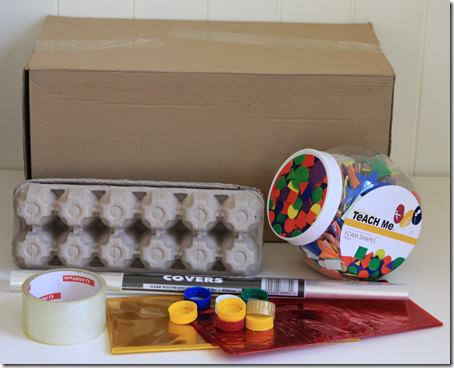
Supplies
Cardboard Boxes
Egg Carton
Yellow and red cellophane
Foam stickers
3 soft drink bottle lids
3 split pins
1 chenille stick (pipe cleaner)
Small piece of elastic and thread
Silver and red paint
Hot glue and glue gun
Paper and printer
Scissors, box cutter, exacto knife
Procedure
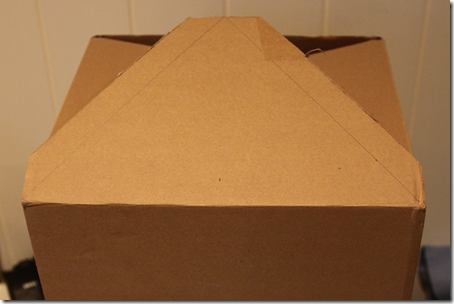
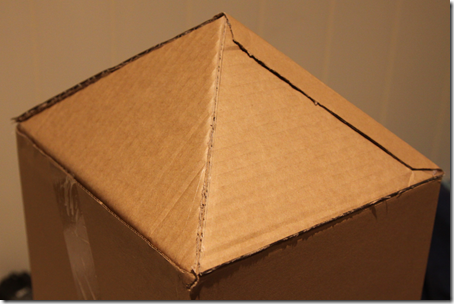
1. Take a nice rocket-sized cardboard box, and mark out triangles on the top flap to make the cone (which is actually a pyramid, but work with me here!) Add an extra 1/2 inch along the two sides of the triangle for gluing.
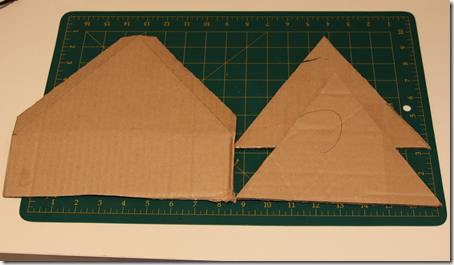
2. From another piece of cardboard, cut a second piece the same size and shape as the flap above, with an extra strip of cardboard along the bottom for gluing. Also cut two more triangles with height being the same as the flap above, and the base the width of the rocket box.
3. Glue the 3 pieces above to the main box using hot glue:
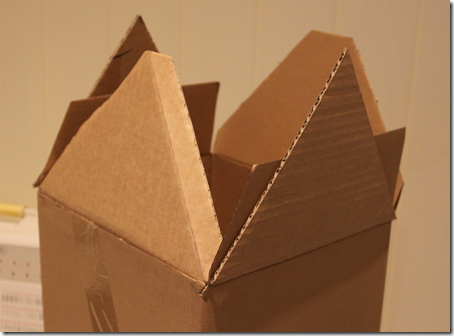
4. Hold a ruler along the lines shown above and fold the cardboard in to make a flap.
5. Glue the triangles to the flap sections with hot glue to form a pyramid.
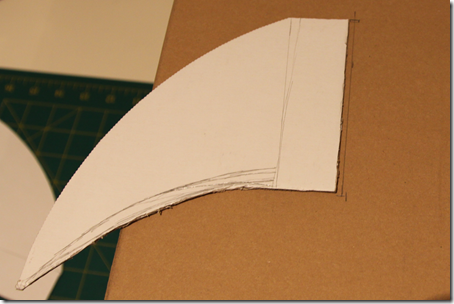
6. Cut another two pieces of cardboard in the following shape for wings:
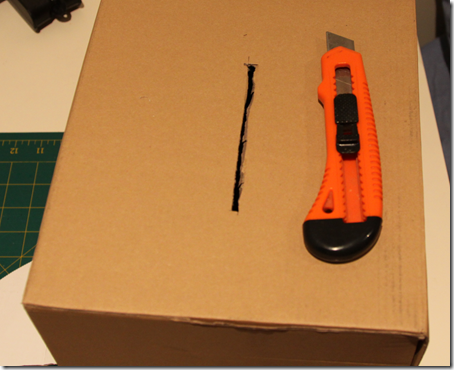
7. Position the wings so the point rests at the bottom of the box and mark the height along the centre of the two sides of the box. Cut a hole with an exacto knife or box cutter.
8. Fold the wing pieces along the line shown above, insert through the slot and hot glue into place (oops, no picture!).
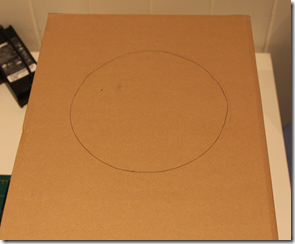
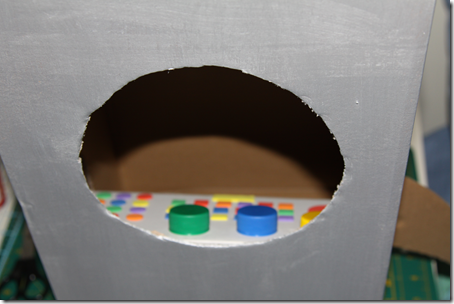
9. On the front of the main box, mark and cut a large circle for the window:
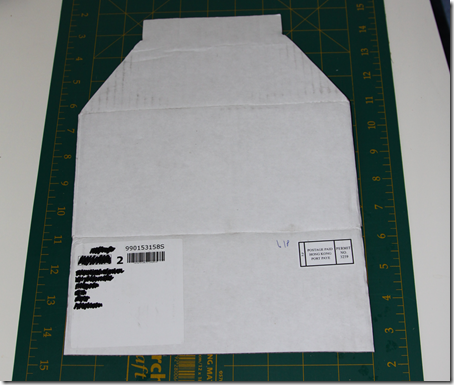
10. Take yet another piece of cardboard the same width as your main box, and mark and fold to make a triangular instrument panel (this will make a little more sense in a couple of pictures time).
My piece is an odd shape at the top due to the box that I had, but a rectangle will work.
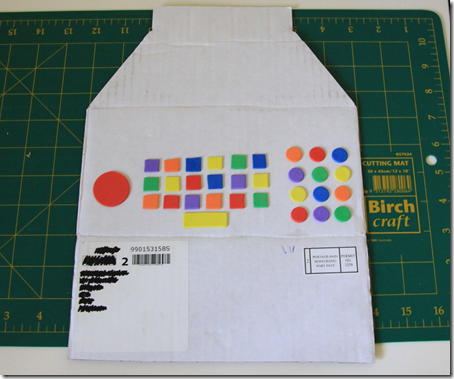
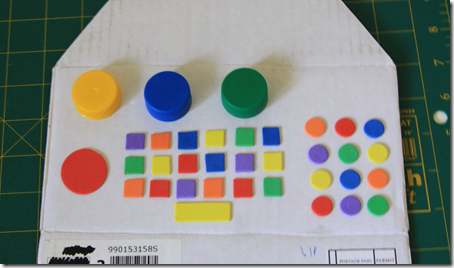
11. Use foam stickers to create buttons for the instrument panel:
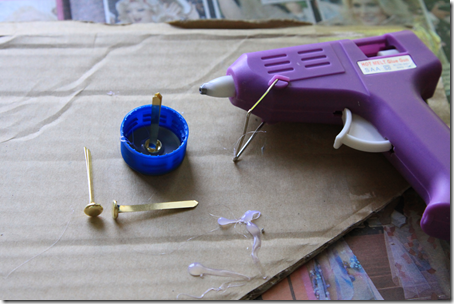
12. To make dials that turn, glue split pins to lids from water bottles.
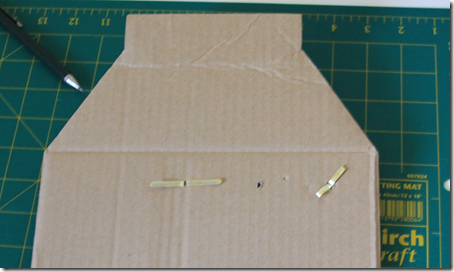
Make a small hole in the instrument panel box and insert and spread the split pins.
Here’s my instrument panel:
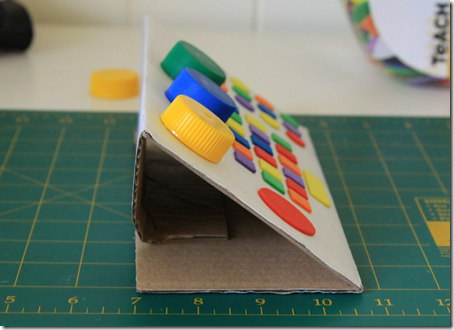
12. Fold the instrument panel box up and hot glue together to form a triangle:
13. Hot glue the panel into the main box just below the circle window.
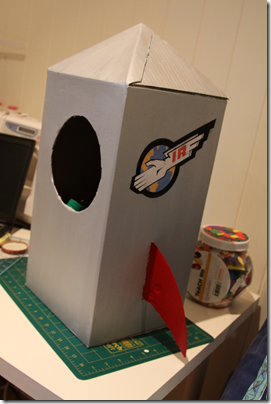
14. Paint the outside of the box silver and the wings red. Google and print out the logo for International Rescue (from the Thunderbirds) if you like and stick to the sides of the rocket.
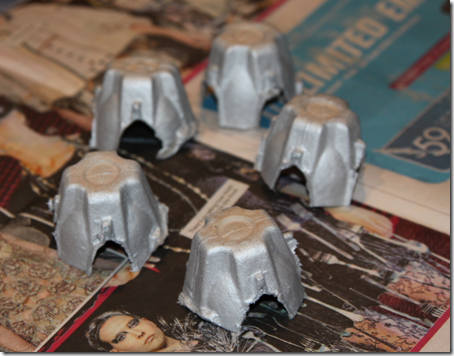
15. Cut an egg carton up into individual cups and paint 4-5 of them silver.
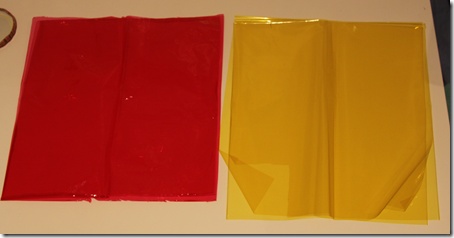
16. Cut out squares of yellow and red cellophane, with the yellow squares being slightly bigger than the red.
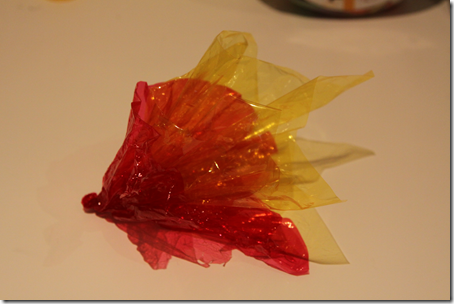
17. Scrunch up and twist the cellophane together to form a flame.
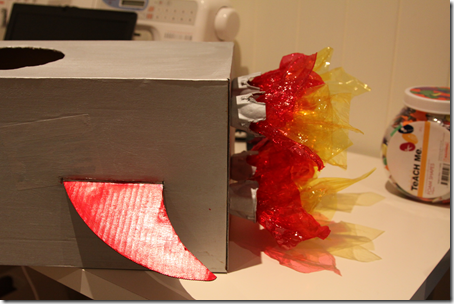
18. Hot glue the flames into the egg carton cups, and then the egg carton cups to the bottom of the rocket.
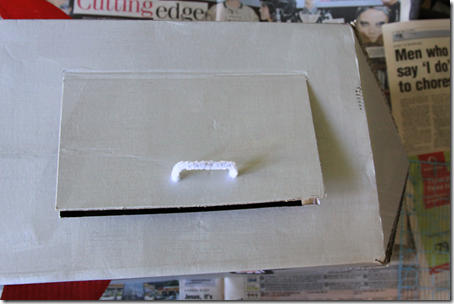
19. Cut a door into the back of the rocket. Fold a chenille stick (pipe cleaner) into a door handle, insert through a small hole in the door and hot glue into place.
(Have a giggle about the headline on the newspaper on the right!)
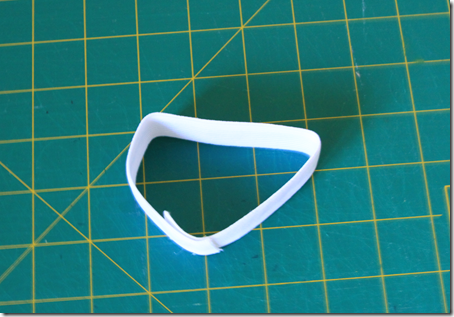
20. Sew together a loop of elastic that will fit around the waist of your spaceman toy/doll.
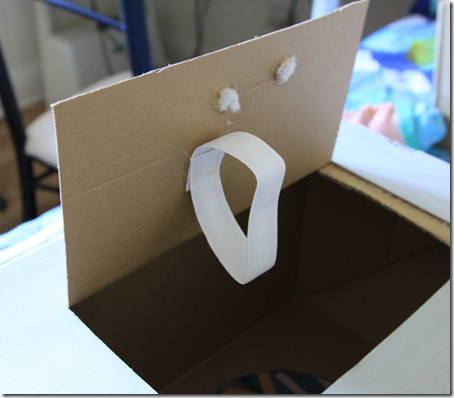
21. Hot glue the elastic to the inside of the door of the rocket.
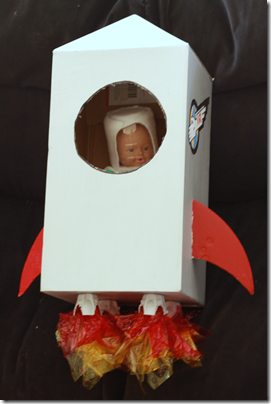
22. Insert spaceman into the elastic, close the door, and launch your rocket into space:
I’ll provide details of Trevor’s outfit in a separate post. Next time, I’ll try to make my craft room a bit tidier so it’s easier to take photos!
Let me know if you use my tutorial!




I’m so sorry you got voted off this week … I thought your rocket was really cute and very original. What are the chances there’d be two astronaut crafts in one week??
Very cool, Narelle! I love the little dashboard of buttons
Very Cool! we have a huge rocket ship in my son’s room. It’s actually too big, but hey he loves it!
What a great idea!! You should come link it up to my Made by Little Hands Linky party! I am visiting from Making the World Cuter and I am a new follower! I hope you have a great week and I see you around soon!!
Michelle
http://www.delicateconstruction.blogspot.com
Holy cuteness! you must be the best mom ever!!