How to sew a mermaid tail {Tutorial}
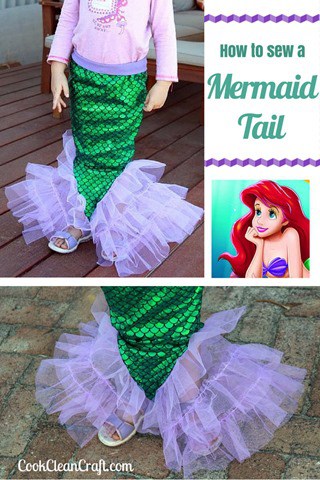
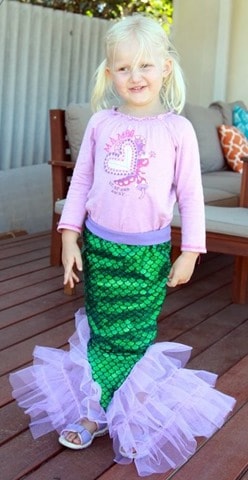
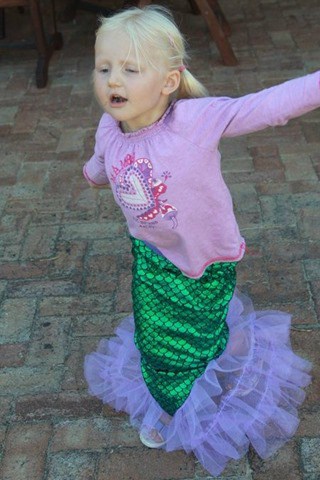
Celeste loves all things Disney princess (and well, I love a good princess movie too, so she may get encouragement from me). She got a box set of The Little Mermaid movies for Christmas (along with a Barbie Mermaid DVD). She swims like a mermaid, so when I spotted fish scales fabric at the counter at Spotlight, I had to get it (oops!). I had some purple netting in my stash from a project that never happened. Before I knew it, there was a Little Mermaid in the backyard:
The fabric is a holographic foil on nylon spandex, so it’s stretchy, but I still wanted Celeste (I mean Ariel) to be able to walk in it. I drafted the pattern so the tail started just below her knees. I’ve seen her run in it, so she’s got pretty good mobility! You could use a plain knit fabric if you prefer.
It has a yoga-style waistband, made with purple ribbing. Hoping it fits her for longer, it’s designed to fold down for now. When she grows, she can unfold it and get a bit of extra length.
Here’s how to sew a mermaid tail:
Materials
65cm (3/4 yard) Fish scales holographic foil on nylon spandex
50cm (1/2 yard) nylon netting
20cm (8 inches) purple ribbing
Sewing machine, thread, scissors etc
Method
To draft the pattern, I measured my daughter’s waist, around her knees and distance from waist to knees, and knees to floor. Using these measurements, I sketched out the pattern:
I cut two tail pieces on the fold from the fish scales nylon spandex. Place a mark at the knee point on the seam allowance.
I also cut an 8 inch strip of purple ribbing that was the waist measurement minus 3 inches. For the nylon netting, I cut 3x10cm strips the width of the netting. I then cut those strips in half to make 6x10cm strips. I also cut two 20cm strips with the length the same as twice the distance from the point to the knee along the outside edge of the pattern piece.
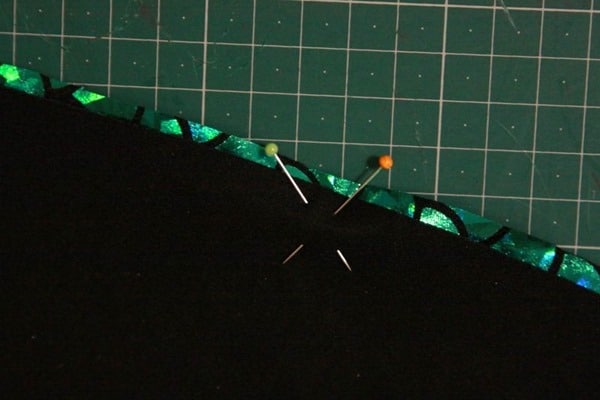
Place the two pieces of fish scale right sides together, and pin from waist to knee.
I place two pins in a cross at the knee point to make it obvious that’s where I need to stop sewing:
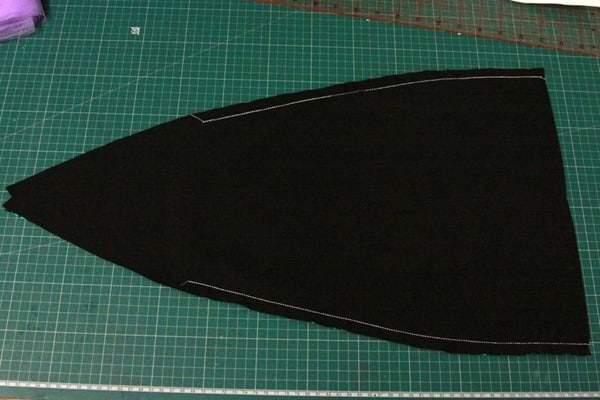
Sew from the waist down to the knee for the two sides:
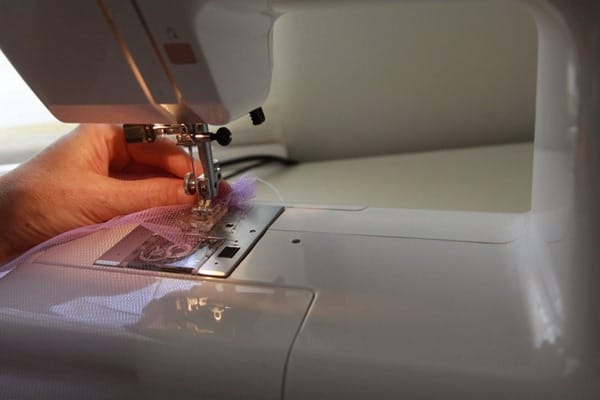
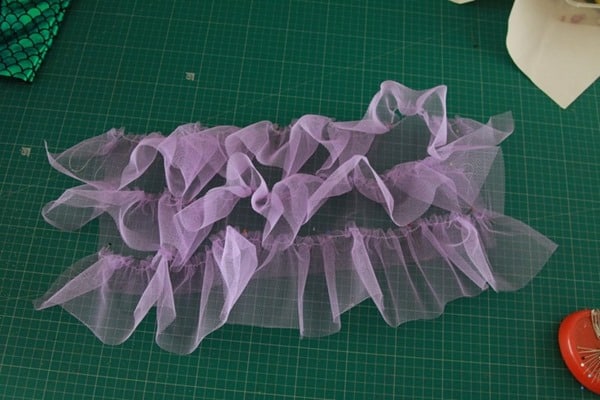
Gather one edge of the 6 nylon netting strips. I used my longest stitch length with the highest tension of my sewing machine to do the gathering. I found it gathered better if I bunched up the fabric at the back of the sewing machine, slowing it feeding through:
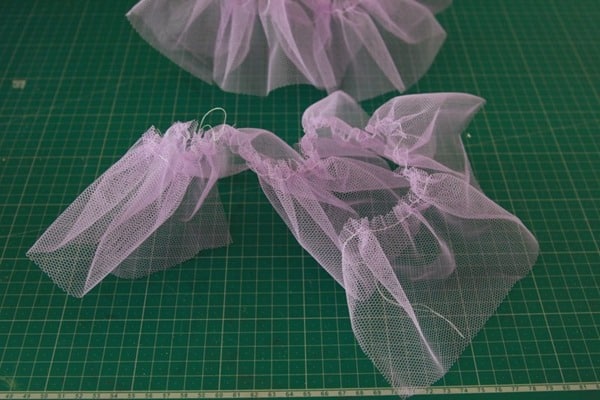
You should end up with 6 strips that look like this:
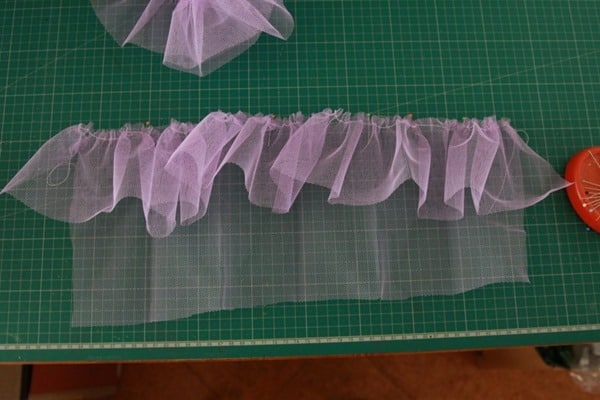
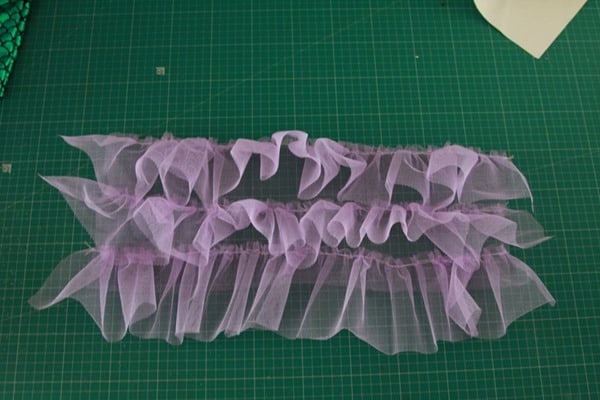
Adjust the gathers if necessary, so that they are the same length as the 20cm-wide piece of netting, and pin along the 20cm piece on the long side:
Pin the second gathered strip below the first strip:
Pin the third gathered strip below the second strip:
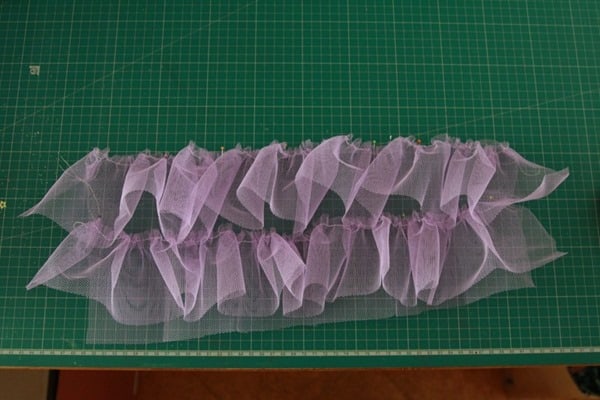
Sew the three gathered strips into place:
Repeat for the second side.
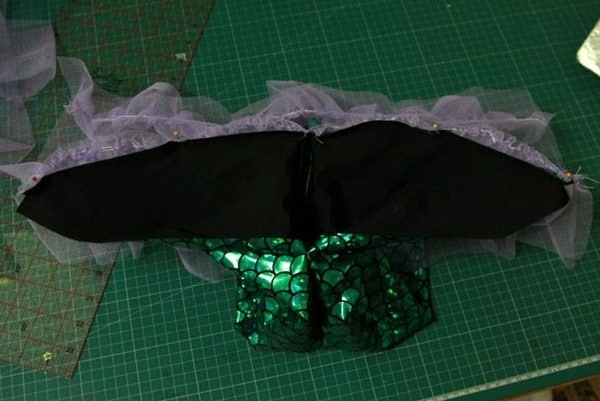
With right sides together, pin the top of the netting strip along the bottom of the fish scales piece, starting from the point at the bottom, up to the side seam and down the back to the other point:
Sew the netting to the fish scales fabric.
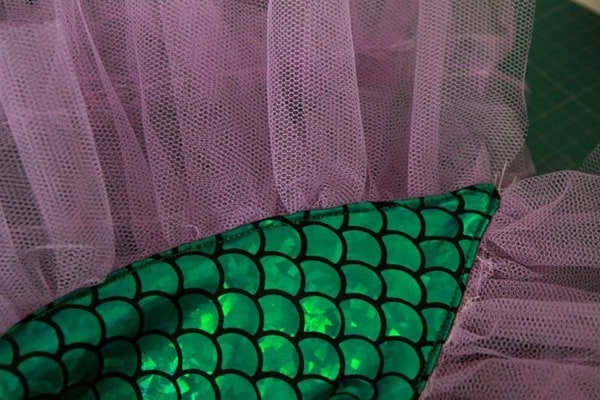
Fold the seam allowance to behind the fish scales fabric, and top-stitch in place, all the way around along both lots of netting.
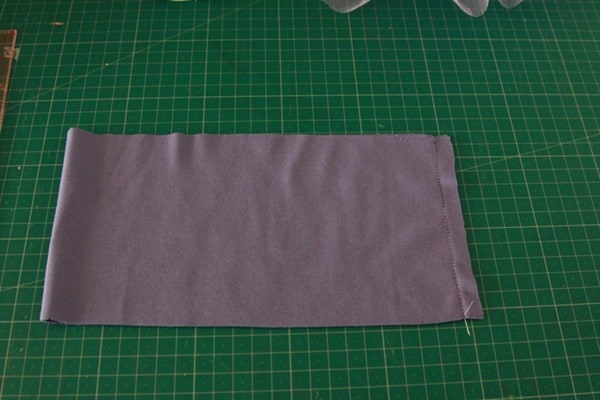
Fold your ribbing in half, right sides together, bring the short sides together. Sew along the short side:
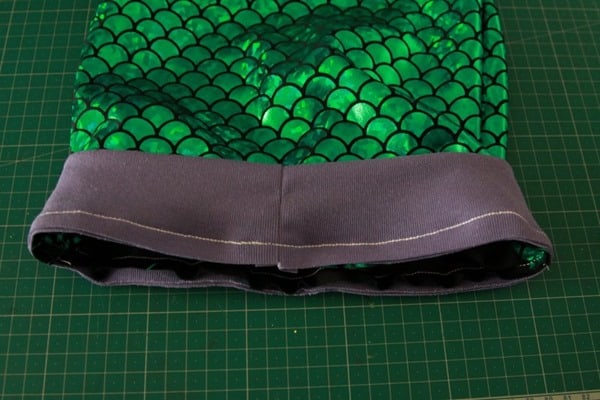
Fold the waistband in half, wrong sides together, as shown below:
Mark the waistband into quarters. Pin the waistband to the right side of the fish scales at the side seams and centre front and centre back, using the quarter markings. (The waist band is smaller than the fish scales waist.)
Gently stretching the waist band, but not the fish scales fabric, sew the waistband to the main tail. I used a triple stretch stitch. You want this stitch to have some stretch – a zigzag or other stretch stitch could also be used – test on scrap fabric what is the best option for your machine.
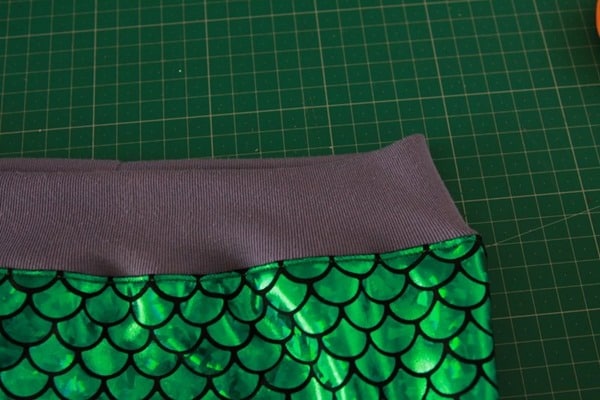
Fold the waistband to the top and pin the seam allowance to the main tail (fish scales) side:
Top-stitch the seam allowance in place (I once again use a triple-stretch stitch – a narrow zigzag is another option)
And there you have a fun mermaid tail!
For more fun sewing tutorials, sign up to the Cook Clean Craft newsletter!






Looks great! I’m trying to figure out a good way to do a mermaid ‘skirt’ for a party favor….. We’ll see what I can come up with!
Can’t wait to see it, Louise!
So cute! Did you use something to line the fish scale fabric?
Thanks! I didn’t line the fish scale fabric. I wanted to make sure it was stretchy so my daughter could walk in it, and it’s quite a thick fabric with the holographic print.
Thank you!
Great tutorial, just made a couple of tails for my daughter but I think you have under quoted the amount of netting needed, 6x10cms for the frills and a 20cm piece for the base should mean I need 80 cm of fabric, not 50cm.
You’re right that there is an error, but not in the amount of fabric. I actually cut 3x10cm strips and then cut those strips in half to form the six strips. Thanks for pointing out the error. I’ll update the tutorial.