How to Sew a Quick Elsa Cape
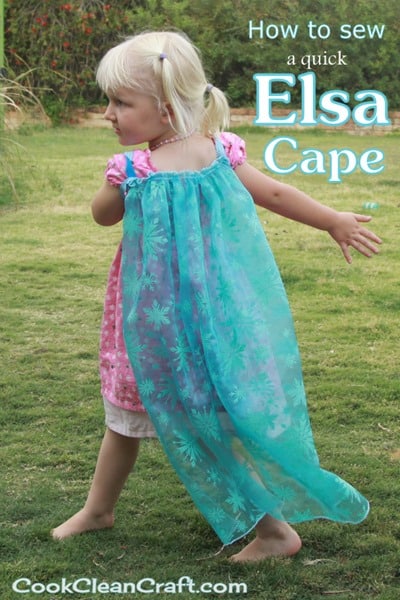
For my daughter’s Frozen party, I loved the idea of all the girls dressing up as Elsa. But I didn’t have the time (or energy) to make Elsa costumes for them all. Instead, I had the idea for a simple Elsa Cape – a quick sewing project and something fun for the girls to take home with them.
It has two loops of elastic worn over the shoulders – less of a strangulation risk, and it sits a bit lower on the back, just like on Elsa’s dress.
And it works well for running up the North Mountain!
Here’s the tutorial for how to sew an Elsa cape:
Materials
75cm (0.8 yards/30 inches) of snowflake organza (Note: this is for a 3 to 5-year-old. You may need more for an older child)
2x25cm (10 inch) pieces of elastic (I used printed fold-over elastic)
Thread, scissors, rotary cutter, pins
Sewing Machine
Serger/Overlocker (optional)
Method
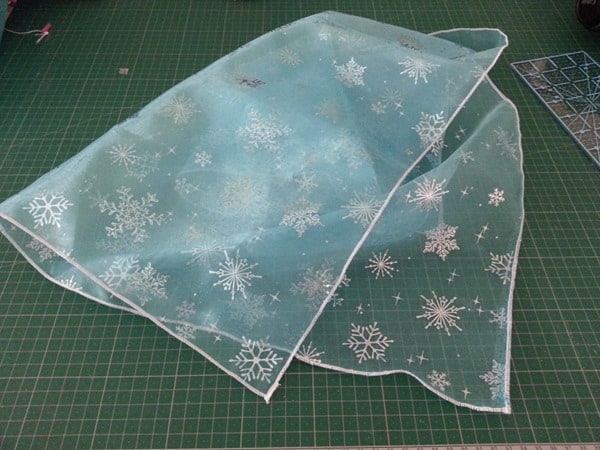
Cut 75x75cm (30x30inch) pieces from the snowflake organza (My organza was 150cm (60 inch) wide so I just cut it in half).
Since organza frays, I serged all around the edges with a rolled hem setting on my overlocker. If you use tulle, you won’t need this step since it doesn’t fray. If you don’t have a serger, you could do an over-edge-stitch with a normal sewing machine.
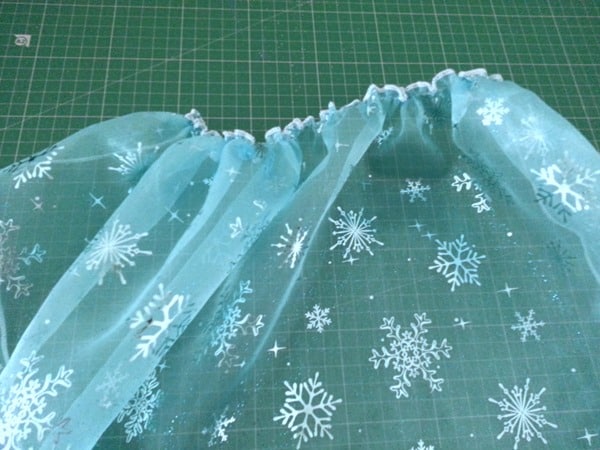
Next I sewed a gathering stitch across one edge of the organza. For gathering, I use the longest stitch length on my sewing machine with the tension at maximum – don’t back stitch at the start or end. This results in fabric gathering itself with nice even gathers. (If you have your own preferred method of gathering, feel free to use it!) Adjust the gathers, if required, until the fabric measures approximately 25 cm wide (10 inches).
Cut two 25cm (10 inch) pieces of fold over elastic. Make a circle with fold over elastic and pin it to the end of the gathered edge of the fabric.
So the elastic in to position. I did two rows of zigzag stitch to make it extra strong. Four-year-olds can be rough on their dress up clothes!
And there you have a cute and simple item for the dress up box.
And here’s how it looks with a Rainbow Dash ponytail (because of course you need a My Little Pony/Frozen mash-up!)
A few more of these might be getting made as Christmas presents!
See all the details of the Frozen party here, and for more inspiration, here’s more than 30 other Frozen craft projects.


Love! So simple but she obviously loves it too!
Thanks, Tonya!
I love this tutorial, thank you for posting it! I made a slightly altered version of this cape for my daughter yesterday and will be blogging about it on my website (referencing this post). I hope that this is ok with you.
Ruth
I’m glad it’s inspired you. I look forward to seeing your version!