Magnetic Paper Dolls Tutorial
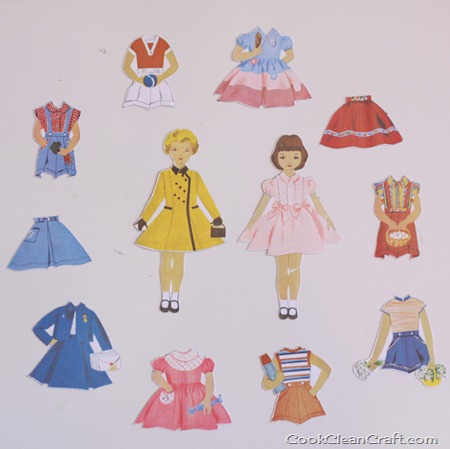
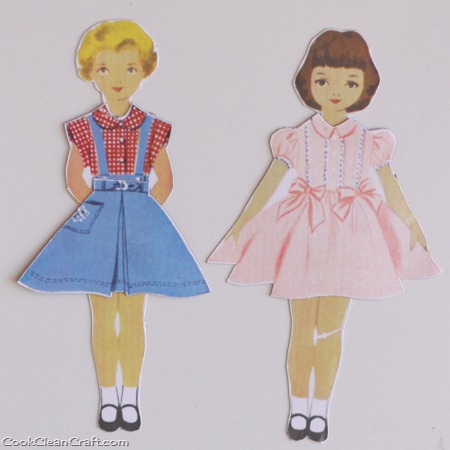
Did you play with paper dolls when you were a kid? I remember having a set and loved changing her clothes. Until the little tabs ripped (or the dolls for that matter). Here’s a modern version that’s not so delicate:
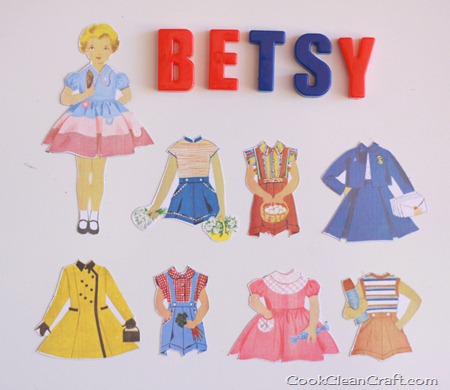
They’re made with magnetic paper, so it’s as simple as finding something they’ll stick to and get playing. I photographed this set on our 4-in-1 easel, but you could also use them on the fridge, or on a small baking tray for a portable version (which I’m thinking of doing for long trips in the car!).
This set as a stocking stuffer for my little girl for Christmas. I’ve made a couple of other sets for quick presents for the little girls in our life. The ink in my printer was low so the colours look a little washed out, but I think that adds to the vintage character! Click through to see the full tutorial:
How to make Magnetic Paper Dolls
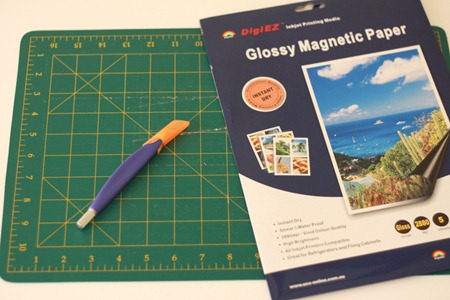
Materials
Magnetic Paper
Ink-Jet Printer
Craft Knife
Cutting Board
Paper Dolls images
Notes:
- I purchased my magnetic paper from a daily deals website a while ago. There is also this type on Amazon. It may also be available at stationary supplies or similar stores.
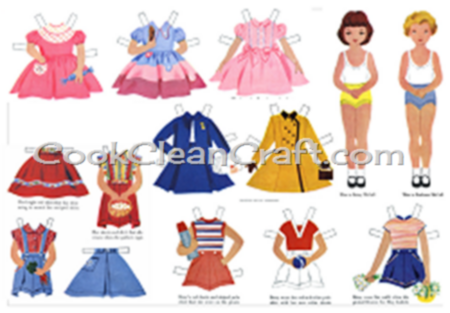
- I used images from this website. I cut and pasted the individual outfits into a single page to get as much on one sheet of magnetic paper as possible (shown below). I just used MS Paint and Word to do it. As I don’t own the images, I’m not going to provide the file here.
Procedure
Place magnetic paper in the manual feeder of your ink jet printer. Double check that the paper is the right way up for your printer.
Open file containing paper doll images, and print, making sure you select the correct paper source for your magnetic paper.
Carefully cut out each paper doll and outfit using your craft knife. I found the top layer of the magnetic paper sometimes stretched a bit as I dragged the knife across. Placing my finger on the image as close as possible to the knife helped it to cut cleanly.
And there you have a simple project that most little girls would love to play with (and maybe some boys too!).

So sweet and clever idea!!! I always loved those dolls! Thanks so much for sharing the great tutorial! I’d love for you to visit my blog.
Happy week !
Hugs from Portugal,
Ana Love Craft
http://www.lovecraft2012.blogspot.com