Party Dress Pattern Remix
Do you follow Project Run and Play? It’s a Project Runway-style competition for kids’ clothes, and the seasons to date have been amazing. They also have a sew-along competition, and I’m using it as an excuse to sew more clothes for my kids (not that they need any more clothes at the moment!).
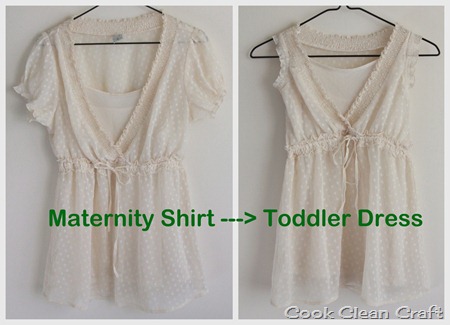
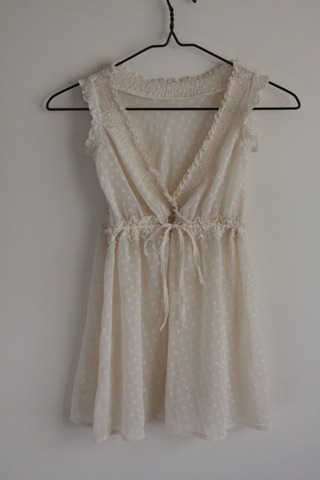
The first round is a pattern remix challenge – put your own spin on a particular pattern. This season it’s the Party Dress from Lindsay at The Cottage Home. It’s a simple bodice and gathered skirt pattern, and which I used to refashion an old top of mine into a dress for Celeste:
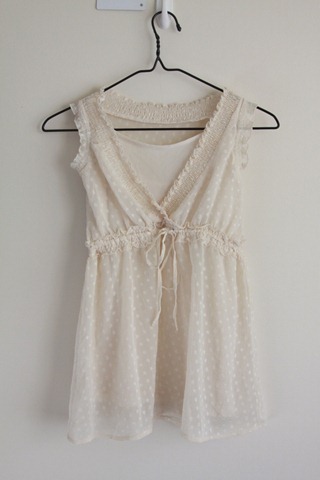
I bought the top before I had my first child and a guy at work was sure I was pregnant when I wore it. I did get pregnant not long after, but now I think of it as a maternity top and I just can’t wear it anymore. It was perfect to turn into a sweet, girly dress – it almost looks like a flower girl dress. Too bad I don’t know anyone getting married soon!
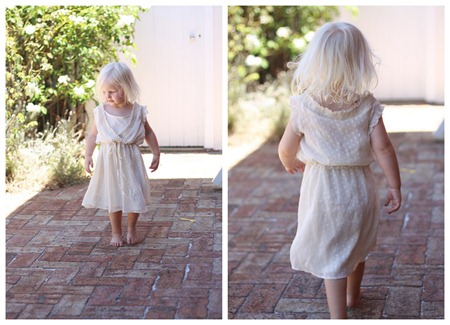
Since Celeste has enough clothes for this summer, I made it a Size 3 to fit next year. It still looks adorable on her!
And since I can’t resist the cute shots, here’s what I get when I as Celeste to smile:
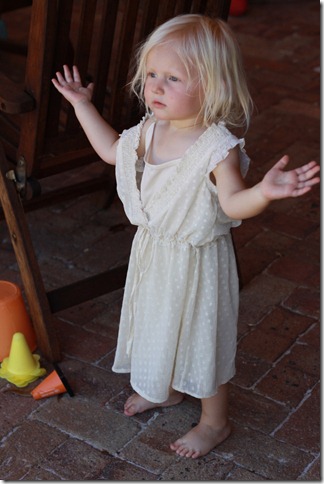
She looks a bit warrior princess to me here. And this shot cracked me up too:
Here’s the tutorial:
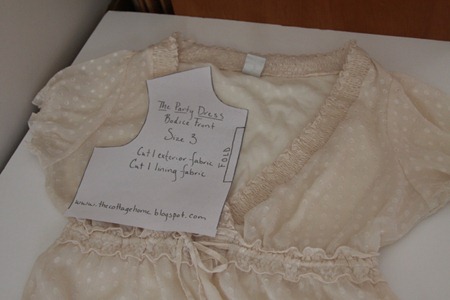
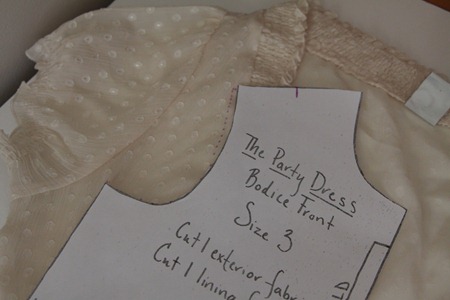
I started by laying out the bodice pattern on the top – positioning the centre-line at the centre-front of the top:
I traced out the bodice pattern with a washable pen, and marked the pattern where the V-neck section stopped on the shoulder seam:
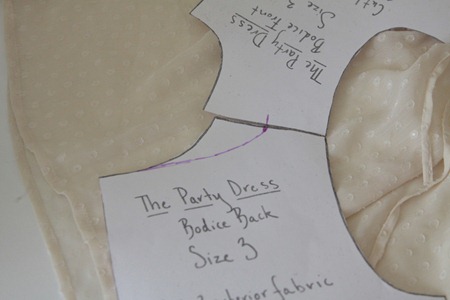
I marked the same point on the shoulder seam on the back of the bodice, and then modified the back neckline to suit:
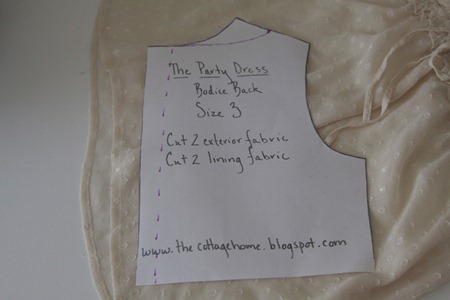
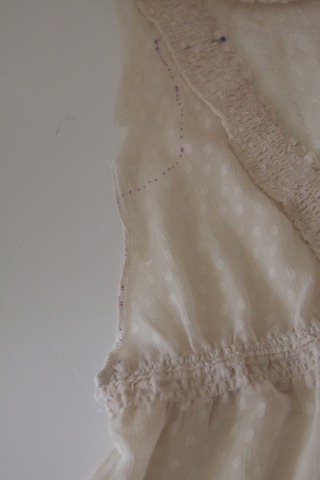
Since I wasn’t adding a closure at the back, I also trimmed a section off the back bodice at the centre (at the dashed line):
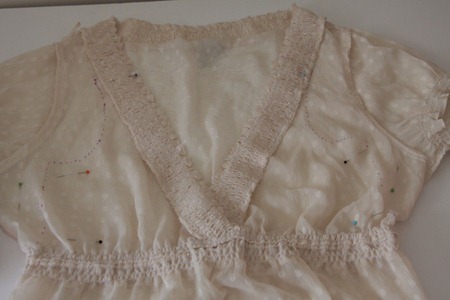
I traced the back piece onto my top and pinned the front and back so the V-neck wouldn’t shift:
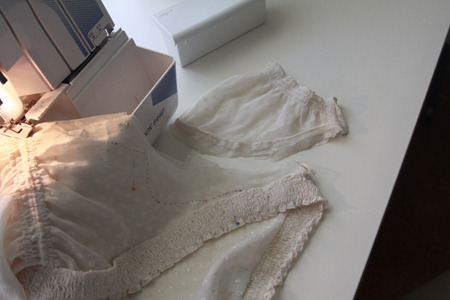
When I got to my serger (or sewing machine). I wasn’t sure if I was going to use the sleeves and I didn’t want them to get damaged, so I trimmed them off (yes, I was making this up as I went along!):
Then I sewed my side seams:
The neckline and sleeves then got trimmed along the lines I drew previously – I sewed the side seams first to hold everything in position better before I cut.
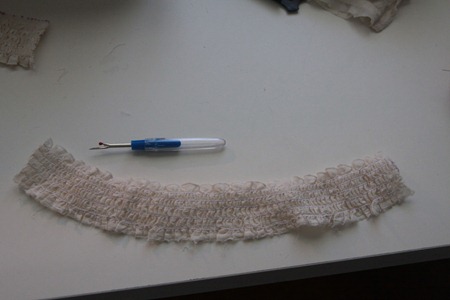
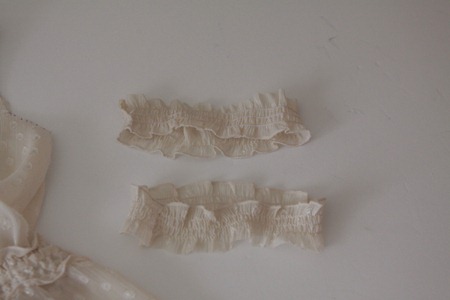
For the back neckline, I unpicked the neckline trim from the original top:
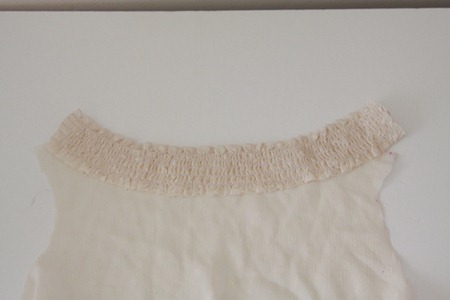
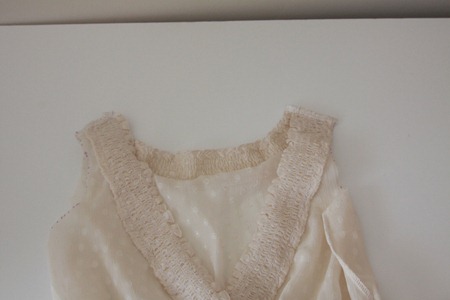
Then I worked out where it would need to sit by lining it up with the neckline:
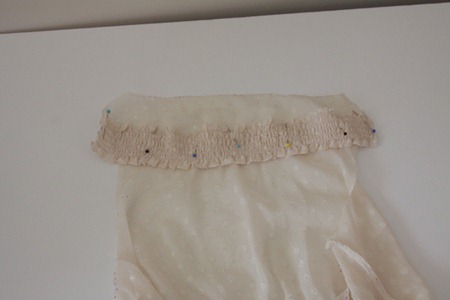
Flipped it over so it was right sides together and pinned in place:
And then sewed it together:
I then sewed the shoulder seams together:
I wasn’t really sure how to finish off the armholes. I ended up cutting off the ends of the sleeves:
And eased them into the arm holes:
Finally, I wasn’t sure how to modify the slip. I decide to just shorten the straps with a row of stitches.
Since the dress is a size too big at the moment, I may need to modify it for a better fit later. It worked out ok though:
So I very loosely borrowed from the original tutorial, but love that it motivated me to do one of the refashions I’ve wanted to do for a while.
And finally, all photo-shoots in the backyard end up with a Cozy Coupe shot:
Have you refashioned any of your old clothes for your kids?






this turned out beautifully – you will have to post more pics next summer so we can see the difference!!! Quite a few of my repurposed things have come from maternity tops… hey, they have a good amount of fabric right ;o)
I love how this looks! It’s adorable as is your little model!
Wow, that turned out really cute!
This turned out so well! I’ve been considering doing the same with one of my maternity tops and I am totally inspired to take the leap now. And I definitely get the I’m-not-pregnant-but-this-shirt-makes-me-look-like-I-am thing. Such a great reuse of a beautiful shirt!
What a great upcycled project! I would love for you to come link up at my weekly linky party Thrifty to Nifty Thursdays at A Jennuine Life. I’m working with a couple of bigger bloggers to feature great projects, so I’m hoping to bring fabulous exposure for participants! http://ajennuinelife.blogspot.com/2013/01/thrifty-to-nifty-thursdays-2.html
Don’t you just love the fact that there are no rules when you repurpose an article of clothing!!!! I just finished my project for the man’s shirt challenge and it was so much fun that I stayed up until 2 am sewing:)
Very cute dress.
Deborah
http://sewmuchtogive.blogspot.com
Very cute! So greek looking! Like a little Greek Goddess! too cute. I also can’t belive she’s gotten so big!!!!!
Stopping by from SITS. I am so impressed! That turned into such a cute toddler dress. And your little girl is sooooo cute!
It’s gorgeous! And well done for taking it and making something new and usable! New follower. Thanks for coming by Inspiration Cafe…would love it if you considered doing a guest post there sometime!
Great refashion. Makes me wish I had girls! xoxo, T.