Queen of Hearts Dress
I originally shared this Queen of Hearts Dress Tutorial as I’m Feelin’ Crafty for Sew Ready To Play. Since Valentine’s Day is just around the corner, it’s time to share it here too. I love how this dress turned out, and seeing my daughter in red for a change!
I’ve had so much fun in past years with Sew Ready to Play, and always had a clear idea what I wanted to make. This time around, I was all out of inspiration. I’ve lost my sew-jo lately, and couldn’t even think of a game that inspired me. So I procrastinated.
And procrastinated.
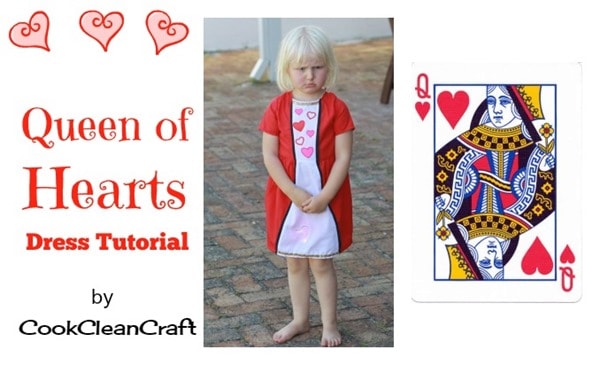
Then finally inspiration hit. A simple deck of playing cards was my inspiration, and before I knew it, the Queen of Hearts dress was made:
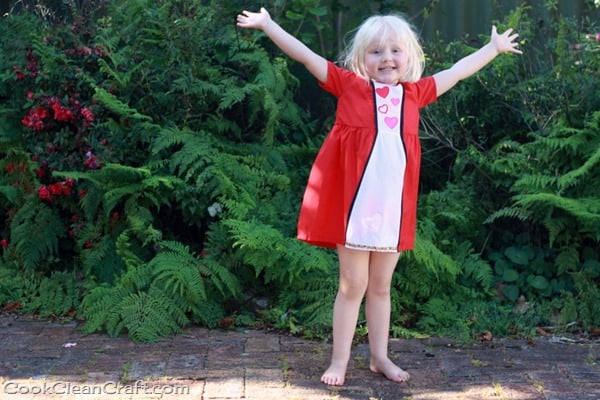
As a redhead who blushes like a tomato, I’ve never been able to wear red, but my blonde kids look great in it. When I bought the fabric, I was worried that red and black are a bit grown up for a 4 year old. So I went with a simple dress with very cutesy hearts. I searched for fabric with red hearts and couldn’t find any (what?), but found some perfect iron on appliques at my local fabric store.
Queen of Hearts playing cards tend to have gold trim around the next. I found some sequin trim that was just perfect for my sparkly little girl.
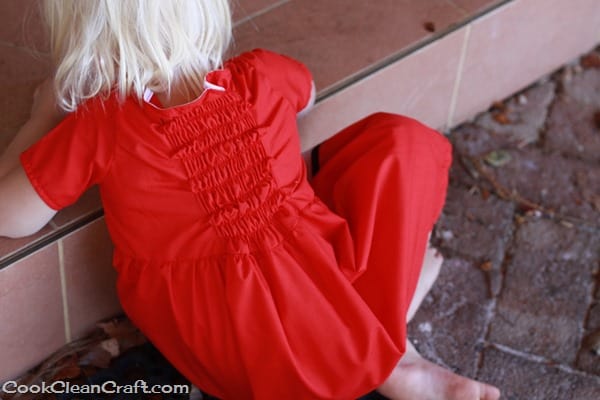
It’s shirred in the back – much easier than buttons or a zip for an independent girl to dress herself!
My model wasn’t in the mood, so most of my photos turned out like this:
This Queen’s got attitude! But believe it or not, she loves the dress.
Here’s how I made it:
The fabric I used was poplin, basically because it’s cheap and I’m supposed to be on a fabric diet!
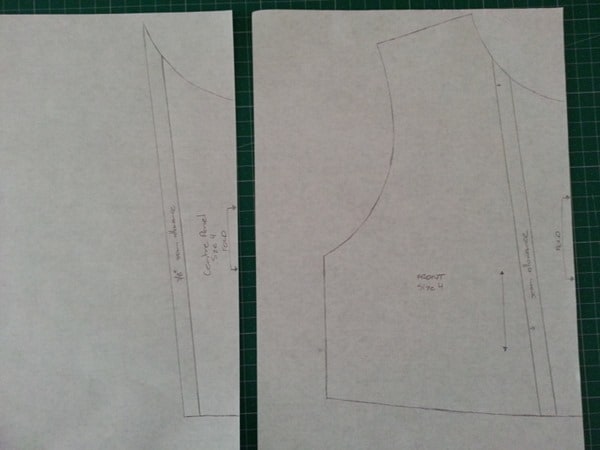
I started with a basic bodice pattern (this was from the 5 and 10 Designs eBook). I drew a line where I wanted the seam between the red and white sections and added seam allowances.
For the back bodice, I added a couple of extra inches to the back to allow for the shirring. I should have made it a bit bigger since it only just fits over her head – oops!
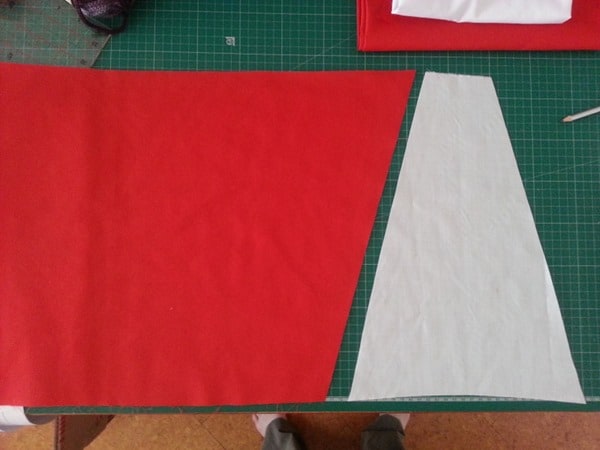
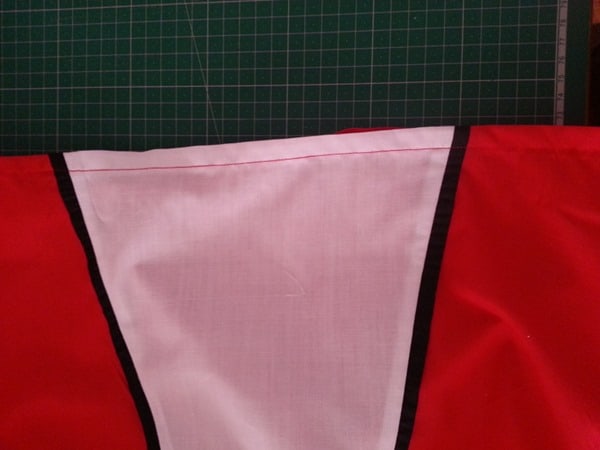
For the skirt, I cut out a rectangle of fabric for the red section and then cut off corners to create the angled look, and matched up the same for the white section, making the top the same width at the bottom of the bodice.
I also cut strips of 1 1/4” strips of black fabric for faux piping.
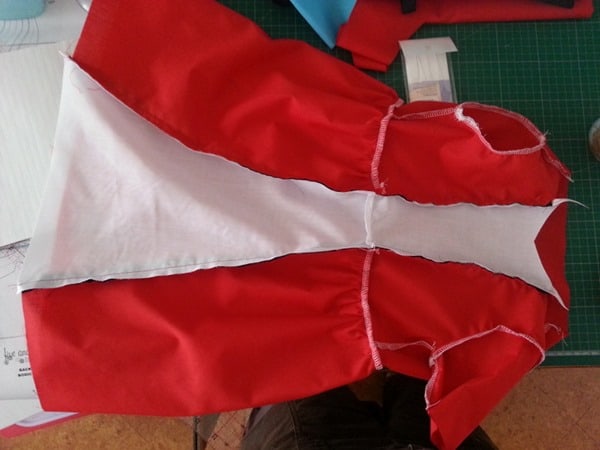
I sewed the bodice front centre panel to the skirt centre panel.
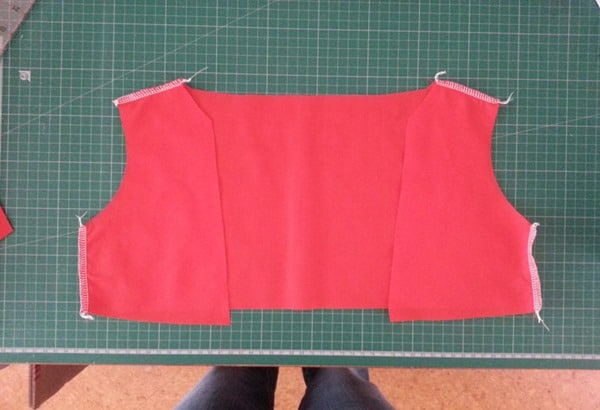
Then I sewed the side and shoulder seams of the bodice (I actually should have sewn the sleeves before I did the side seam, but no making things easy for myself here!
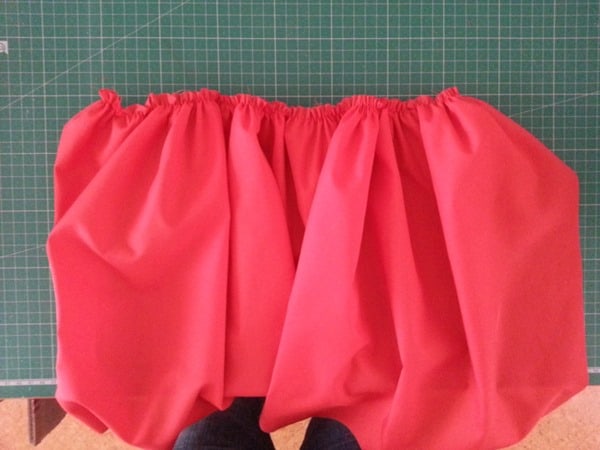
Then I gathered the red skirt section (I prefer to machine gather, by using a long stitch length and high tension):
Adjust the gathers to that the skirt width matches the bodice width, and sew, right sides together:
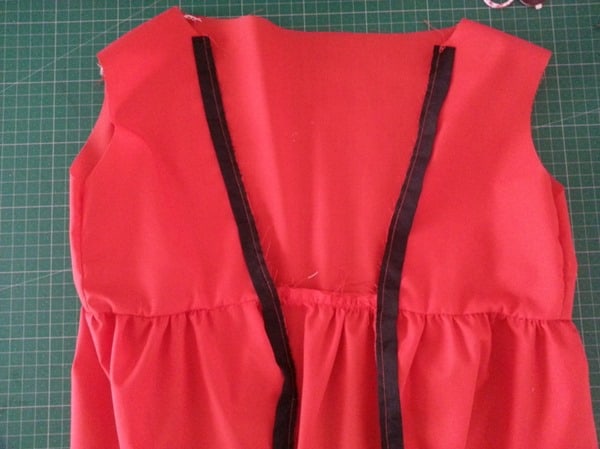
Fold the black strips in half, lengthwise and press. Pin to the right side of the front seams, lining up the raw edges, and sew a basting stitch inside the seam allowance:
With right sides together, sew the centre panel to the red section of the dress:
The black piping should create faux piping like this (press it to one side for a crisp look):
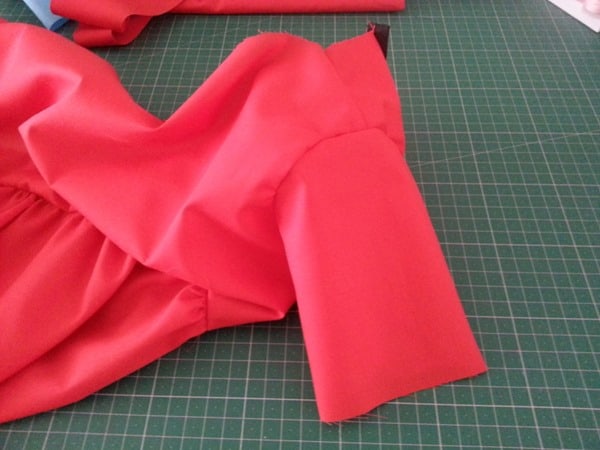
Sew the underarm seam of the sleeves, and then sew into the armhole:
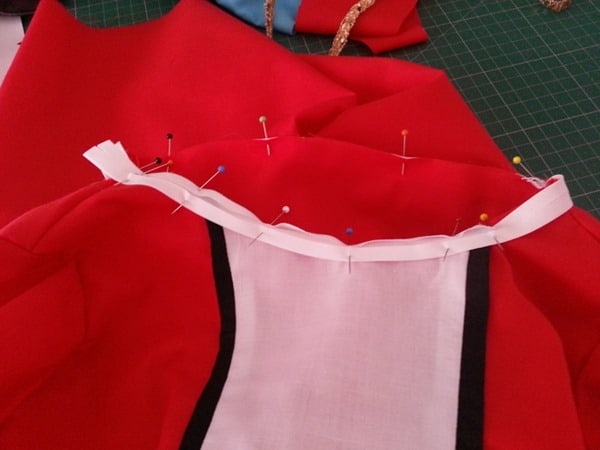
To finish the neckline, sew bias tape right sides together to the neck hole:
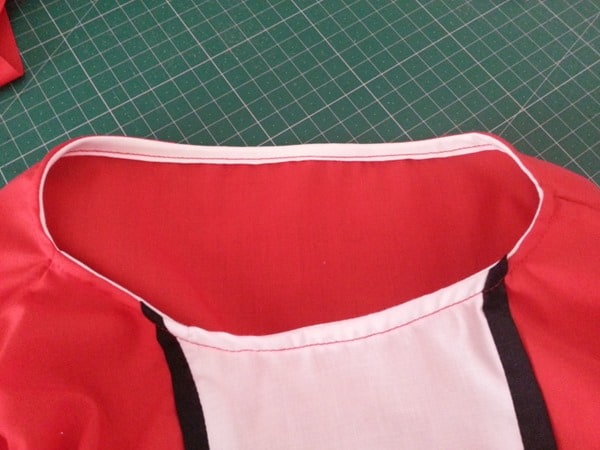
Turn the bias tape to the inside, press and then stitch in place (don’t worry about the contrasting thread for the front panel – we’ll cover that with trim):
Press and sew a double-fold seam for the sleeve and bottom hems:
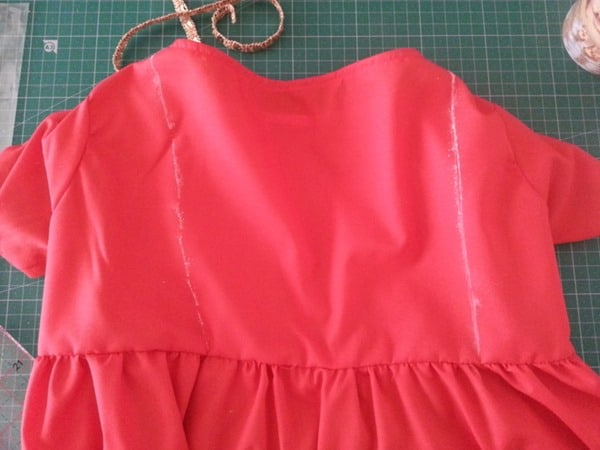
Draw two lines across the back bodice down from the shoulder with chalk or disappearing pen:
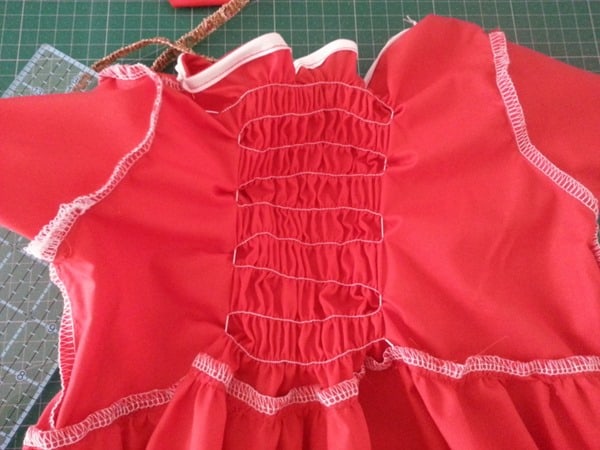
Sew shirring elastic across the back panel between the two lines (or you can shirr the whole back bodice, if you prefer:
I jumped across between the rows rather than stopping at each row end. I didn’t pull the elastic enough, so the shirring pulls up a bit at the back. It annoys me, but not enough to fix it!
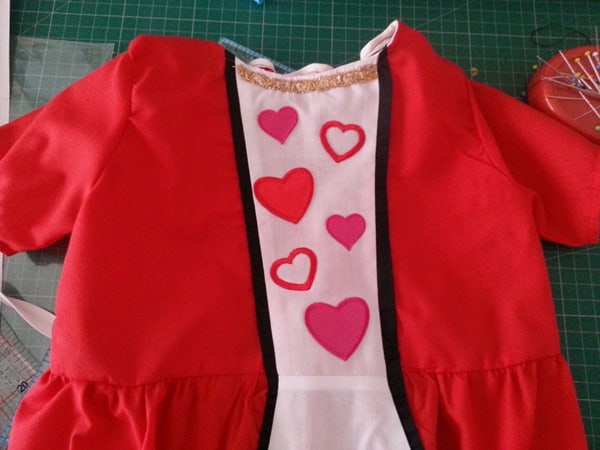
Finally, I added some gold sequin trim across the neckline (covering the contrasting thread), and added iron on appliques to the bodice from panel.
I also added one heart to the skirt section and more sequin trim along the bottom hem stitching.
And there is my cute Queen of Hearts!
Come over to Cook Clean Craft for more fun sewing projects, plus family-friendly recipes, household cleaning and organization tips and other craft ideas. Thanks for having me again, Louise!









Love it!! 🙂
Thanks Louise!
Her pouty faces are cracking me up! Mine will get in moods like that, too! Adorable dress 🙂