Quilt as You Go Puff Quilt/Mat Tutorial
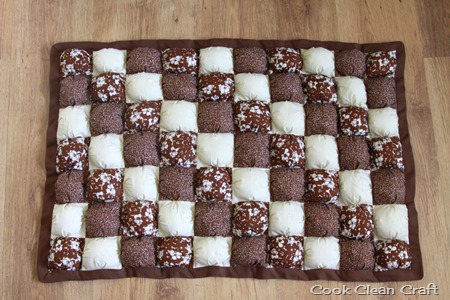
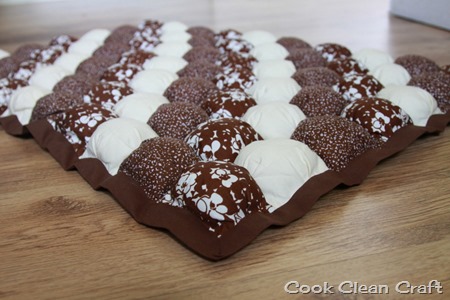
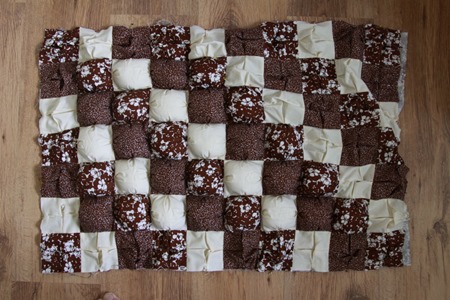
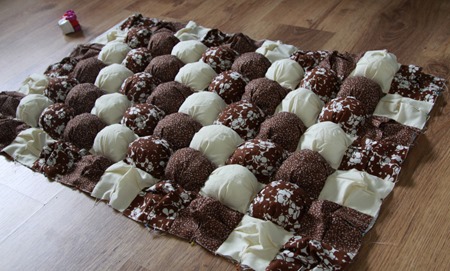
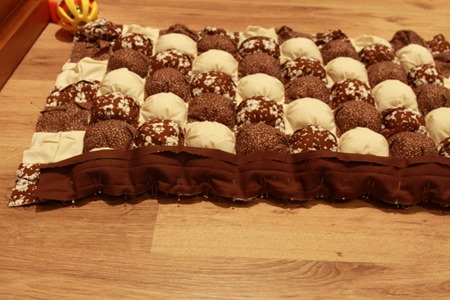
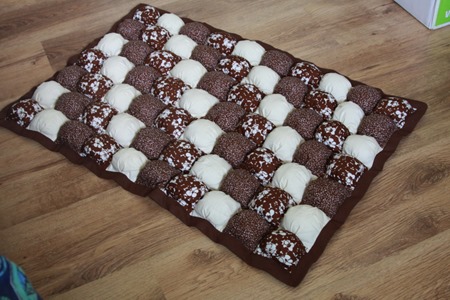
This post has been a long time in the making… I made this Puff Quilt Mat (using my own quilt as you go method) for my Mum as a Christmas present in 2011. I really procrastinated writing the tutorial for this. It was a fiddly project and when it was done, I didn’t want to think about it for a while. But finally, here is the tutorial. But firstly, here’s what I’m talking about:
The colours aren’t really my taste, but it looks great in my parent’s bathroom (it’s not for standing on when you’re wet, but to keep your feet off the tiles when you’re standing at the sink – this always confuses my husband!).
The final size was 33” x 21”. Each finished puff is 3”, so it’s 11 puffs by 7 puffs. You can make it any size you want that can be divided by 3” (unless you want to do a different size puff – but I’m not going there today!).
Other puff quilt tutorials make the individual puffs and then sew them all together. A backing fabric is added and the whole quilt is bound. I decided to do things differently, and stuffed my puffs as I sewed to the backing fabric. It saves a layer of fabric (yes, I’m stingy with fabric!) and might be slightly quicker (but it’s still not a quick project!) Click through for the full photo tutorial:
Materials
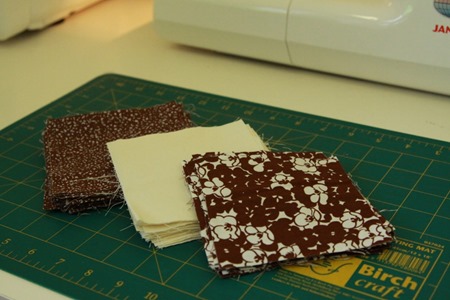
1 1/2 yards Primary Fabric for front and backing (Paige Stanley Miller Bon Vivant Poppies)
1/2 yard Second Fabric (Paige Stanley Miller Bon Vivant Texture)
1/2 yard Third Fabric (Cream-coloured solid – not sure where from!)
1/2 yard Fabric made into 1” bias binding (Free Spirit Designer Solids in Chocolate) or 110” of bias tape.
Polyfill or other stuffing
Scissors or Rotary Cutter and Cutting Board
Thread, Sewing Machine, Pins
Instructions
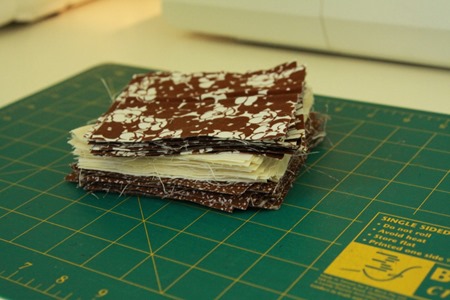
Cut a mountain of 4.5” squares. For my mat, I needed 77 puffs, so 26 squares of two different fabrics and 25 of the third fabric.
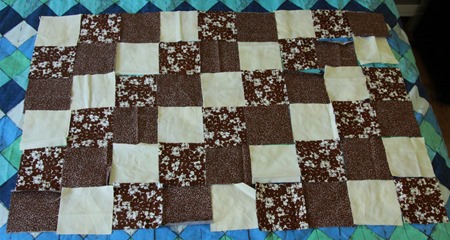
Spread out the squares and play around until you get the layout you like. I went with simple diagonal rows:
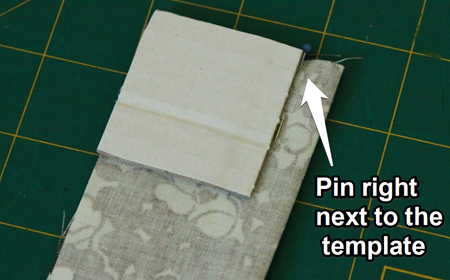
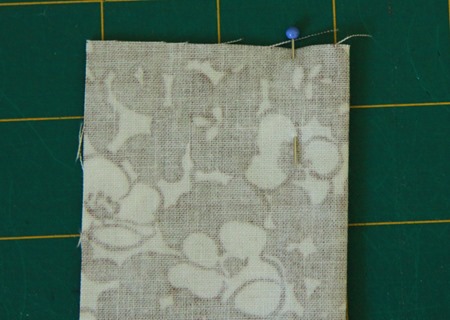
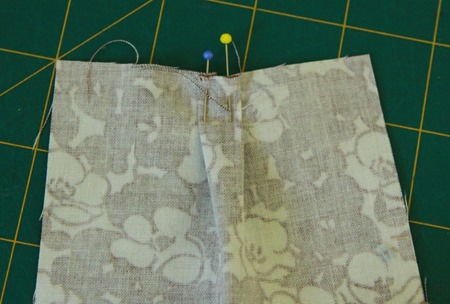
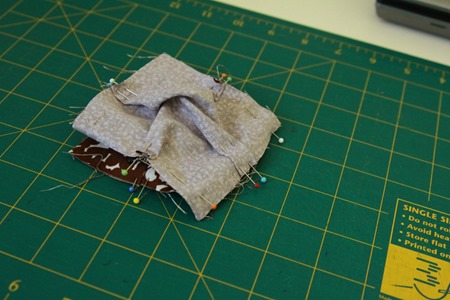
Cut a 1.75” cardboard square to use as a template. Fold a square in half, right sides together. Line up the square on a non-folded corner, and place a pin right next to the cardboard.
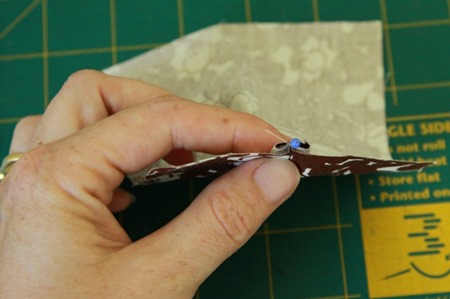
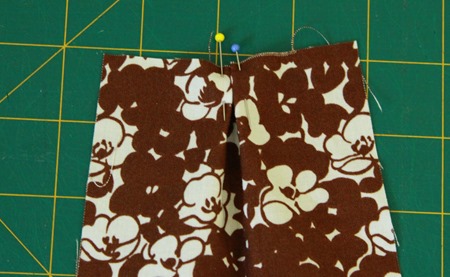
Wriggle the fabric around so that the fold opens up and the centre lines up with the pin to create a small inverted pleat.
Pin the two sides of the pleat in place and remove the centre pin.
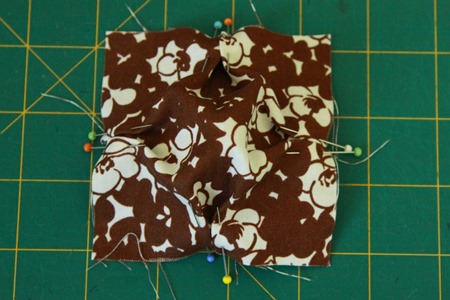
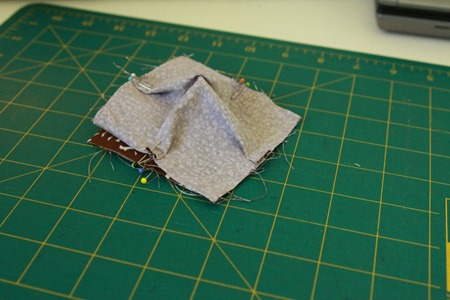
Repeat for the each side of the puff.
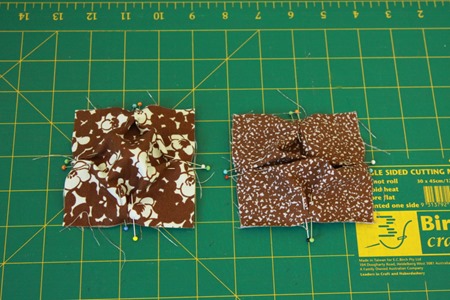
You should now see it starting to puff up (waiting to be stuffed):
Repeat for the next puff in the row.
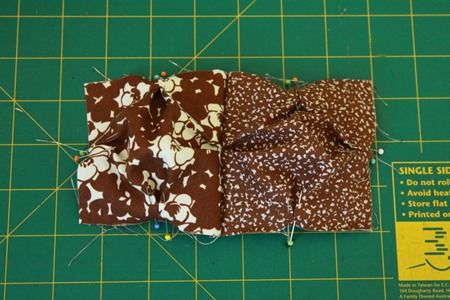
Pin the edge of two puffs together (right sides together), lining up the centre of the box pleat and the two edges.
Sew together using a 1/4” seam allowance.
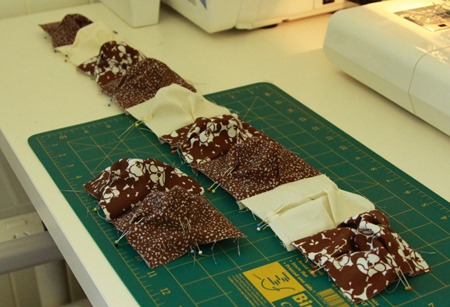
Keep pinning and sewing puffs together for each row of the quilt.
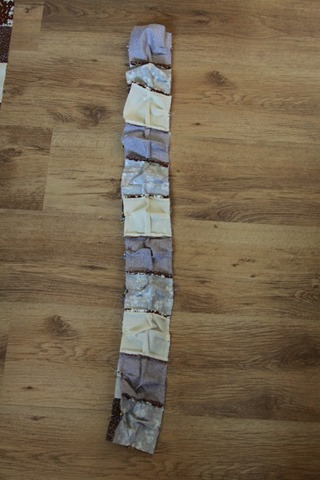
I alternated between pinning and sewing to feel like I was making progress and to break up the monotony of the pinning. I also don’t own that many pins! You could do all the puff pinning first – it’s a good activity for in front of the TV. You’ll end up with rows looking like this (well actually, I’d only pinned some of the side pleats!):
Sew two rows together, lining up the seams as best you can (and they’re not really that noticeable when it’s all puffed if they’re slightly out of whack):
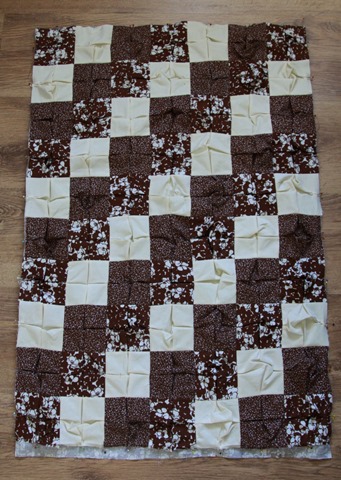
Keep sewing the rows together until you have your puff quilt top:
Measure your quilt top and cut the backing piece for the quilt (33” x 21”, it may be slightly different if your seams weren’t exactly 1/4”).
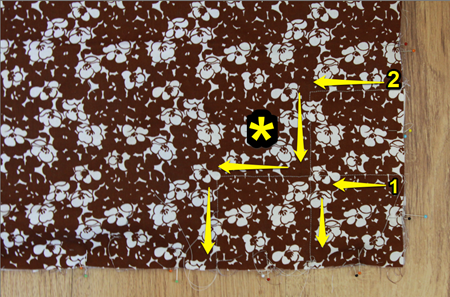
Now for the fun part: quilting and stuffing. First sew two edges of a corner puff. Sew from the top in the ditch of the puff seams (I’ve only shown the back here).
Then sew the next diagonal, which sews together two sides of the next two puffs (marked with 2 in the photo above).
Next, fill the puff marked with a star in the photo above with polyfill. This one will get enclosed with the next row of stitching:
Then sew along the diagonal for the next row (enclosing the stuffed puff):
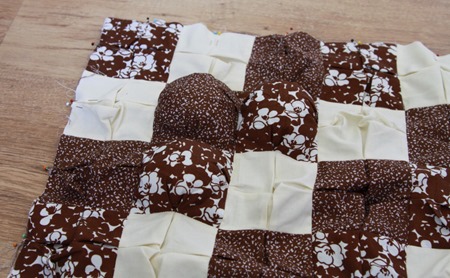
Fill the two puffs marked with a + in the above photo with polyfill, and sew the next diagonal (enclosing those two puffs). Continue on until all the inside puffs are filled and sewn shut (the puffs around the edges are still be filled). Here’s a progress shot:
And here it is with all the diagonals sewn (and it’s starting to look like something!):
Next stuff all the puffs along one side of the quilt/mat with polyfill. Open up the bias tape and pin with right sides together to the top of the quilt, (closing the puffs along that side):
Repeat all the way around the quilt:
Sew together the two short ends of the bias tape. Sew the bias tap in place along the first crease. Fold the tape over to the wrong side of the quilt (encasing all the raw edges), with the edge tucked under and sew into place.
And there you have the finished puff quilt/mat. It’s a slow process, but a snazzy result!
I’d love to see a photo if you make a quilt/mat from this tutorial. If there are any problems with the instructions, let me know too.






Wow! Lots of work involved, but well worth it. You posted right before me at Making the World Cuter. Hope you get a minute to visit me too!
http://vintagezest.blogspot.com/
This looks a lot easier than the way I did it. Will be giving it a try! Thanks for the tutorial 🙂
Hey,
This is a wonderful work, I love to watch it.
But it looks like a looooooot of work,
Wonderful.
Creativemaman
I am procrastinating doing the dishes at this very moment. I wish I had one of these mats. 😉 Beautiful job, I may have to try this.
Thanks for sharing.
Me gustó y es más fácil de como yo lo hacía. Gracias. Yo me compré hasta una herramienta para hacer estos puff!!! y aquí tu no la necesitas. Mil gracias.
Yasmin
it’s very nice!I want to try too…thanks for sharing!
What a great gift for your mom Narelle! And a nicely written tutorial too. I featured your post on Craft Gossip here,
http://quilting.craftgossip.com/tutorial-qayg-puff-quilt/2013/03/21/.
I look forward to seeing more of your projects.
Warmly,
Scarlett Burroughs
Quilting Editor, Craft Gossip
http://quilting.craftgossip.com
It’s very nice!! Love that you’ve provided a tutorial, thank you! 🙂
Wowee, thanks for the fantastic tutorial! 🙂
What about the back?????
The back has a square quilted pattern on it, from sewing around each puff. I didn’t take a photo of the back, and I’ve given it away. Sorry.
I made one of these a few years back but my method was way more complicated than yours. Thank you for a great tutorial, I will give this one a try!
Do you think that using denim for the backing would be okay, or would it be hard to manipulate and throw around the heavier material while working on all of those little bits on the sewing machine?
I really want a quilt that’s cushy like that mat but has something durable like denim on the back so I feel okay throwing it on the ground where there’s no nice grass… primarily so my baby can play on it, but also to make those rough spots that actually need the extra cushion more comfortable, haha.
I think it would depend on your sewing machine. It might be harder to roll up the bulk to fit through the arm of your sewing machine. I’d probably look at an outdoor fabric from the decor section of a fabric shop that’s sturdy but not as thick as denim (and you may find something that’s waterproof which would be good for a picnic blanket). Another option, rather than doing a puff quilt would be to do a normal quilt with a couple of layers of batting to make it nice and soft. Let me know how you go!
I am going to try this quilt using lightweight denim. Because I’m a perfectionist, how much stuffing goes in each puff. Like,I want to weigh each fistful of poly!