Smocked Christmas Ornaments
I love a crafty challenge. It makes me think outside the box and test ideas that have been bouncing around in my head. Suddenly, I find myself making Christmas decorations in August! (And I apologise for making you think about that event – less than 4 months away, aagh!)

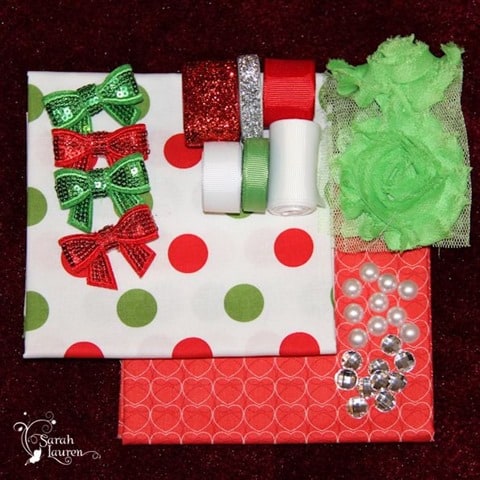
Sarah Lauren and Fabric Fusion (two great Aussie craft supply businesses) teamed up to create the ribbons and remnants challenge. I (and 9 other talented bloggers) received this bundle of goodies and were challenged to see what we could make with it:
The red and green colours immediately made me think of Christmas. The geometric layout of the heart print was perfect for trying out some hand-smocking (one of those crafts on my “to try” list ).
Armed with a couple of second-hand books about smocking, I dived right in. Here’s how to make hand-smocked Christmas decorations:
Materials
1 fat quarter of fabric
Embroidery thread
Grosgrain ribbon
Styrofoam ball
Pins
Needle
Sequined bows
Method
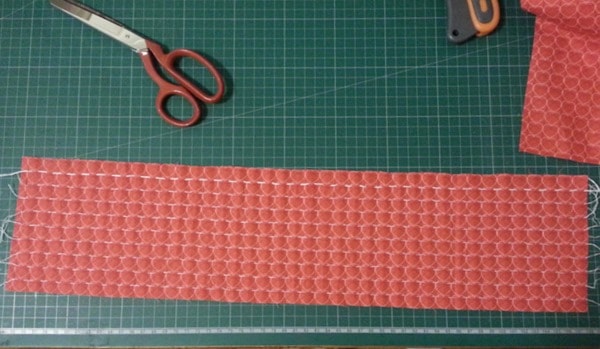
1. Cut a fabric strip wide enough to cover your Styrofoam ball (for a 5cm ball, I used 9cm of fabric. Using 1 or 2 strands of embroidery thread, so your gathering stitches evenly across the fabric. I used the heart pattern to make this easy, just going in and out the top of each heart.
2. Gently pull on the gathering threads to evenly gather the fabric. You may need to poke the fabric to push the gathers to the right sides, but it more or less should gather the right way by itself.
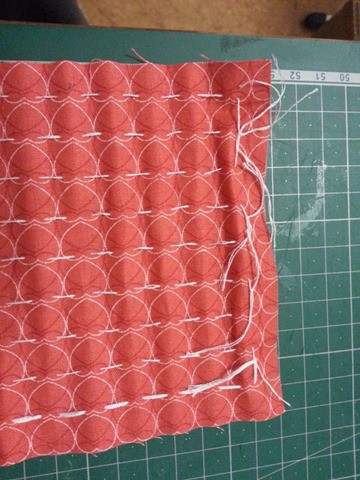
3. Tie off the end so that the fabric is wide enough to almost wrap around your Styrofoam ball (around 10cm for a 5cm ball). It doesn’t have to be perfect as the pleats will loosen when you remove the gathering stitches, after you’ve done the smocking – but I’m getting ahead of myself!).
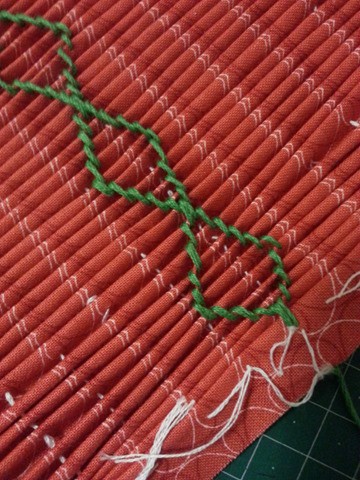
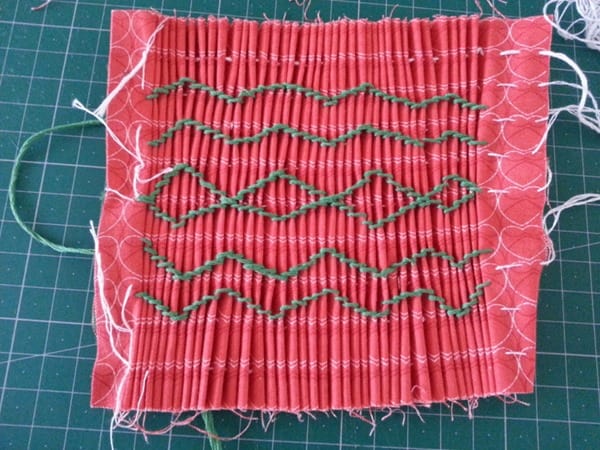
4. Sew stitches with embroidery thread between the pleats, joining two pleats together with each stitch, creating your desired pattern:
5. Continue sewing your smocking stitches until the fabric is all done:
6. Pull out the middle rows of gathering stitches, leaving the top and bottom in place.
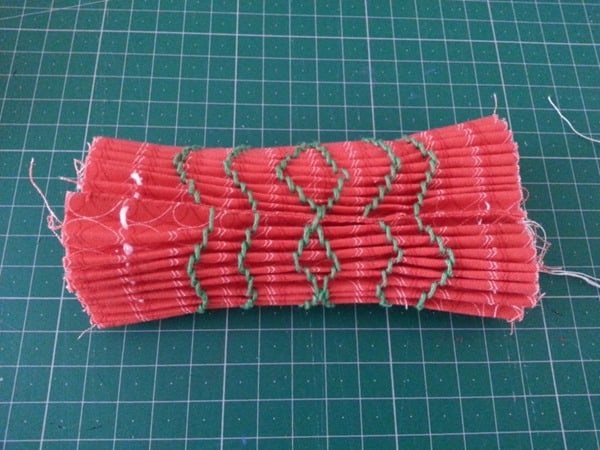
7. Turn your gathered fabric into a tube and pin in place.
8. Hand-sew a seam along where you just pinned using a matching thread, creating a tube.
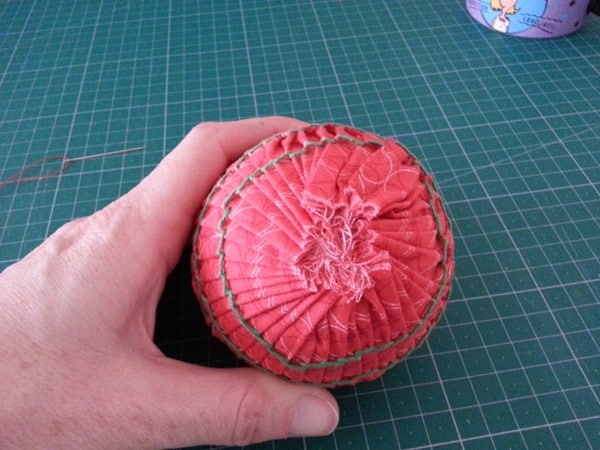
9. Place your Styrofoam ball inside the tube. Gently pull the rows of gathering threads to enclose the ball. You may need to trim excess fabric.
10. Tie off the threads. The top and bottom may look a little messy.
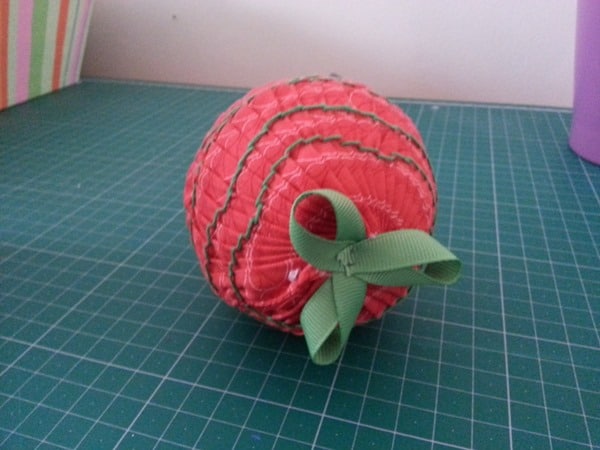
11. Loop around some ribbon to create a hanging loop and to cover the messiness. Pin the ribbon straight into the Styrofoam ball (or glue into place if you prefer.
12. And if you want something a little fancier, add some sequined bows:
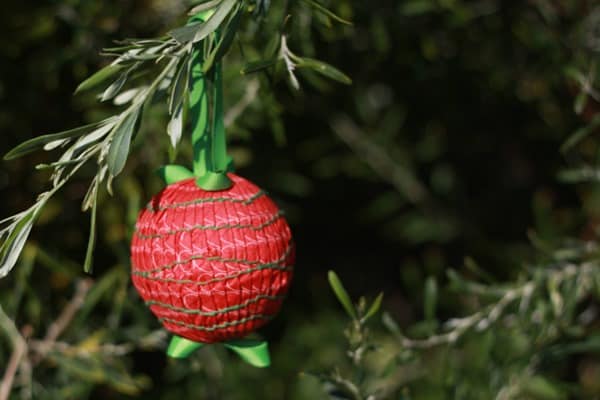
And there you have some cute handmade Christmas decorations.
To hang on a random bush in your backyard in August – the things you do when you’re a blogger!.

What would you have made for the Ribbon and Remnant challenge? Check out what the other crafters made on the Pinterest board, and next week, you can vote for your favourite.







You have done a great job. Love the smocking.
Thanks Janine! Thanks for the inspiration for the challenge.
Wonderful Christmas craft. Reminds me when I used to make my daughters dresses and smocked them. Shall try your idea and see if the old fingers are up to it. Thank you.
I love the look of smocked dresses. Making one for my daughter is on my list of projects to do. I thought a Christmas decoration was a nice, small project to give smocking a try. I’d love to see how your decorations turn out!
Here is an easy way to cut your fabric strip to exactly the right length to fit your ball
1/ Make a strip of paper that is exactly the circumference of you ball. (You don’t need to use a measuring tape. Just wrap a strip of paper around the fattest part of you ball.)
2/ Fold the paper in half.
3/ Cut about 1/4″ to 3/8″ from your folded strip.
4/ Use the folded strip as your pattern to determine the width of the strip.
This method will leave a relatively small (1/4″ to 3/8″) hole at the top and bottom and you will never have to trim any excess. To see this demonstrated in photos see “Cutting the Fabric” on the following blog page.
http://pinwheelponders.blogspot.ca/2009/02/some-thoughts-on-smocked-ornaments.html