How to sew a foot stool {tutorial}
Before Christmas, I asked for help deciding what to sew my brother for Christmas from this fabric:
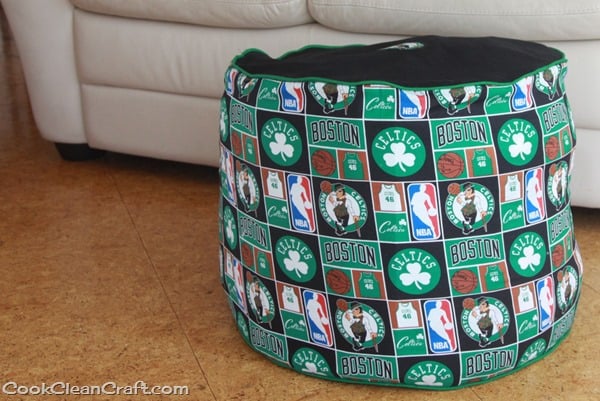
It’s a broadcloth that I picked up from Fabric.com. I ended up going with my first instinct, and made a foot stool (or pouf, or ottoman):
I used black quilter’s cotton for the top and base and made my own piping for the trim (using a green quilter’s cotton and piping cord). I would have like a thicker piping cord, but was under time pressure and just used what I had on hand.
I’d also recommend using a medium to heavy-weight interfacing. I didn’t so it doesn’t hold it’s shape as well as it could. It still made a good seat for a small person though:
The finished dimensions were 46cm diameter (18”) and 40cm high (16”)
Materials
0.9m (1 yard) Boston Celtics Fabric
0.5m (0.5 yard) black quilter’s cotton
3m (3.3 yards) piping (make it yourself or store-bought)
46cm (18”) black dress zipper
Thread, scissors, sewing machine
Procedure
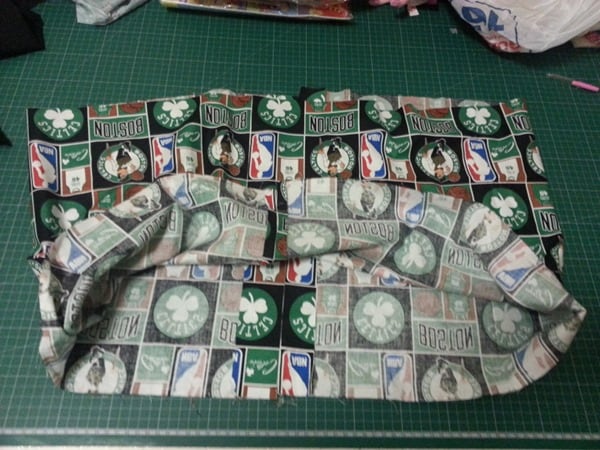
Cut two strips of outside fabric (Boston Celtics) 42cm wide from selvedge to selvedge. Sew the two strips together, right sides together, matching the pattern (if applicable) at the seam.
The final cylinder needs to be 145cm (+ 2cm seam allowance). Measure it out on your fabric and see if you can get the pattern to match reasonably well at the second seam – mine worked out perfectly. You can see that I left a generous seam allowance to make sure it worked out, and then trimmed it back after I sewed it.
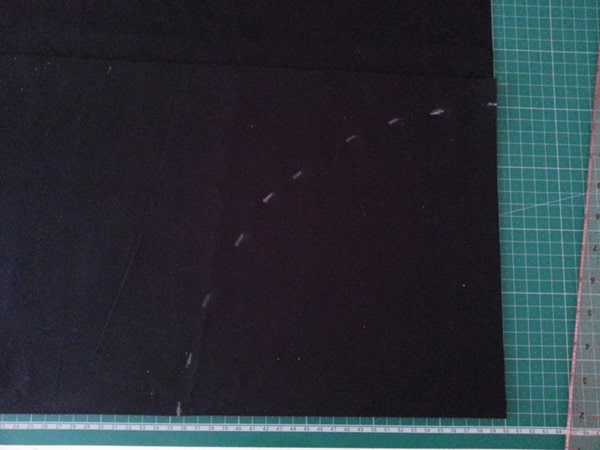
Cut a circle out of the black material with a diameter of 48cm (or radius of 24cm). I found it easiest to fold the fabric in quarters and measure out a quarter circle from the double-folded corner. This is the top piece of the foot-stool.
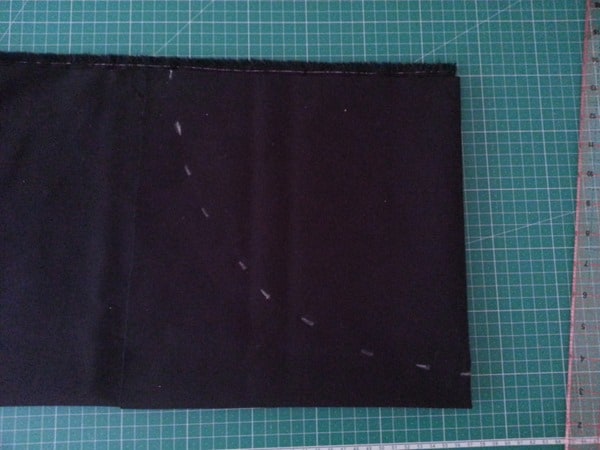
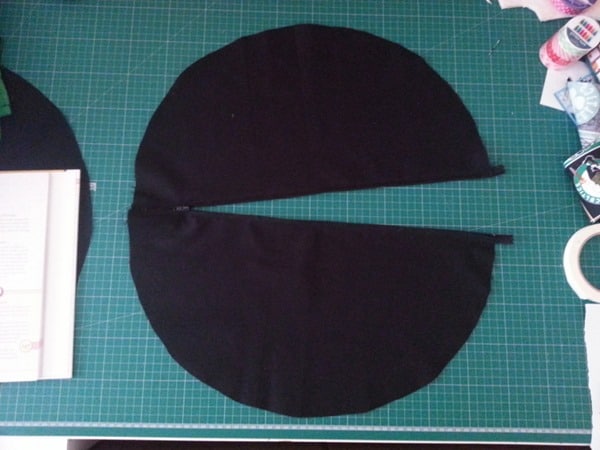
Cut two half circles with a 24cm radius (48cm diameter) but adding an extra 1cm to the straight side (for seam allowance). I folded the fabric in quarters again and measured out a quarter circle from the raw edge corner this time. This is for the base.
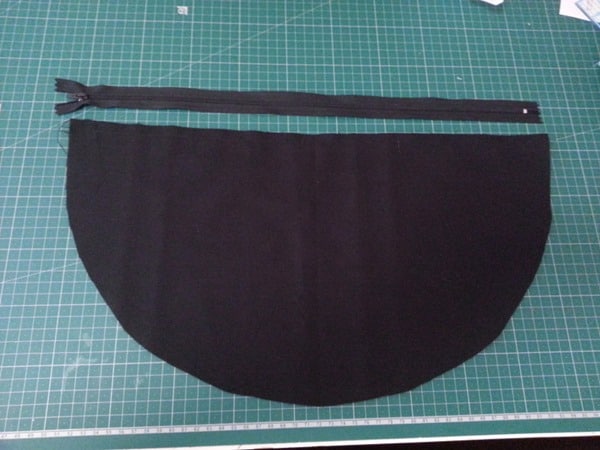
Sew the two half circles to the zipper.
And you’ll end up with Pac-Man:
Baste the piping onto the outer-edge of the top and base pieces, lining up the raw edges on the right side of the fabric pieces. Close the zipper for the top piece while you pin the piping into position and then open it to sew the basting stitch.
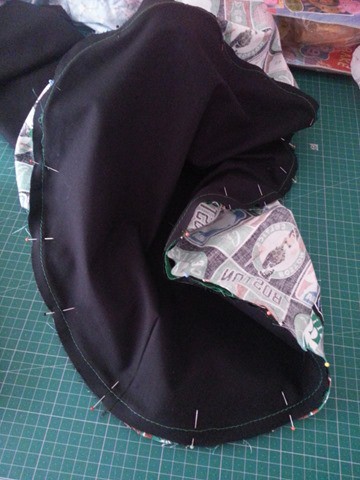
Pin the top to the side panel and sew into place.
Leaving the zipper open, pin and sew the base onto the side panel with right sides together, lining up the side panel seams with the zipper seam.
Turn the foot-stool right way out through the zipper opening. The top looked a little plain to be, so I cut out a logo and appliqued it to the top of the foot stool (using heat’n’bond lite and a blanket stitch).
Stuff your foot stool – for the photos, I used fabric scraps and a whole lot of fabric – it ended up looking a bit lumpy! My brother lives interstate so I removed the stuffing to take it over, and then bought bean bag beans to stuff it.
I think he loved it. He took it into his bedroom at night so his teenage son and his mates couldn’t use it, so I think that was a compliment!
What fabric would you use for a foot stool?



Har! I’ve put this on OneNote for future sewing.
This is a fantastic tutorial!
I loved your Tip Me Tuesday link this week. {thanks girl!} Would you like Tip Junkie to feature your blog post to over 200,000 creative women? If you upload this blog post into your Tip Junkie craft room using at least 2 images, 2 steps, and blog post URL then I can easily feature it in my RSS feed, home page, and all my social networks instantly. {squealing with delight} ~ Laurie {a.k.a. the Tip Junkie}
http://www.tipjunkie.com/post/how-to-add-a-craft-room-project-on-tip-junkie/